
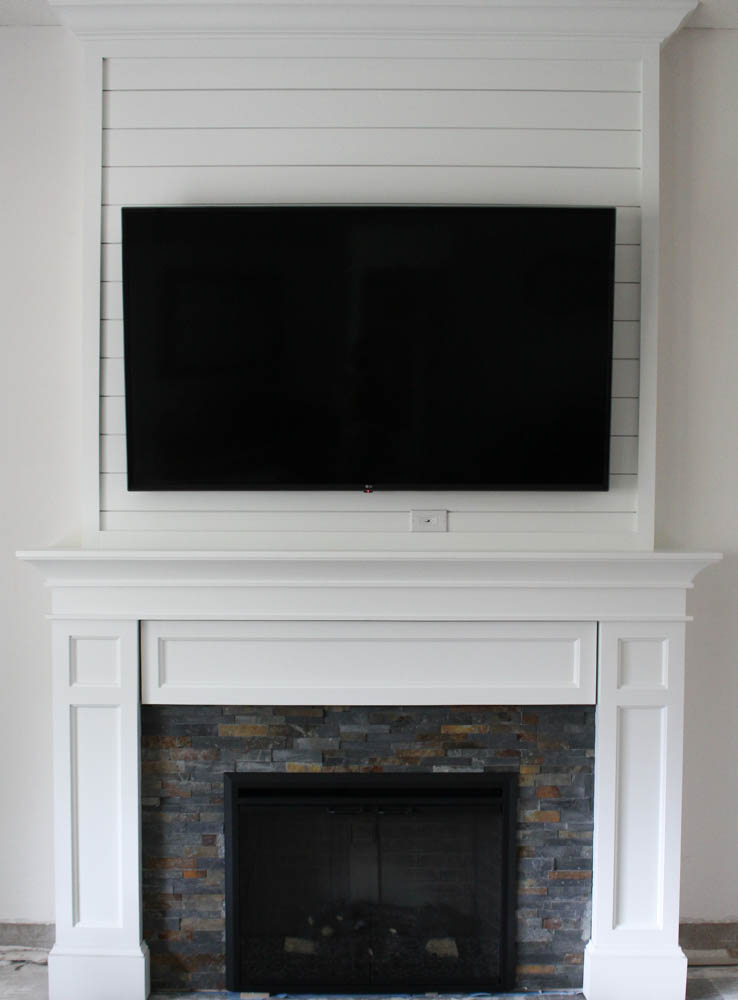
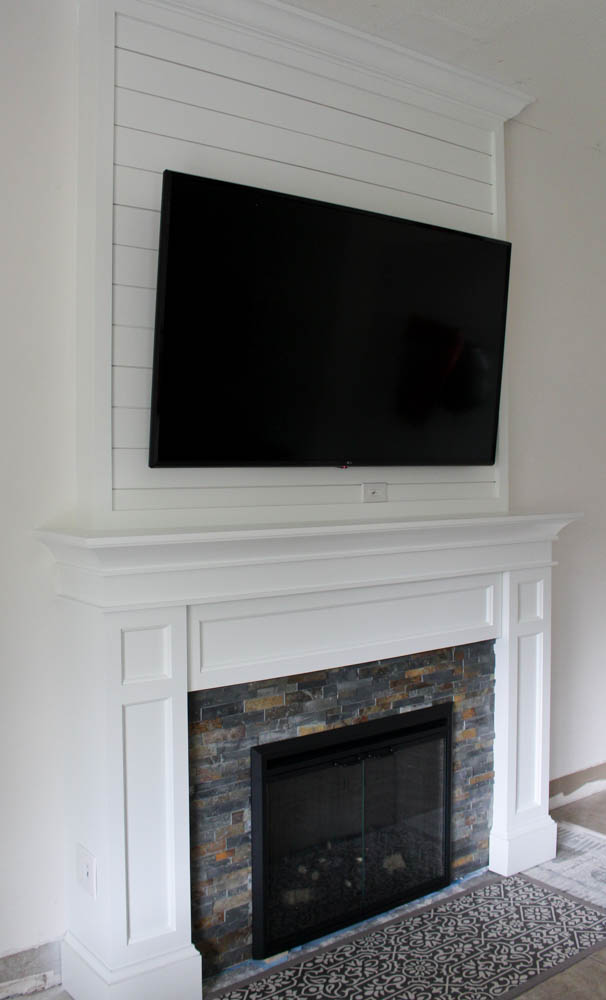
The final part of my DIY faux fireplace built-in series is here! I’m so excited to show you how it all came together!
If you haven’t already, check out Part 1 of this series where I talk about some very important factors to consider before beginning this project. You will also find links to all the tools and materials used.
And in Part 2 you will see how we built all of the fireplace components. Such as the legs, baseboards, mantle, and best of all, the hidden storage compartment!
Now let’s dive into the last part of this series! Framing, assembling, painting, and tiling!
BONUS! Make sure to scroll all the way down to see our Youtube video as well!
Fireplace Framing
The frame for this DIY faux fireplace built-in was put up AFTER all of the fireplace components (shown in PART 2 of this series).
This way our current living room and TV situation wouldn’t be disrupted for a long period of time.
So we built all of the pieces in the garage until we were ready to start assembling it all.
But first, we removed the current flooring in order to build this faux fireplace built-in directly on the subfloor. We talk more in-depth about why we did this in Part 1 of this series.
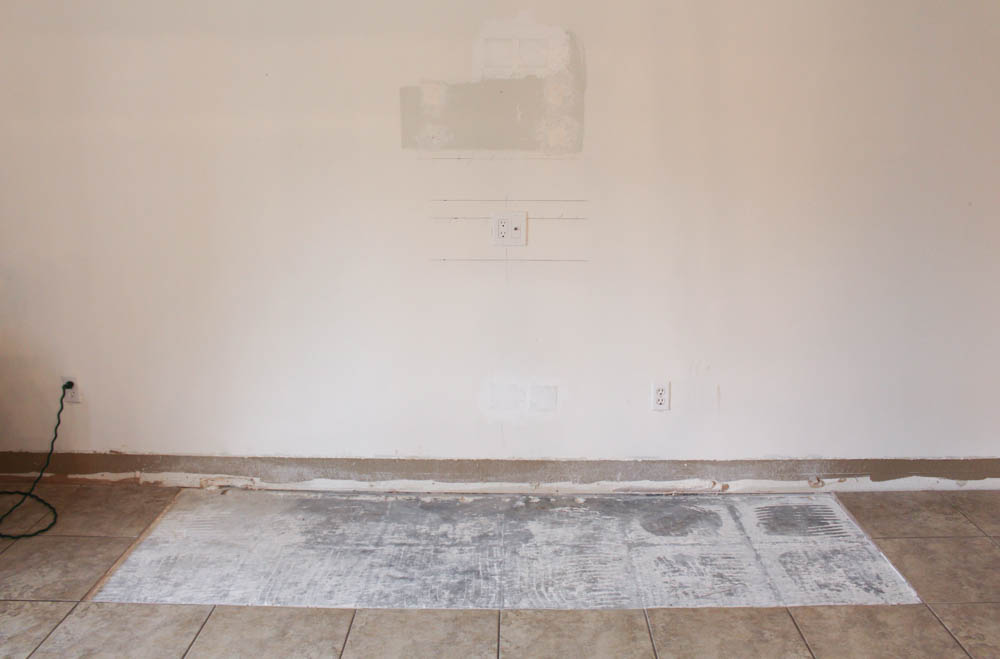
Note: We will be replacing all of the flooring in the near future so we didn’t worry about removing the exact flooring space for the fireplace built-in. If you are building on the subfloor, then you would have to take that into account.
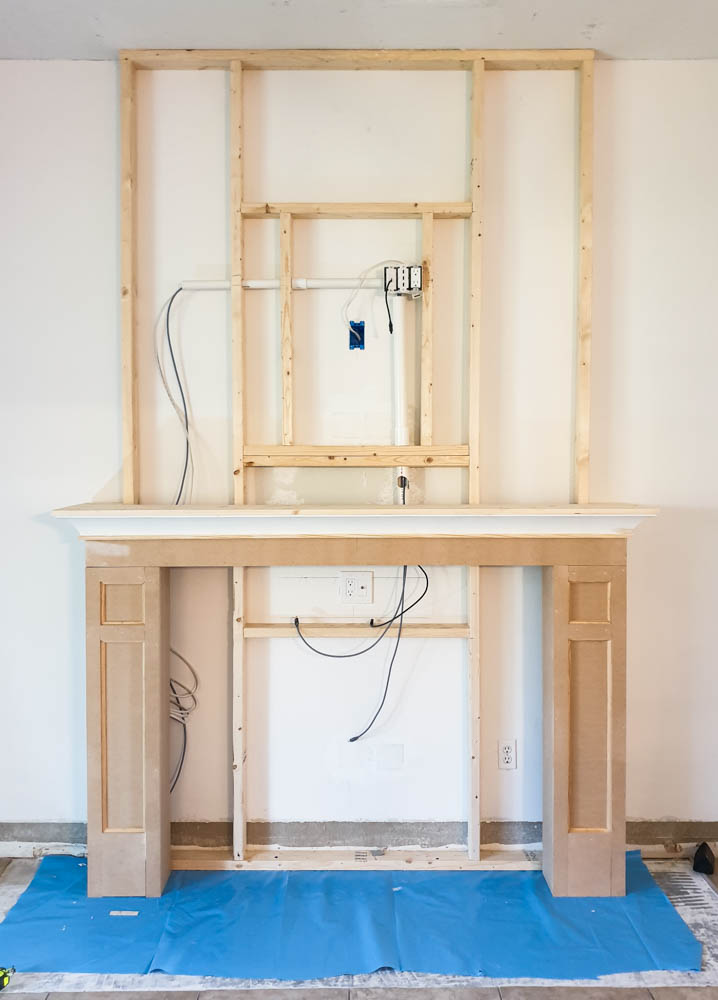
Then we built our frame directly to the wall and subfloor.

These are the exact measurements used for our framing. The framing measurements for you will depend on the space you are working with. But if you are going by our exact measurements from Part 2 then these are the framing dimensions you need to follow as well.
Note: We have a 10-foot ceiling and our built-in fireplace is on an 18-feet wide wall.
As you can see, the framing has a lot of inner support for the TV mount, and mantel. Make sure to measure your specific TV Mount and place your vertical studs in the center of the framing accordingly.
We used 3″ zinc plated construction screws for the framing.
And Tapcon screws on the bottom stud since we have concrete floors.
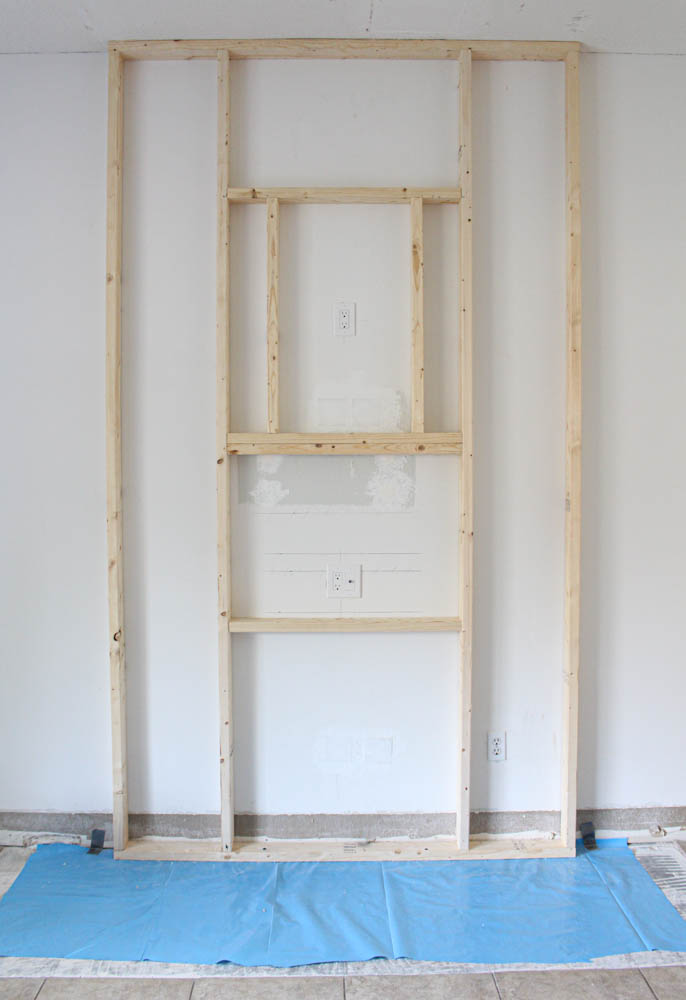
Note: We decided to put the fireplace insert resting directly on the floor, so we had to remove part of the bottom stud for the fireplace insert to fit. You might want to take this into account because the fireplace insert won’t fit if there is a 2″ by 4″ behind it (with the depth of this fireplace built-in). If you do the framing as the picture shown with the dimensions then you won’t encounter this problem.
Assembly
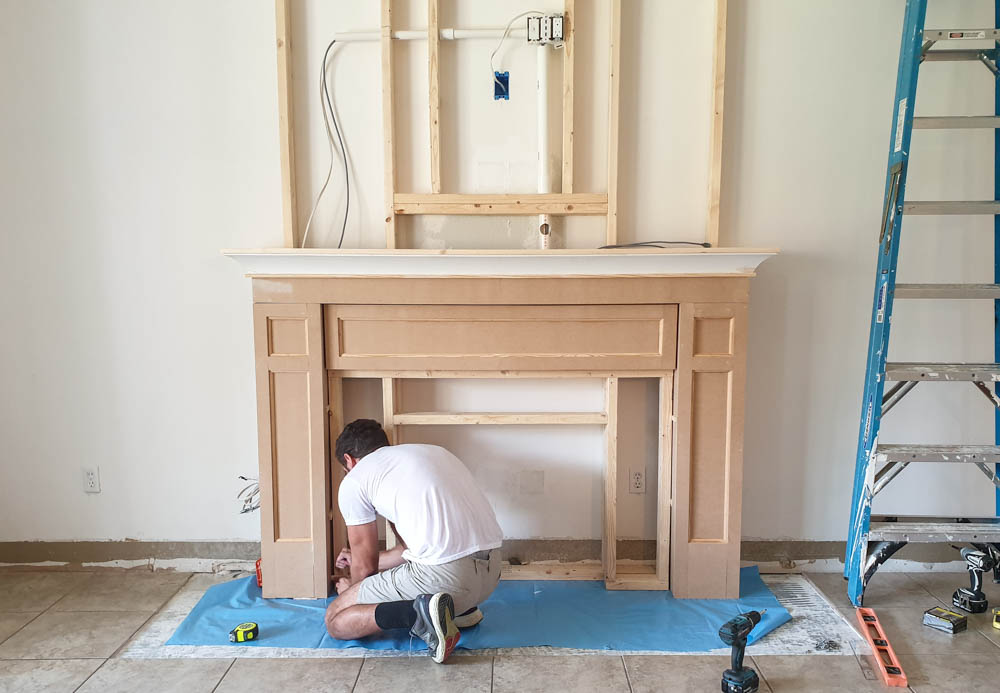
Next, it was time to bring in all of the fireplace pieces previously built and start attaching them to the frame.
Note: Make sure to have all of the electrical work set up BEFORE assembling your faux fireplace built-in.
I suggest you place all of the fireplace parts in to make sure they fit around the frame and to each other before nailing anything in. Do so carefully though! Have someone else to help you hold it all up so it doesn’t tip over! Especially the middle hidden storage compartment!
Once you are ready to start assembling make sure to have some shims handy as you will need them! You also need a level as you work to make sure everything is going in perfectly straight. The shims will help you with that as well.
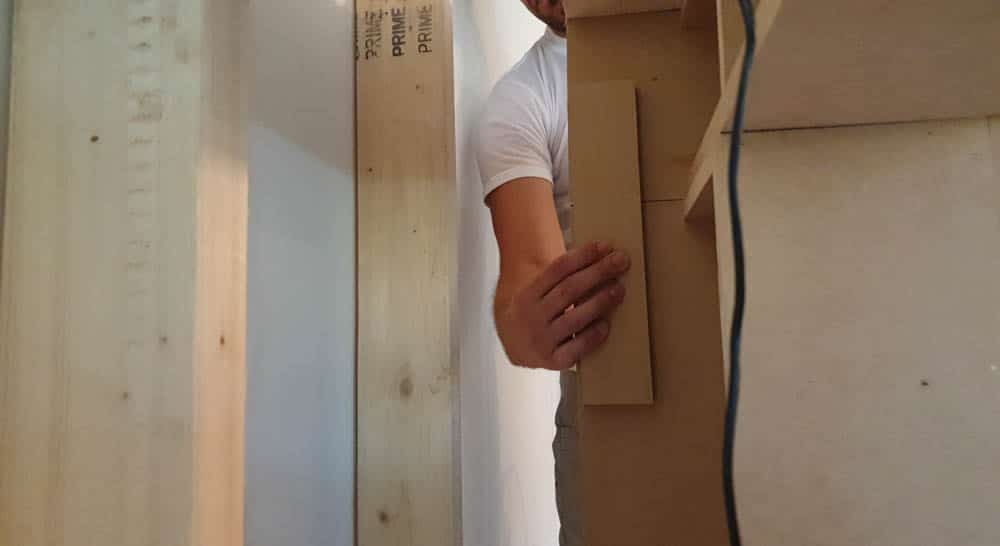
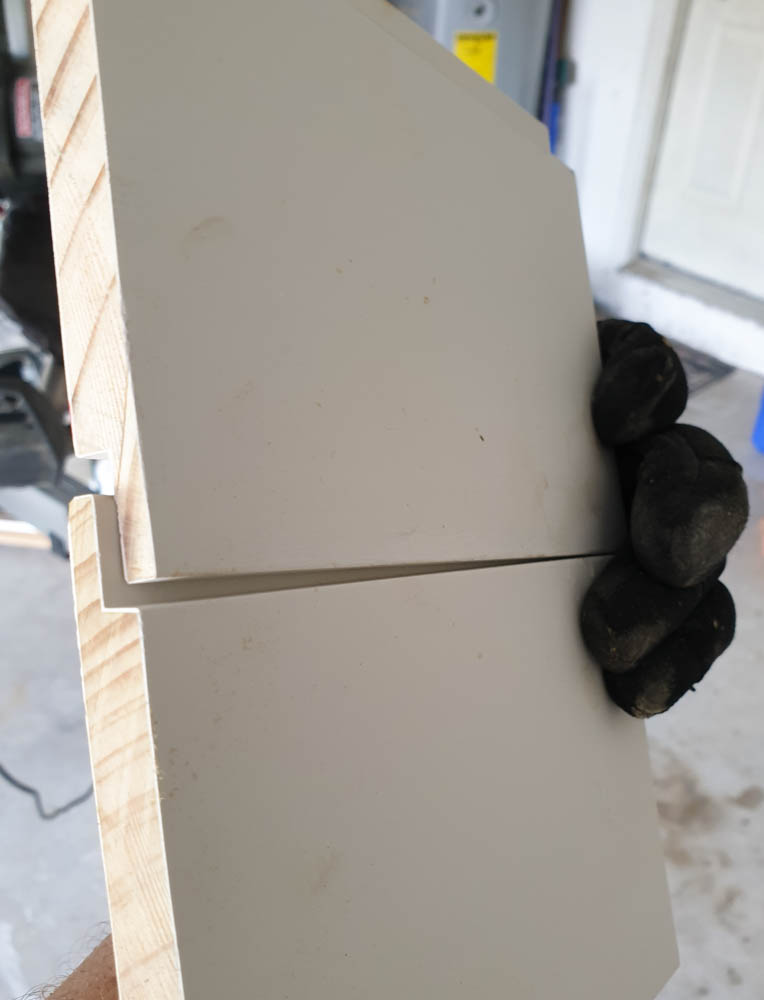
Note: You will also need another piece of wood or MDF to put in between your legs and the frame. This fireplace design has a slightly larger bottom half. So we knew going in, that we would need to put something in between to screw the legs to the frame.

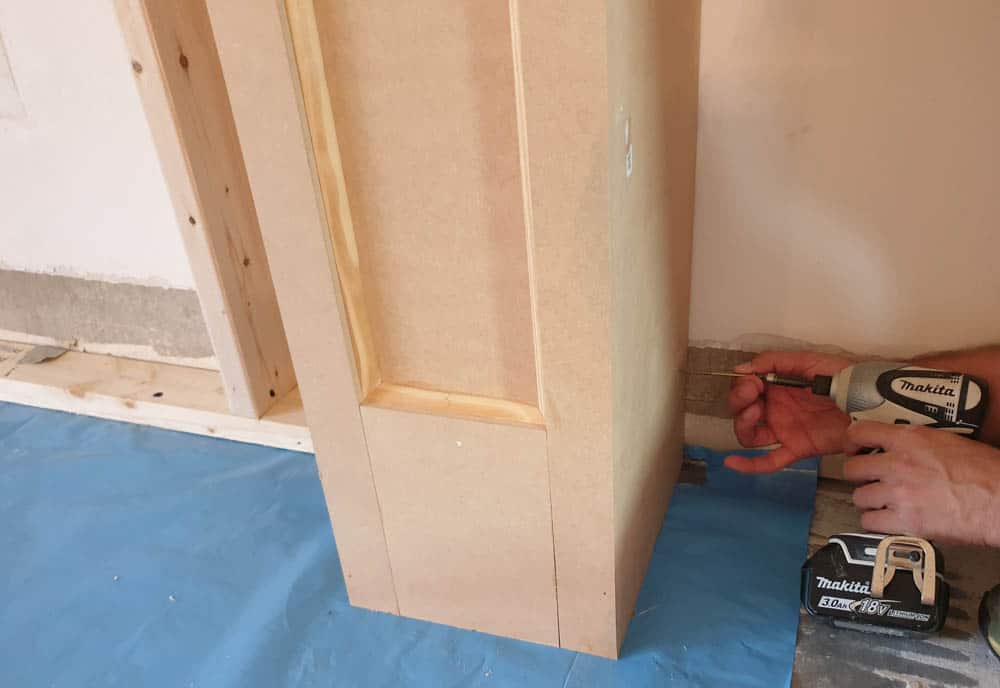
We screwed the legs on the bottom so that the baseboards will cover the screws.
Then we just nailed the mantel and storage compartment to each other and to the wall.
Finally, we added another trim piece between the matel and storage compartment to cover the seam.
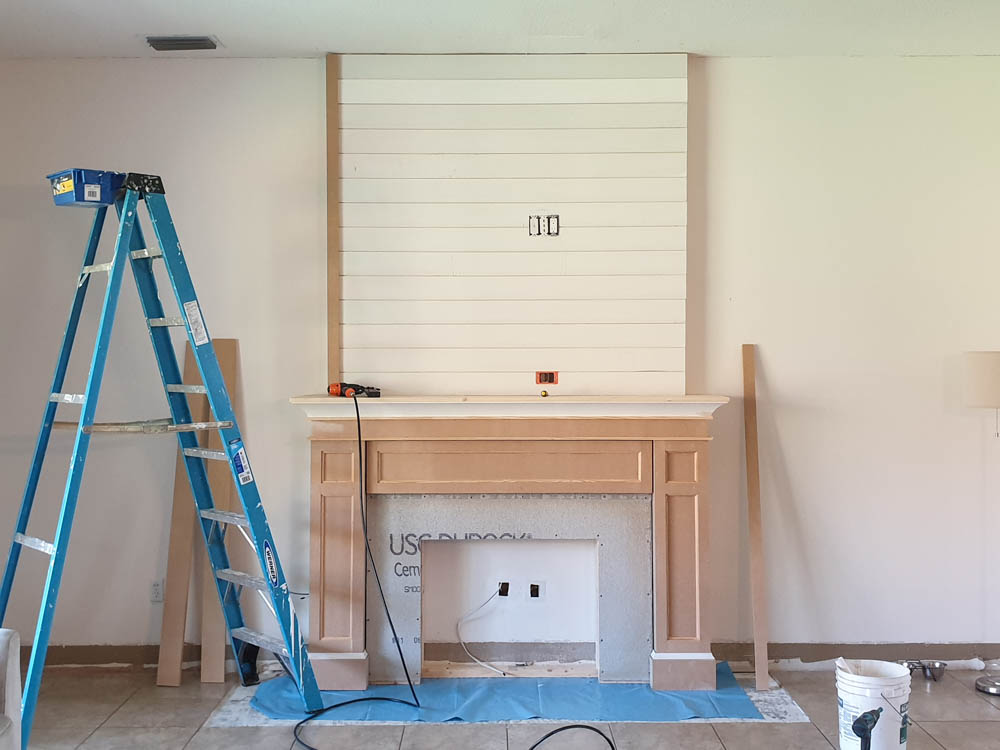
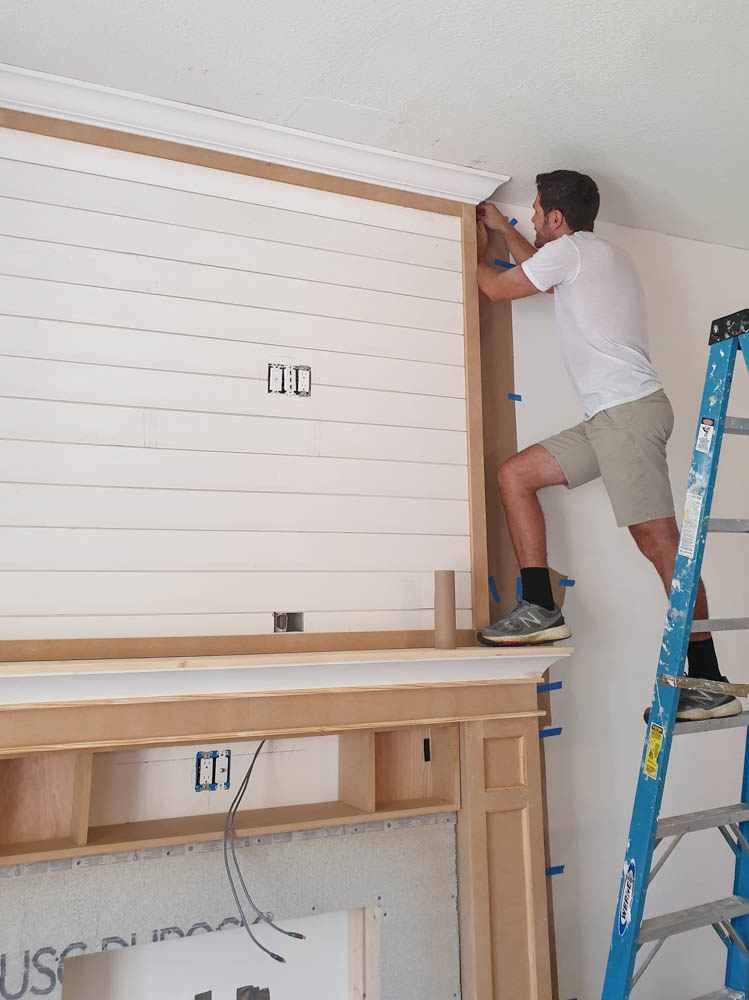
Now that everything was in place it was time to add the shiplap!
Shiplap And Crown Molding
We got this shiplap which is just beautiful! We actually nailed into the top lip of each shiplap so that the nails wouldn’t be visible with the next shiplap on top! This way we avoided having to cover up and sand any holes!
The only exception to this was the very first shiplap on the bottom, which we nailed both on the top and lower lip to secure it. But we added trim over it in the end so it still got covered up!

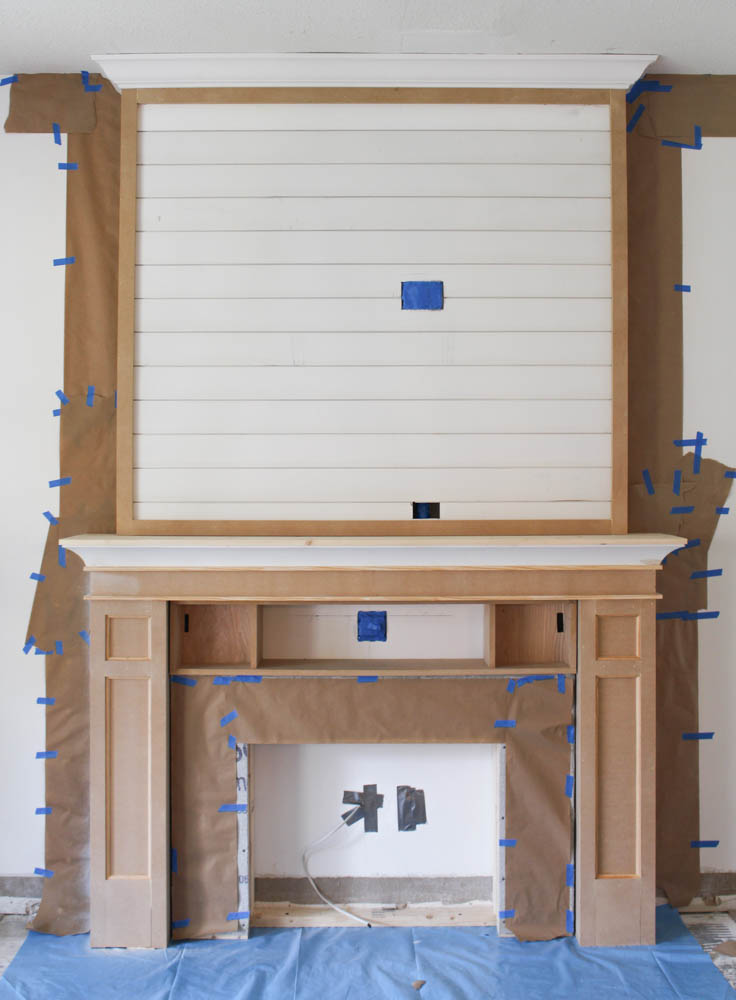
We cut 2″ pieces of MDF to make these trim pieces around the shiplap. The side trim pieces are 4 1/4″
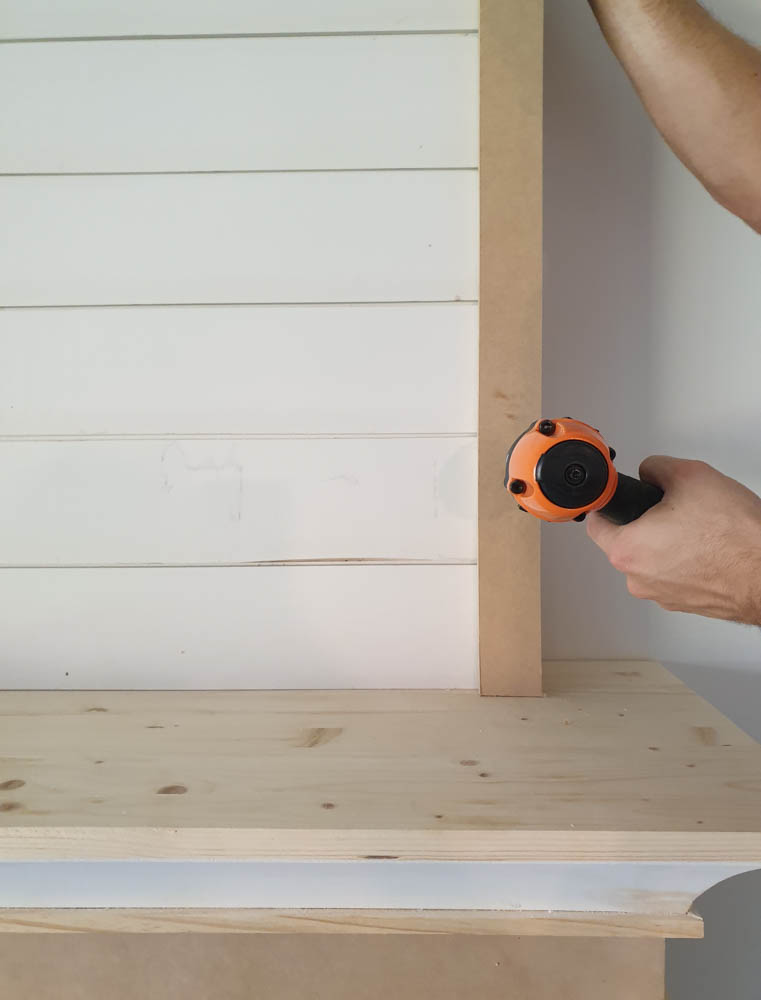
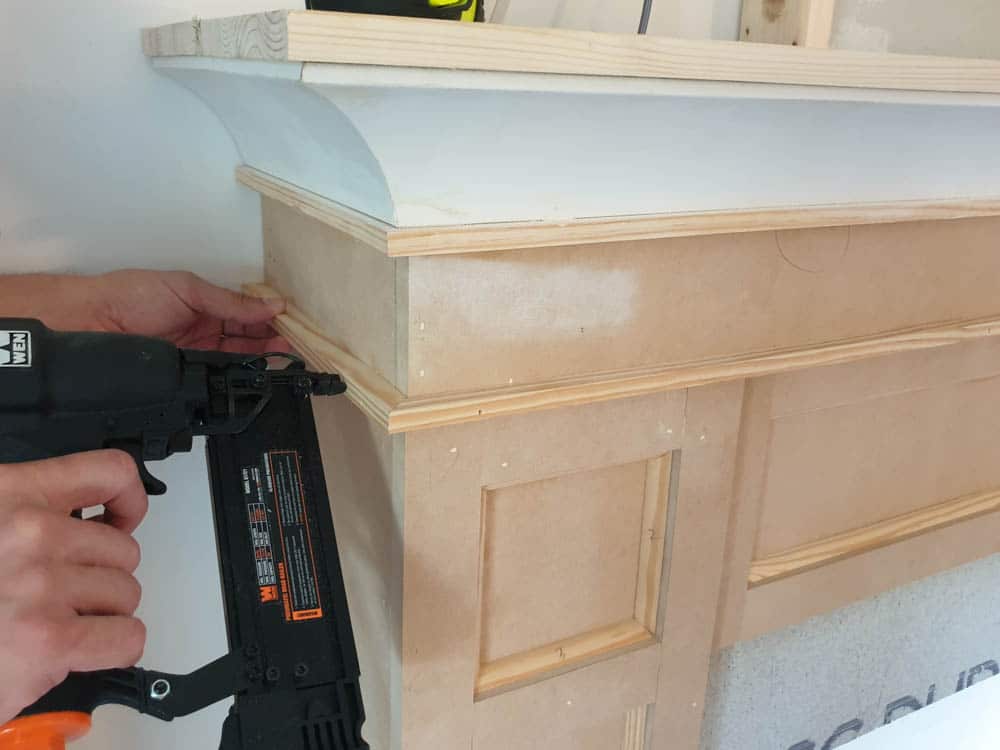
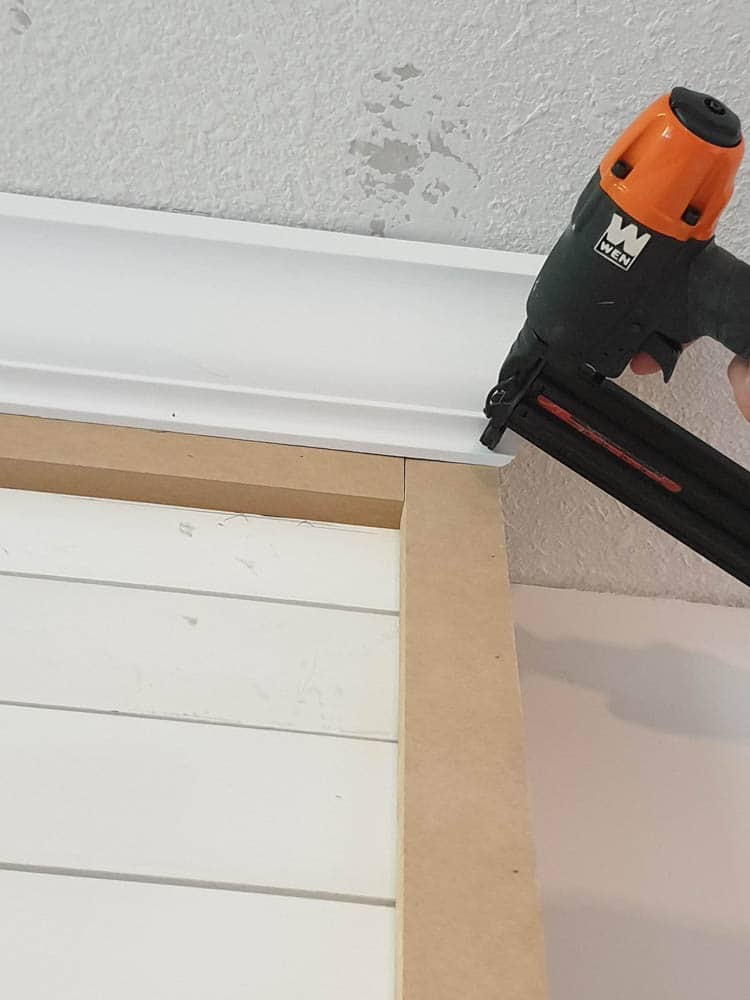
Once we had our ship lap and trim pieces in it was time to put the ceiling crown molding.
Note: The top trim piece on the shiplap was cut wider so that it still shows 2″ once the crown molding is put in. The size will depend on the crown molding you choose.
Now on to the most critical part of your entire DIY faux fireplace built-in!
Painting
Painting can make or break your DIY built-in faux fireplace! So it’s super important to make sure you do it right!
First and foremost, you NEED a good spray gun! No brushes are allowed for this project! You don’t want to see any brush strokes on your beautiful masterpiece!
If you’ve never used a paint spray gun before, I know it can feel intimidating! But it was our first time too and it was a breeze!
How To properly Paint Your Faux Fireplace Built-In
- First you need to remove the door of the hidden compartment. It will be painted seperately. Remove the hinges as well so as not to get paint on them.
- Cover the area around the fireplace with kraft paper.
- Cover the floor with Kraft paper or drop cloths.
- Remove or cover all the furniture with plastic so that it doesn’t get sprayed.
- Next, cover up electrical outlets.
- Also, make sure to cover the fireplace surround so that the paint doesn’t affect the cement board where the tiles will be places later on.
Since we are building this DIY faux fireplace with mainly MDF materials we needed to use an oil-based primer. MDF cannot get wet! So using a water-based primer is a BIG NO NO!
We got this oil-based primer paint. It went on so smoothly and beautifully! We didn’t have any issues!
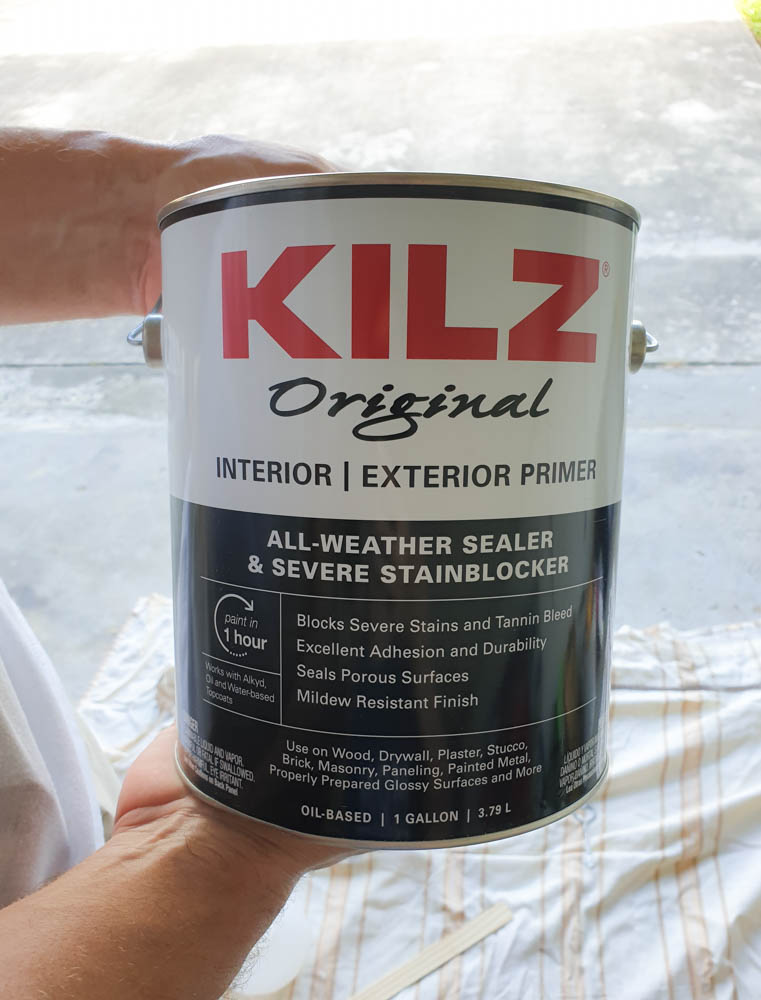
You do have to “water down” paint when you are using a spray gun in order for the paint to shoot out smoothly. But you can’t add water to oil-based paint! So we used mineral spirits to thin out the paint.
We gave the fireplace built-in two coats of primer.
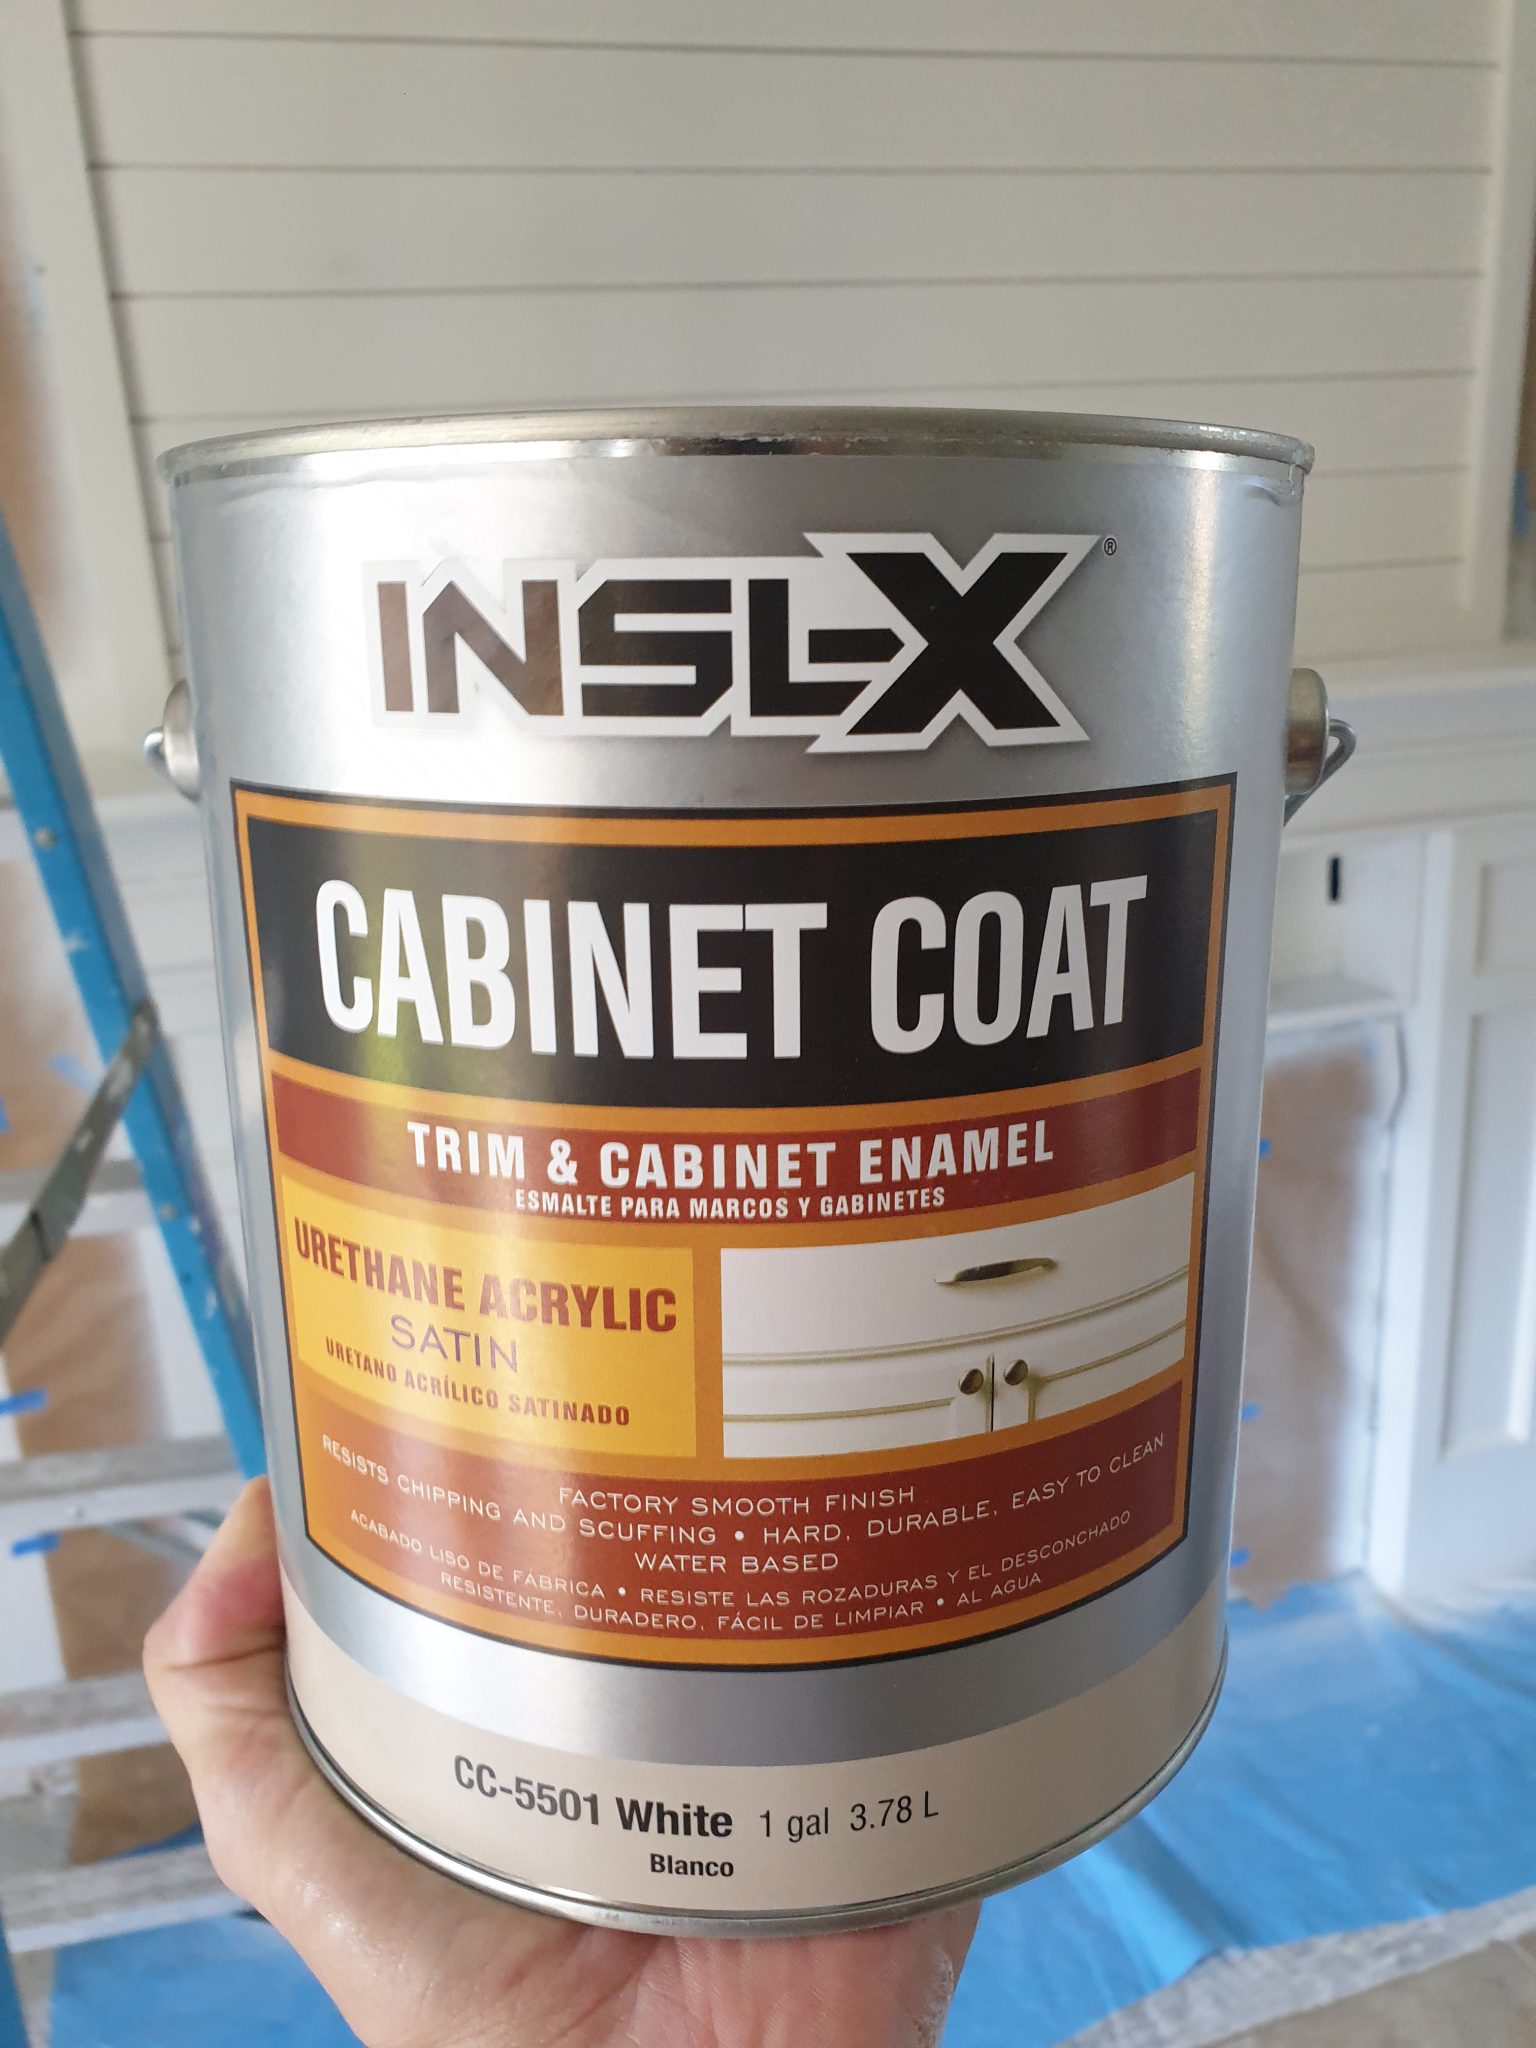
The paint we used AFTER the primer was set was water-based paint. And we thinned it out with water as you would normally do.
We gave this faux fireplace built-in two coats of paint over the two coats of primer.

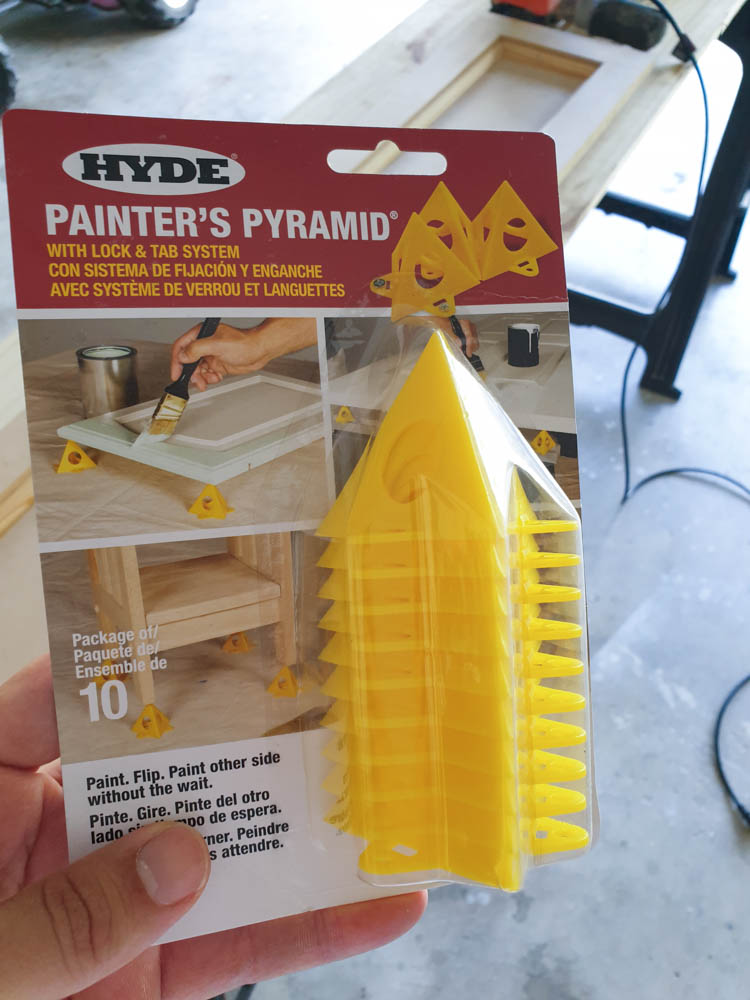
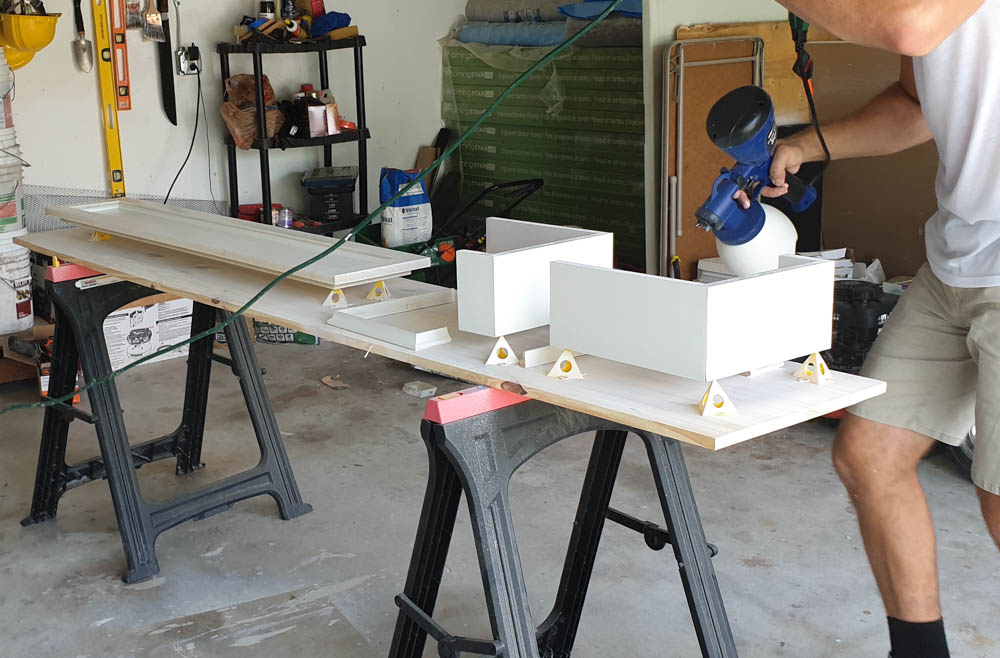
We used these painters’ pyramid stands to hold the door and baseboards while we painted them separately in the garage.
Note: If you are not building on the subfloor then you can go ahead and attach and paint your baseboards already.

Once everything is dry you may remove all of the coverings and caulk all of the edges.

Once the door is dry and put back in place you are ready for the next and last step! Tile!
Fireplace Tile
We chose this beautiful slate tile backsplash from Lowes. We bought 3 boxes but ended up just using 2.
I really liked the slate look! But I was worried that the fireplace insert might not sit flush against the tile because some of the slate tiles protrude more than others.
My husband did an amazing job though! He made sure that the pieces of tile that would be right behind the fireplace insert lip were all flush.

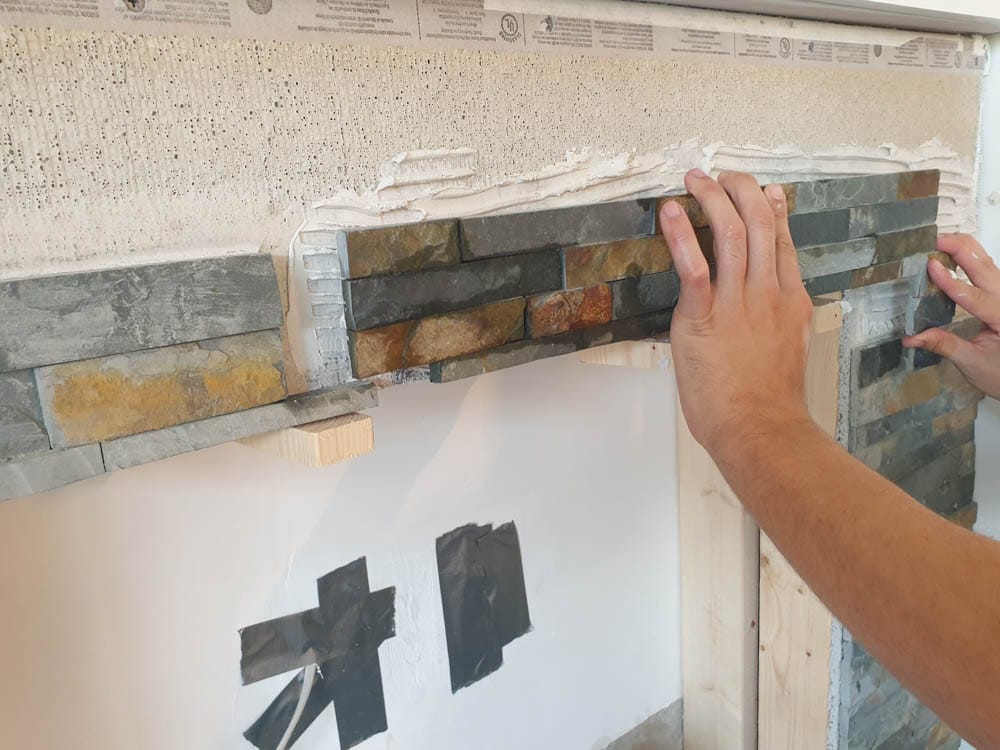
Some on the slate tiles going down the fireplace surround stuck out a bit (where the fireplace insert would be) but he simply sanded them down a bit and it was perfect!
That’s the great thing about slate! It has layers to it! So even if it chips off or if you have to sand it, it won’t lose its beautiful color!
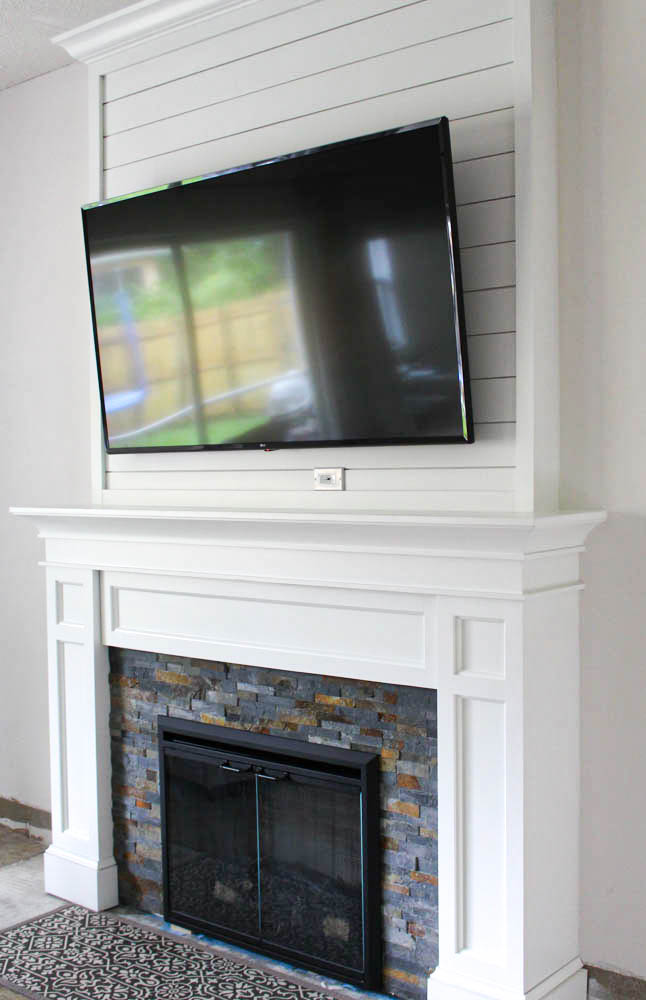
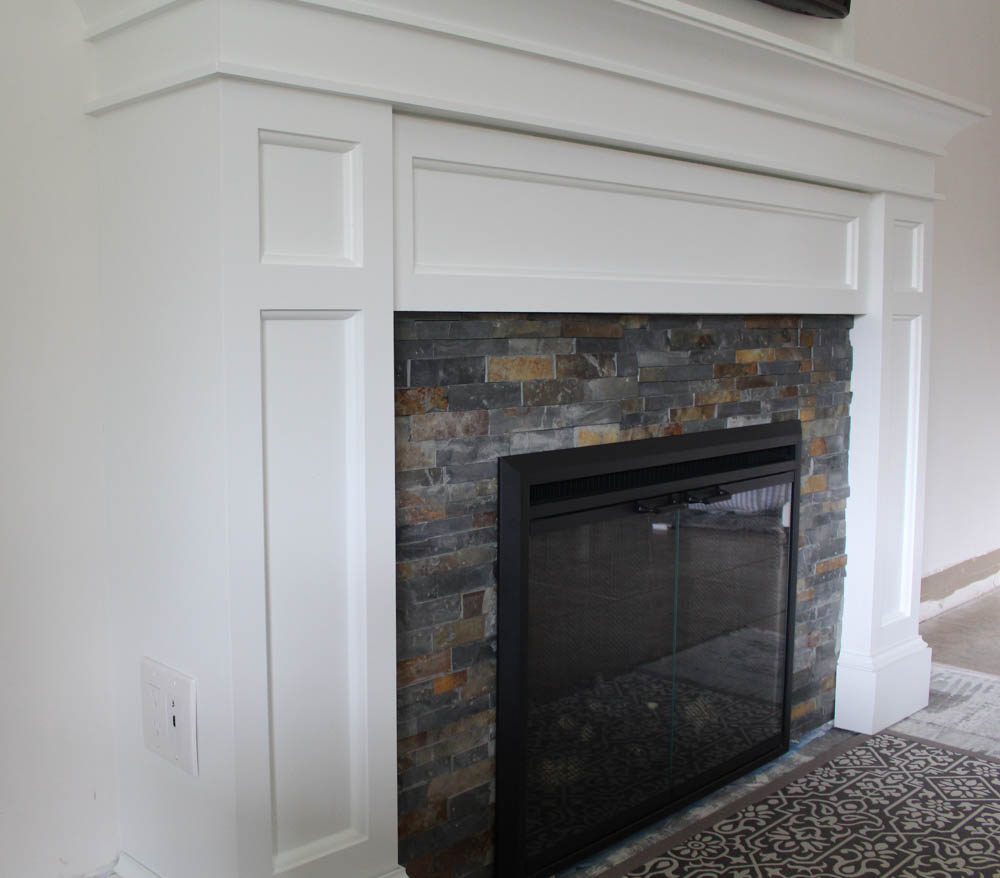
This tile completes the modern farmhouse/rustic fireplace look we were going for.
Plus we have slate flooring on our front porch. So there is a cohesive look to the entire house now.
We will lay the new flooring down underneath the tile and baseboards (that are just temporarily put in place).
In the meantime, I have this adorable little setup that hides the ugly concrete floor.

Pin It For Later! DIY Faux Fireplace Built-In Part 3
And that is the full reveal for our DIY faux fireplace built-in! Make sure to subscribe to my newsletter to receive more inspirational DIY home projects like this straight to your inbox!
You May Also Like


25 Cool Diy Faux Fireplace Ideas That Won’T Cost A Bomb - Fresh Diy Home
[…] image source […]
21 . May . 202425 Cool DIY Faux Fireplace Ideas That Won’t Cost A Bomb
[…] Image and tutorial by Simply Lovely Living […]
30 . May . 2023Jeff
That looks amazing! How long did it take you guys to build it?
28 . Dec . 2021Lisy
Thank you, Jeff! It took about 2 months but it was working only on the weekends. We took our time to make sure it came out perfect!
28 . Dec . 2021