
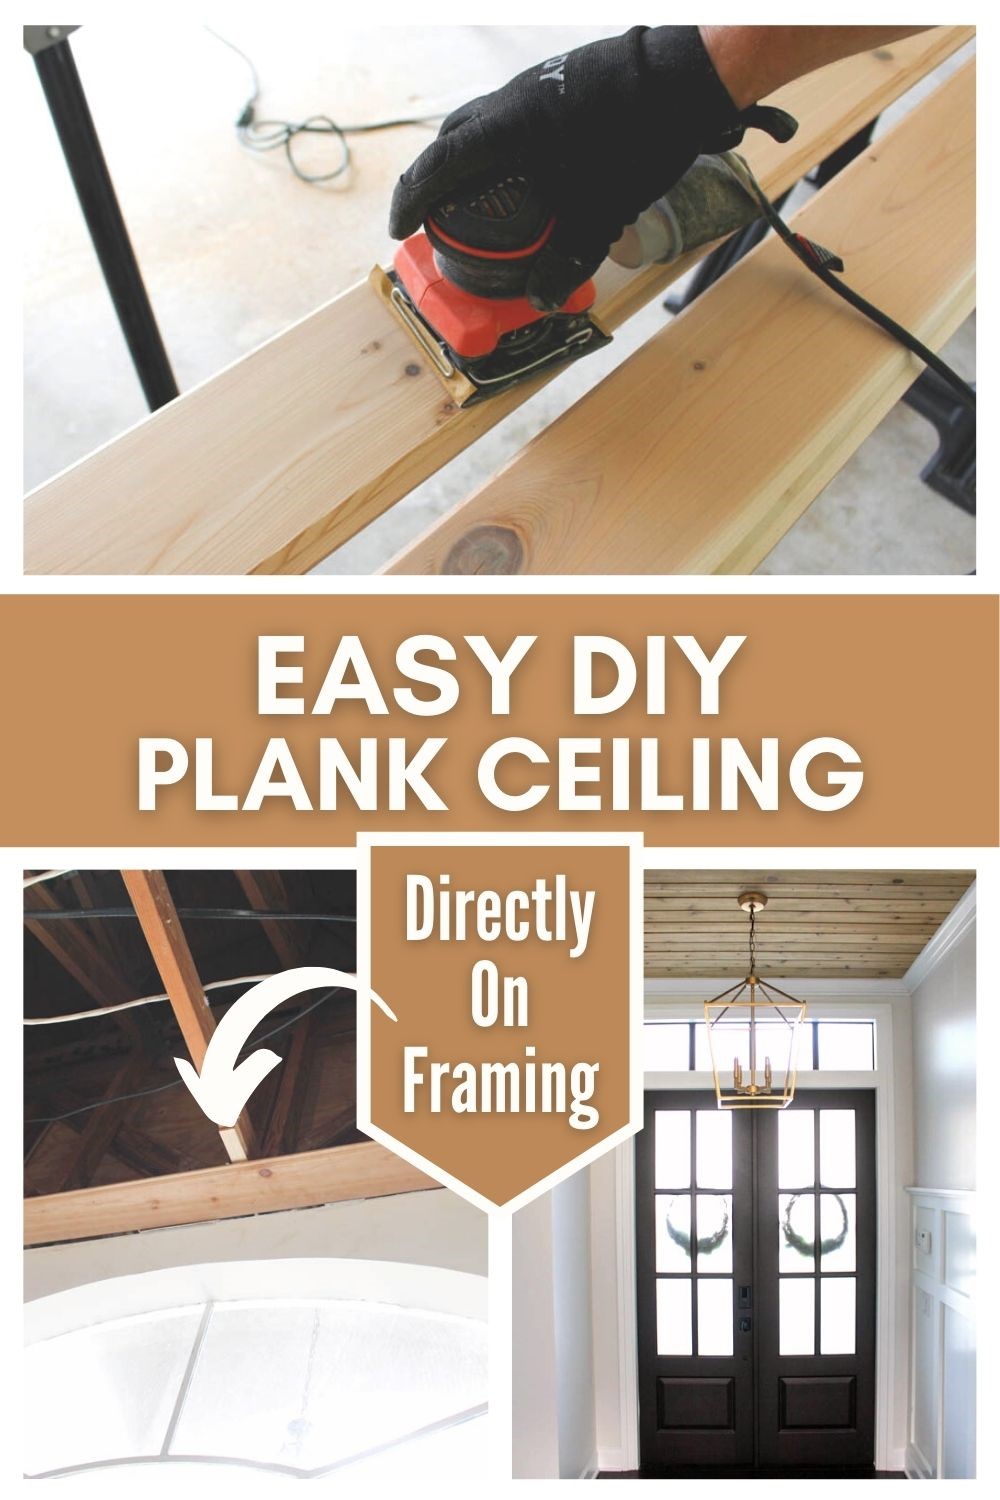
If you’re thinking of doing a plank ceiling then you might be planning to install it on the ceiling drywall. But there’s a better way! In this tutorial, I will show you how to install a plank ceiling directly on the framing of your home.
We recently gave our entryway an entire makeover, including planking the ceiling, getting a new front door, adding board and batten wainscoting, and replacing the flooring.
Check out the before and after below!
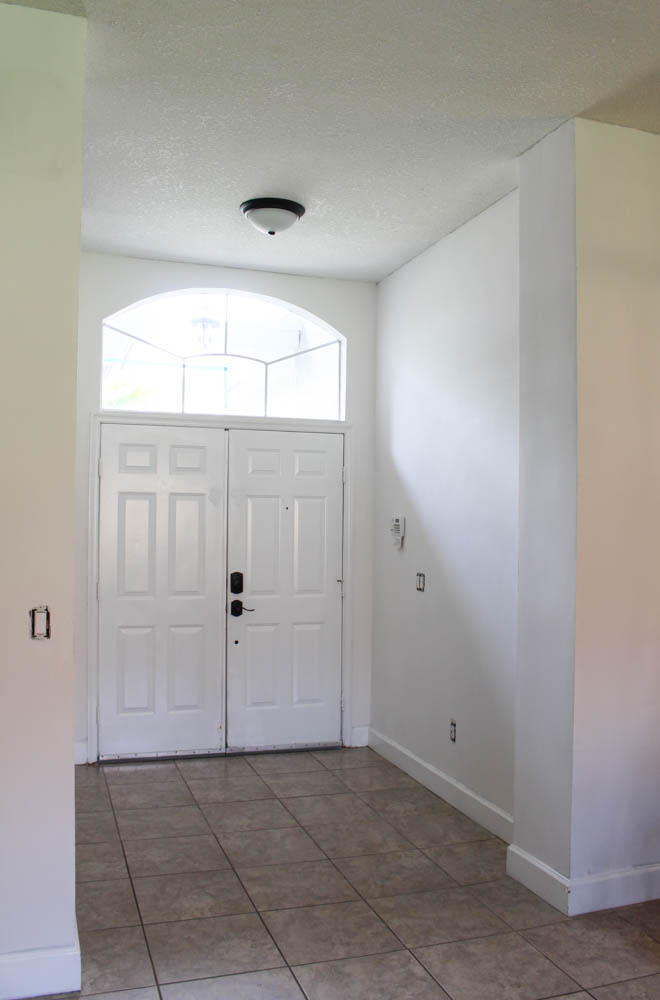

Everything in our new entryway makes this space stand out but I think the plank ceiling makes it pop even more!
So let’s dive right into the tutorial!
1. ENCLOSE THE SPACE
If you don’t already have an enclosed entryway ceiling, then you need to create one.
Our original entryway wasn’t fully enclosed so we added 2 headers between the existing walls.
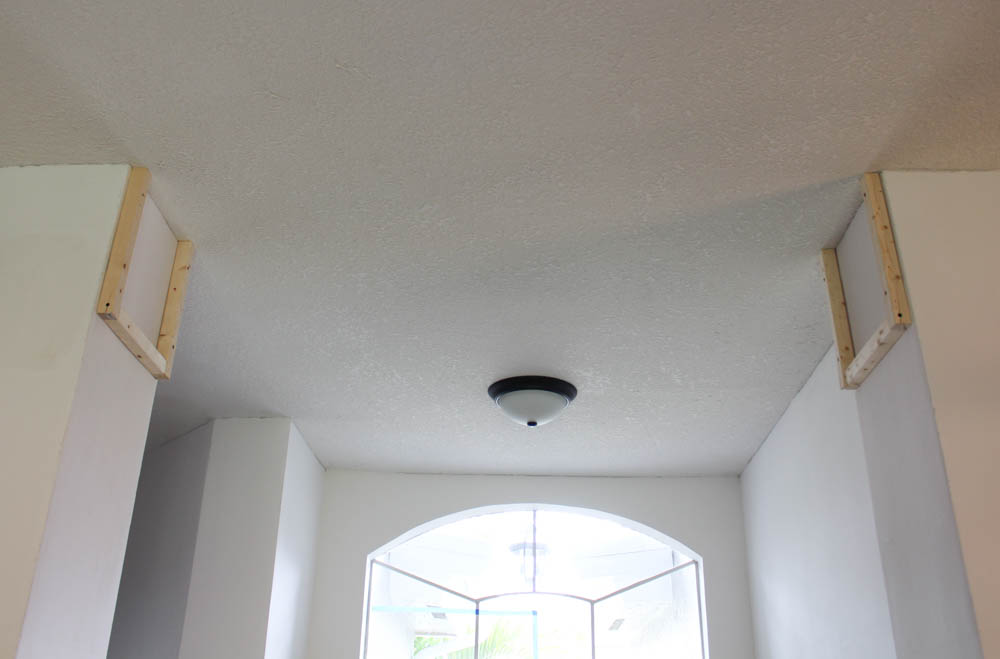

Once the framing for the headers was done we were able to start preparing the plank ceiling installation.
NOTE: We installed the drywall on the framing after the ceiling planks were in.
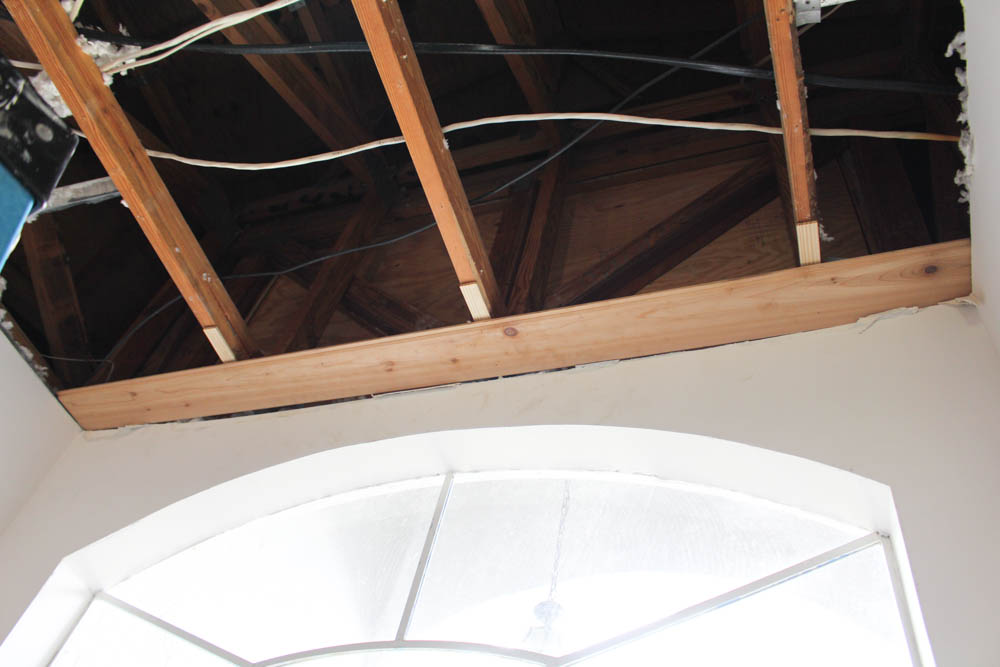
2. EXPOSE THE TRUSSES
In order to expose the house framing, you need to tear out the sheetrock. But you want to do this carefully so that you don’t tear it out in areas you want to keep the drywall.
To do this, use a utility knife to cut along the entire area you want to tear out. This will help keep it concealed in the area you want.
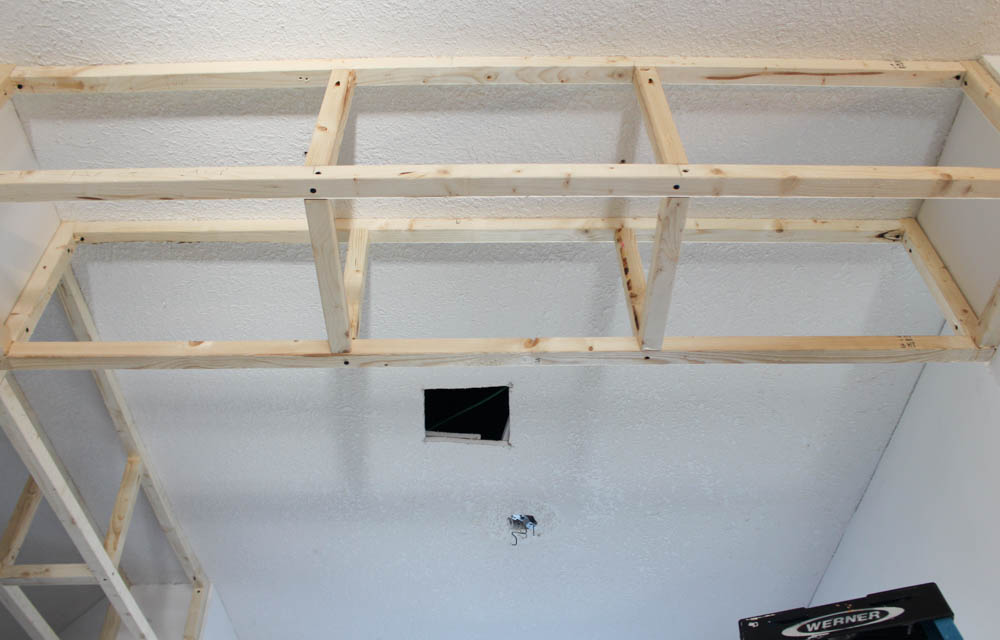
Then cut a hole in the center of the ceiling with a drywall saw. Once you’ve done these preparations you will be ready to start removing the sheetrock to expose the framing.
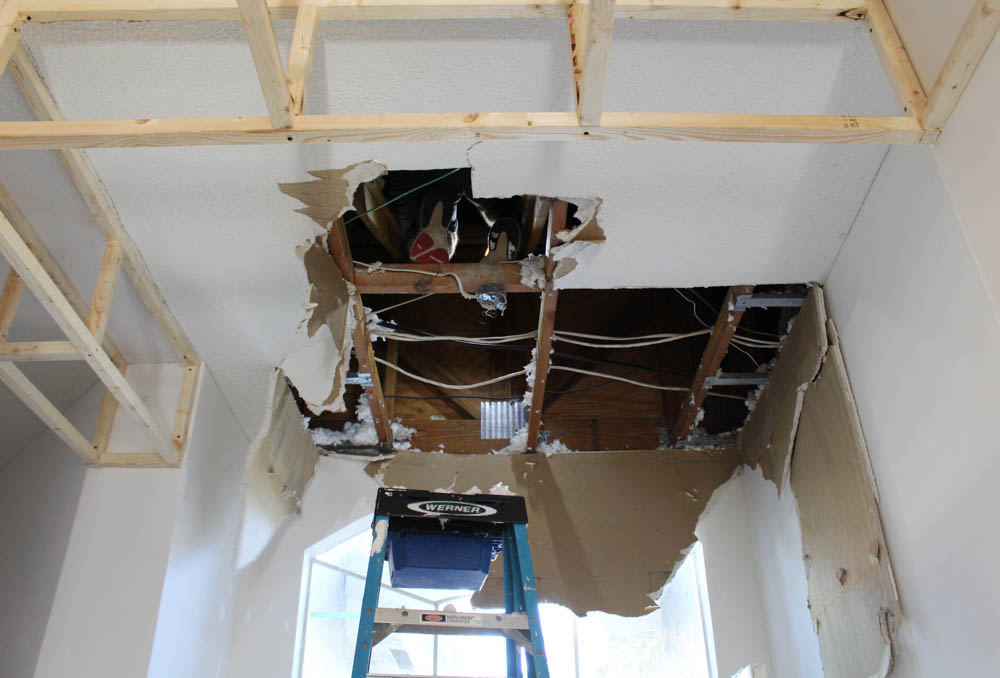
If you have the attic clearance you can tear it out from above. Carefully stand away from the area you are breaking and slowly start to either hammer it out or kick it out.
The sheetrock should come off cleanly.
3. INSTALL PLANKS
These cedar tongue and groove planks are beautiful and easy to install.
First, lightly sand all of the ceiling planks.
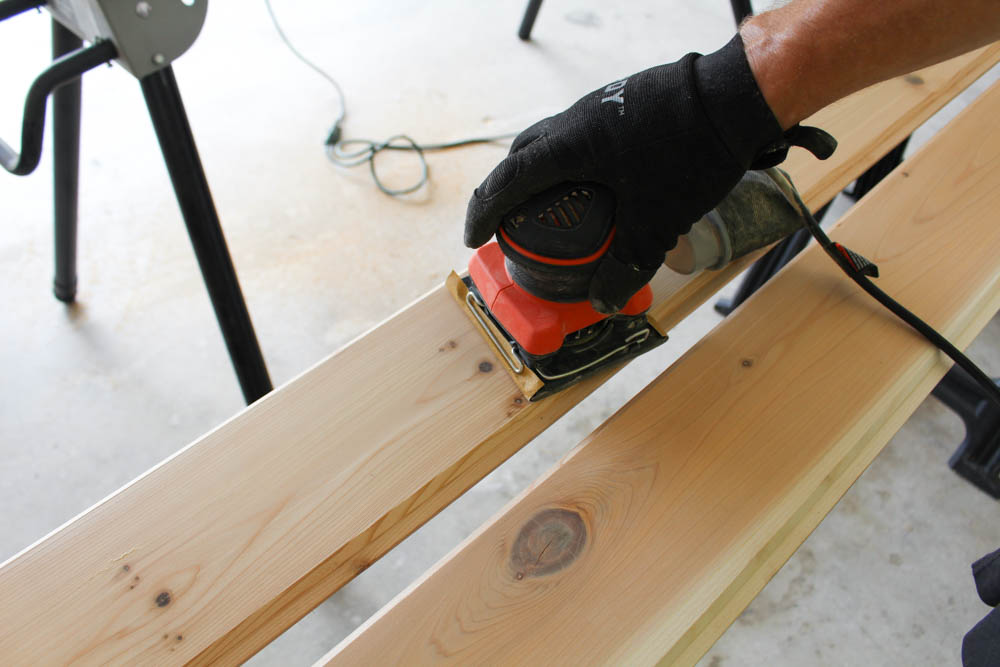
Then cut your planks to size and nail them into the framing with a BRAD Nailer. Make sure to nail through the tongues in order to hide the nails when the next plank goes on.
The first plank was the most difficult to install just because we had to make sure it was perfectly aligned. But once it was up the rest were a breeze!
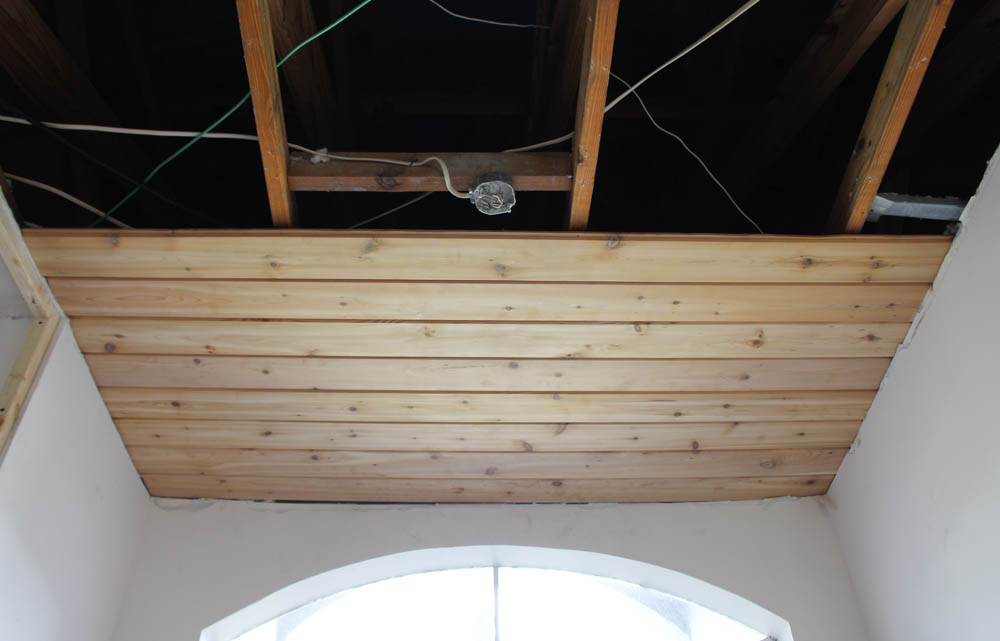
Carefully cut around any ceiling junction boxes with a jigsaw.
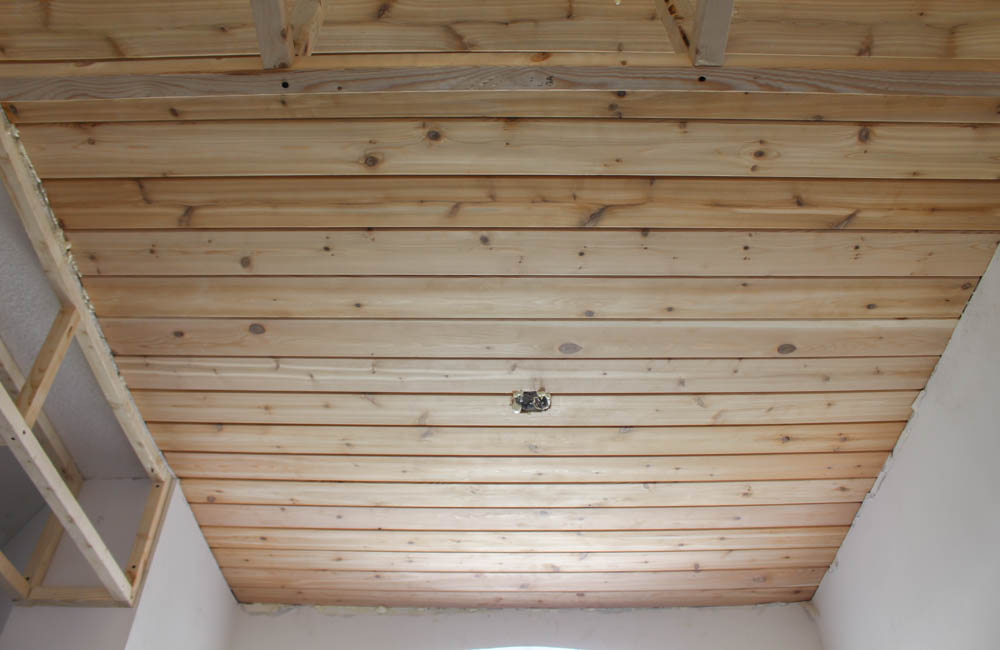
Once all the planks are in place we added insulating spray foam in order to cover the seams by the walls.
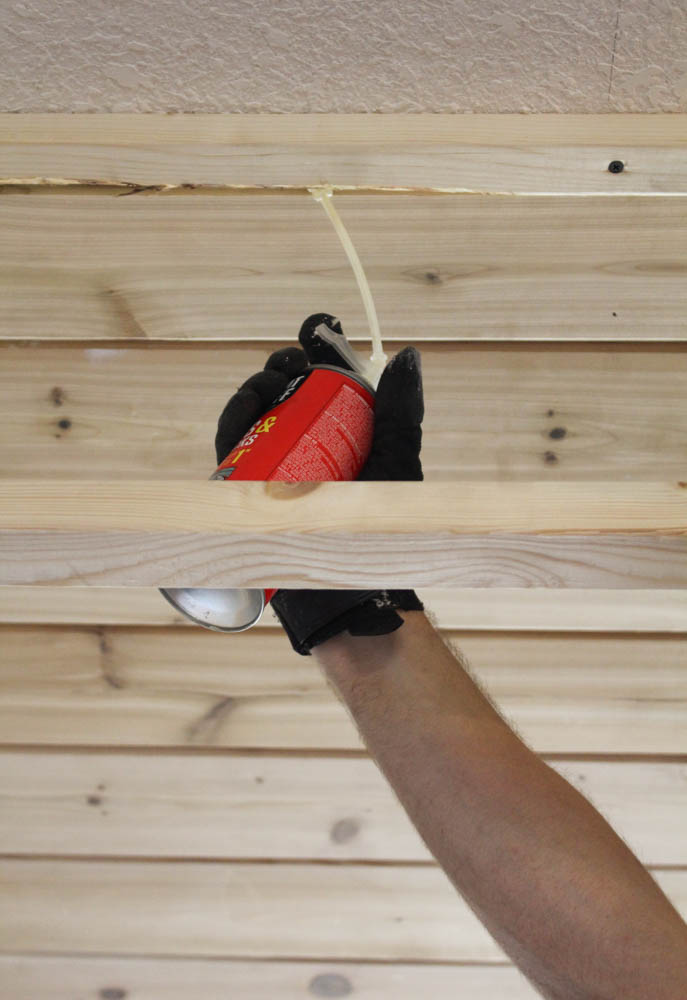
This was just an added precaution because we will be adding crown molding which will cover up the corners as well.
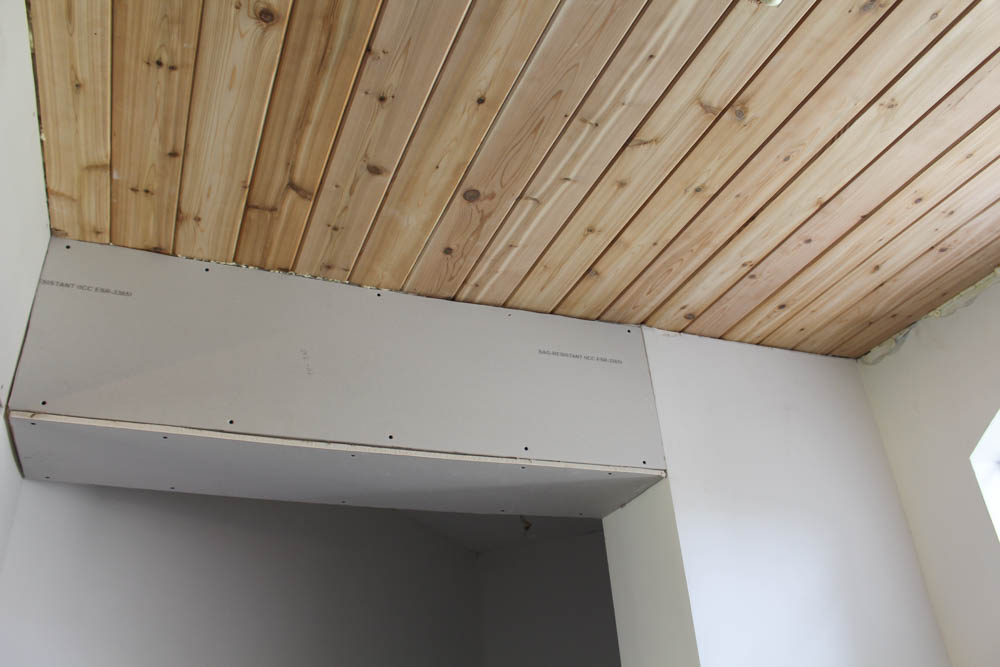
4. WALLS UP
If you are enclosing the area around the ceiling planks then now is the time to apply sheetrock on the header.
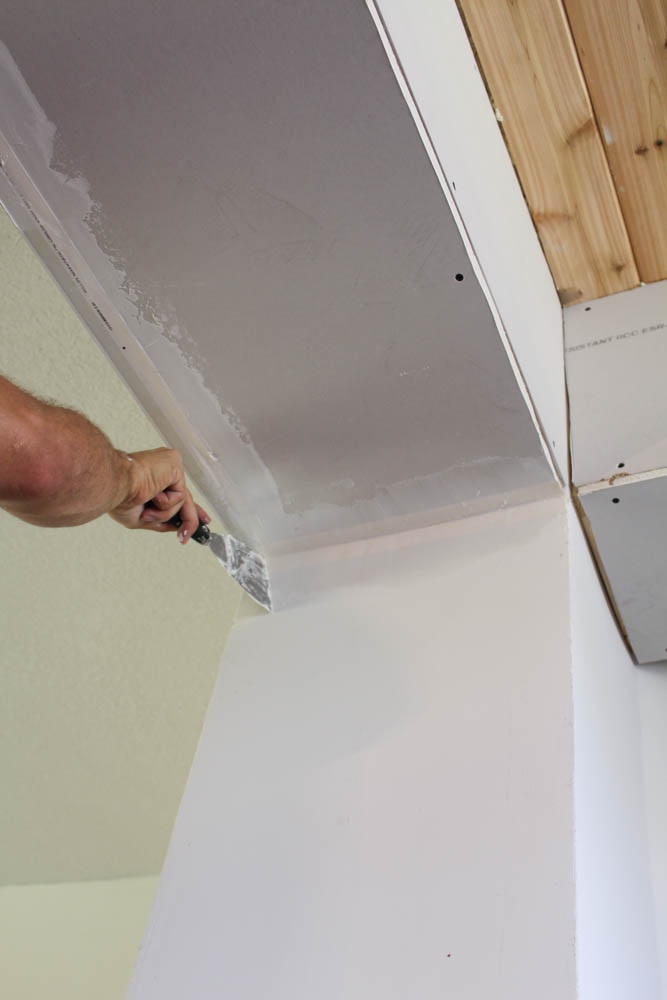
Using corner drywall tape will really help to cover up the seams nicely. Then compound the new drywall and lightly sand once dry to smooth it out.
Once your entryway is entirely enclosed you are ready to install the crown molding!
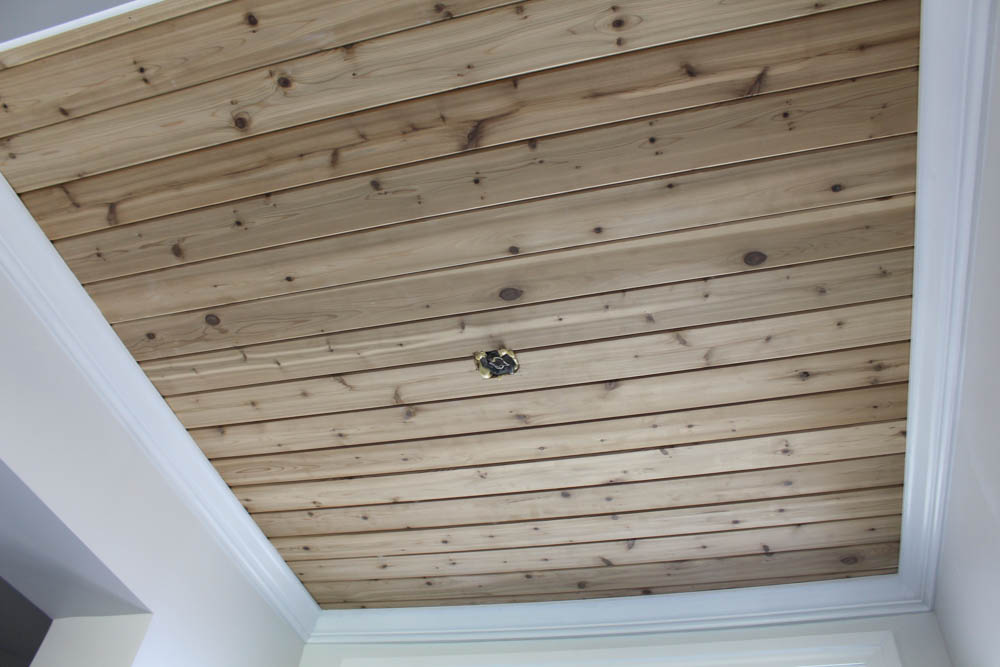
5. INSTALL CROWN MOLDING
We installed this crown molding in our entryway plank ceiling.

It gives this ceiling the finishing touch it needed. And it’s the perfect way to frame your beautiful cedar plank ceiling.
Once all the crown molding was nailed in place we caulked the bottom ONLY. As well as any holes the nails left. Then we were ready to paint.
We painted the crown molding with the semi-gloss ultra white interior paint from HGTV Home by Sherwin Williams.
Just make sure to tape up the area REALLY WELL so that the paint doesn’t get on the cedar planks.

We didn’t stain or seal the planks because we wanted to preserve their natural look. So all that was left was to dress up our new entryway plank ceiling! Which leads me to the next and final step!
6. PICK A CHANDELIER THAT POPS!
To dress up your new cedar plank ceiling, you need to pick a chandelier that really pops!
Don’t be afraid to go big and bold! In fact, I suggest you do!
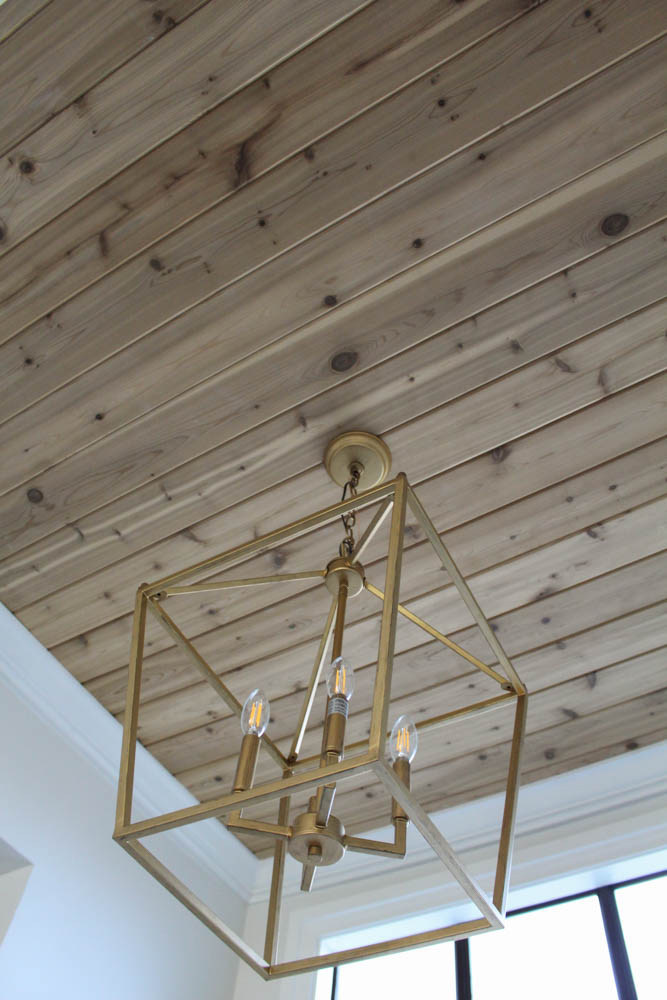
A bold chandelier will call more attention to your ceiling in general and to your beautiful cedar planks!
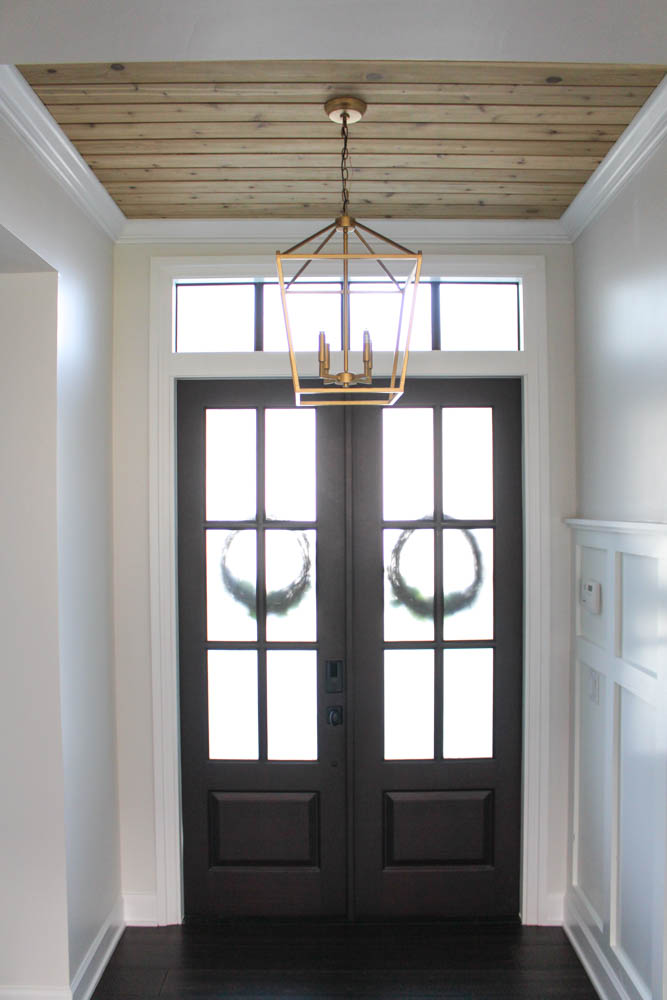
Pictures don’t do this chandelier justice in showing its massive size! This chandelier really draws your eye upward to the plank ceiling in our entryway!
It’s funny how the plank ceiling was the first thing we did to transform this entryway. Yet the chandelier was the last finishing touch that made it complete (once we were able to finish remodeling).
What do you guys think? Let me know in the comments below!
PIN IT FOR LATER! How To Install A Plank Ceiling Directly On Framing!
To see the other projects like this, click here to subscribe to my newsletter! There I will keep you up to date with all of our DIY projects and design ideas! I also share decorating tips and tricks on a budget and more! See you there!
You May Also Like


Leave A Comment