Step By Step Tutorial On How To DIY Picture Frame Moulding
Picture Frame Moulding is still super popular. And it’s such a simple way to add major character to a wall. So today I am sharing a step-by-step tutorial on how to install DIY picture frame moulding.
NOTE: Make sure to watch the full video tutorial at the end of this blog post.
I have also linked all of the tools and materials needed for this project at the end of the post.
Now let’s get right into this DIY picture frame moulding tutorial!
1. Plan Plan Plan
The more you plan ahead the smoother things will be once it’s time to install your mouldings. And that goes for any project really.
Design It
First, you want to measure the wall or walls where you will be adding the moldings.
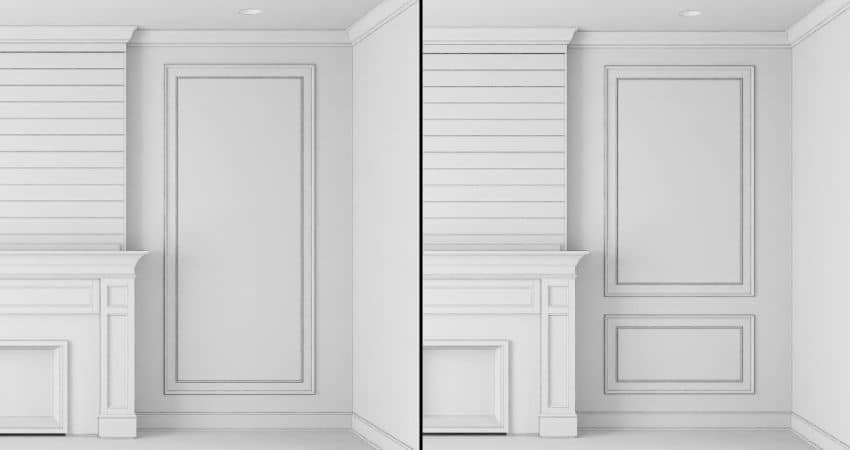
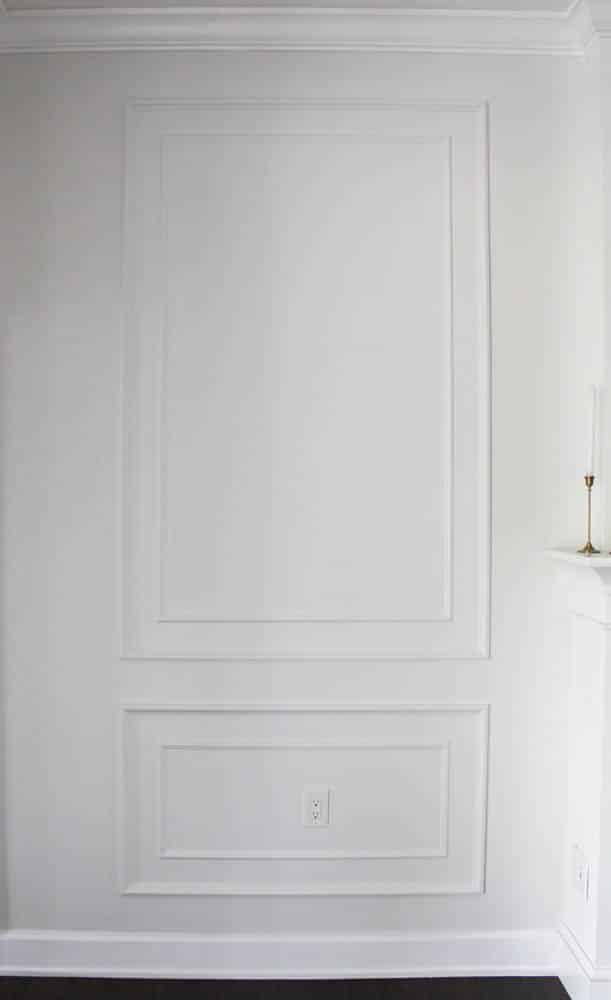
Then you need to choose your style. Do you prefer one long rectangle from top to bottom or 2 rectangles, with the larger one above? Do you want a chair rail in between the 2 rectangles? Will you add a smaller moulding inside like shown below?
We were between these 2 styles (shown above). We opted for the second one to that it matches our existing dining room accent wall paneling.
I suggest looking through pictures online. This will help you decide which one you lean towards. Regardless of which style you choose, it will look amazing!
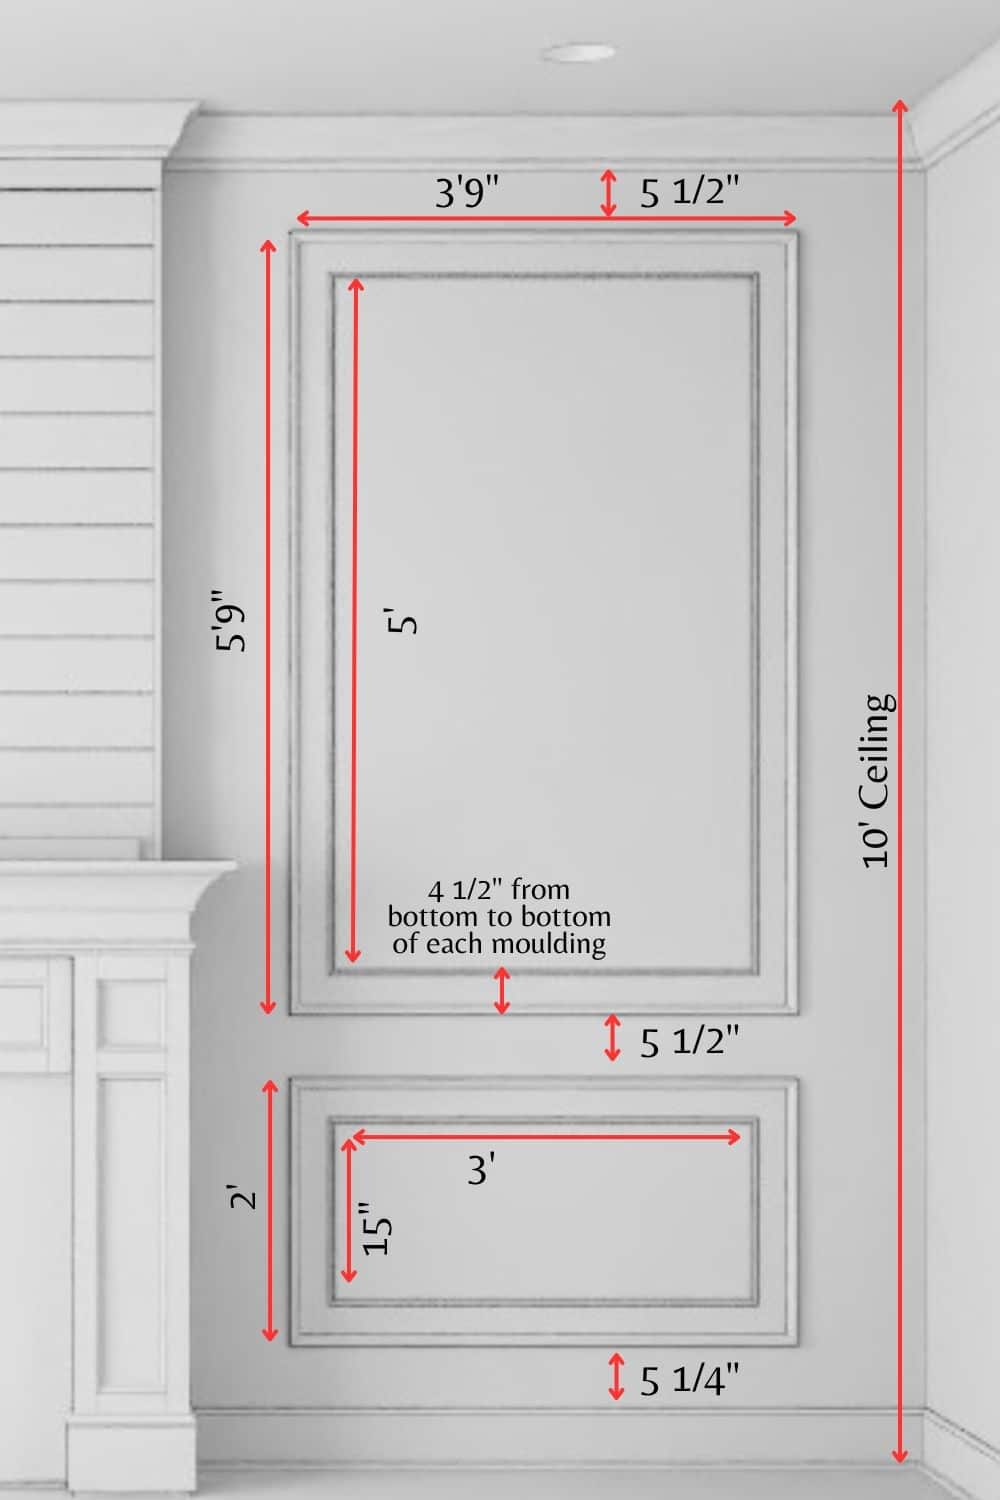
Once you’ve figured out the style you want, you need to figure out how long and wide you want your mouldings to be, and how much space you want in between them.
The size of the wall may limit or even guide you into making these decisions.
Visualize It
Once you determine your design and measurements, draw a picture to scale in order to see it better and determine whether you like it. This is a crucial step!
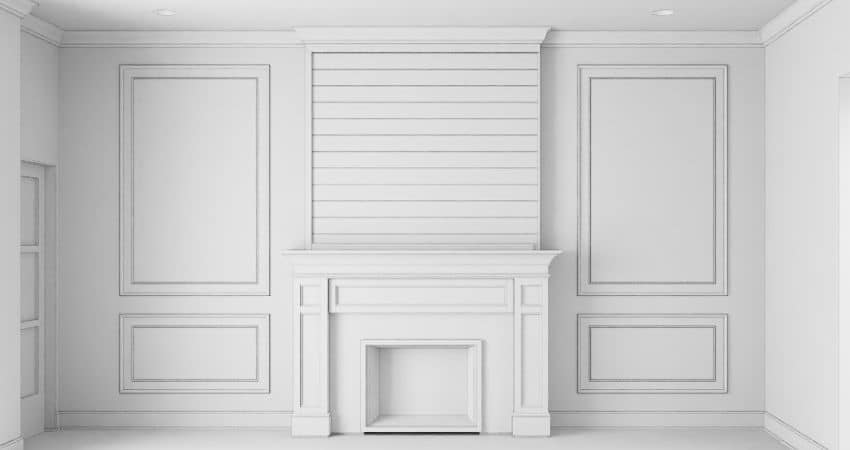
We wanted our picture frame mouldings to go on either side of our fireplace. My husband is a 3D artist so he has pretty much modeled our entire house on 3d studio max.
But you do not need a fancy rendering to visualize the space, just a simple drawing to scale will do the trick!
Make A List
Now it’s time to determine how much trim you will need!
Add up all the sides of the mouldings to see how much trim you need. Depending on the length of the trim pieces, you will need to figure out how many cuts you can get from each piece.
If you get 8-foot trims then you might be able to do a couple of cuts off of 1 piece.
If you are doing 2 different mouldings as we did then you need to do this for each set. In the end, we still needed eight 8-foot pieces for each trim.
2. Outlet Replacement
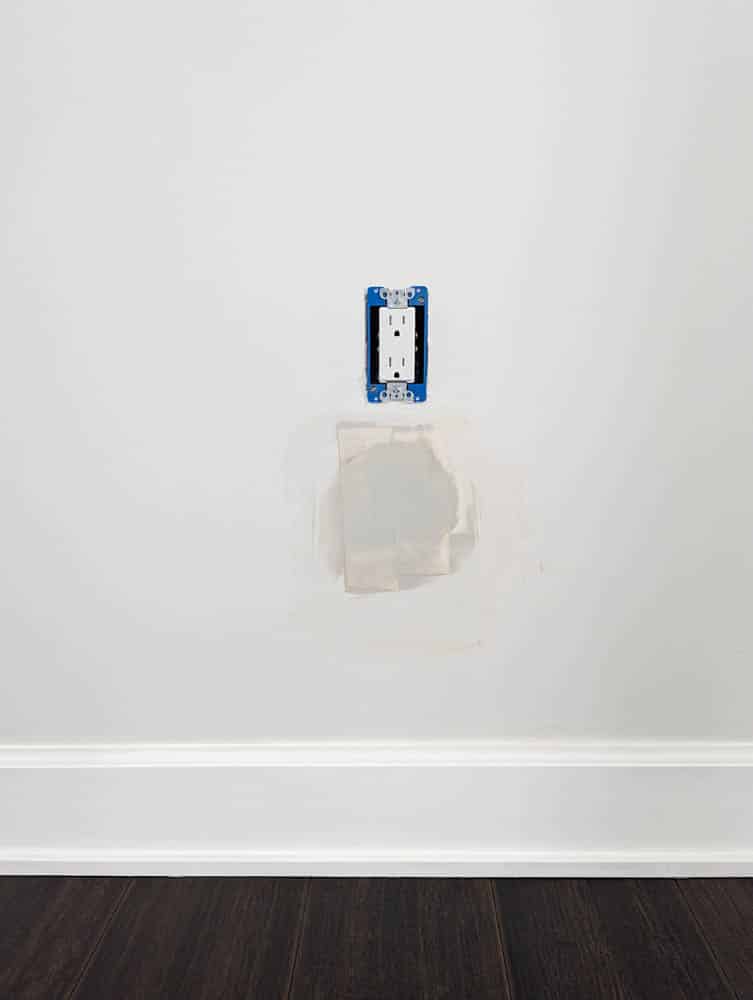
Moving your outlets out of the way is not completely necessary. I have seen people just place their mouldings right up to the outlets on either side… but that’s just not professional.
We had one outlet in the way and we moved it up a few inches so that it could be in the center of the mouldings once they were in place.
If you are not comfortable doing it yourself, you can hire out.
But I strongly recommend this step as it will make your picture frame moulding look 10 times better in the end!
3. Mark Your Moulding Placement
This next step is absolutely crucial in order to know where to place your mouldings on the wall once it’s time to install them.
So, go back to your drawing with all of your measurements and mark down EXACTLY where your mouldings will go on your wall.
Have someone help you measure the precise length and width and use a level to make sure your lines are nice and straight.
4. Cut The Mouldings
Now you are ready to start making your cuts!
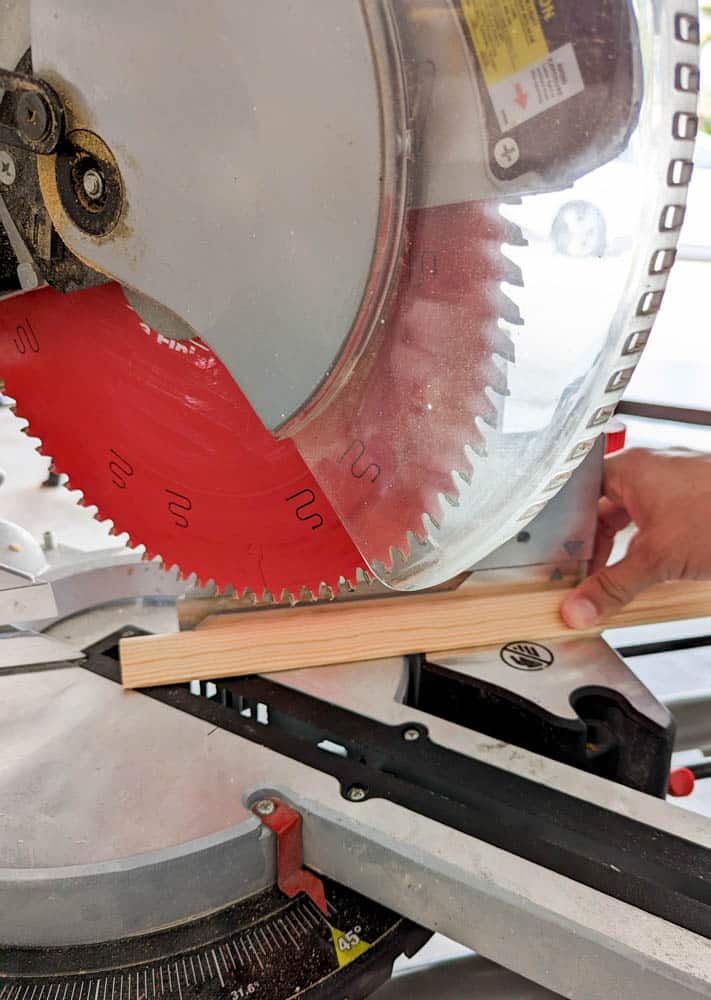
We used a miter saw to cut our larger mouldings. But the inner mouldings we used are too thin and fragile for the miter saw.
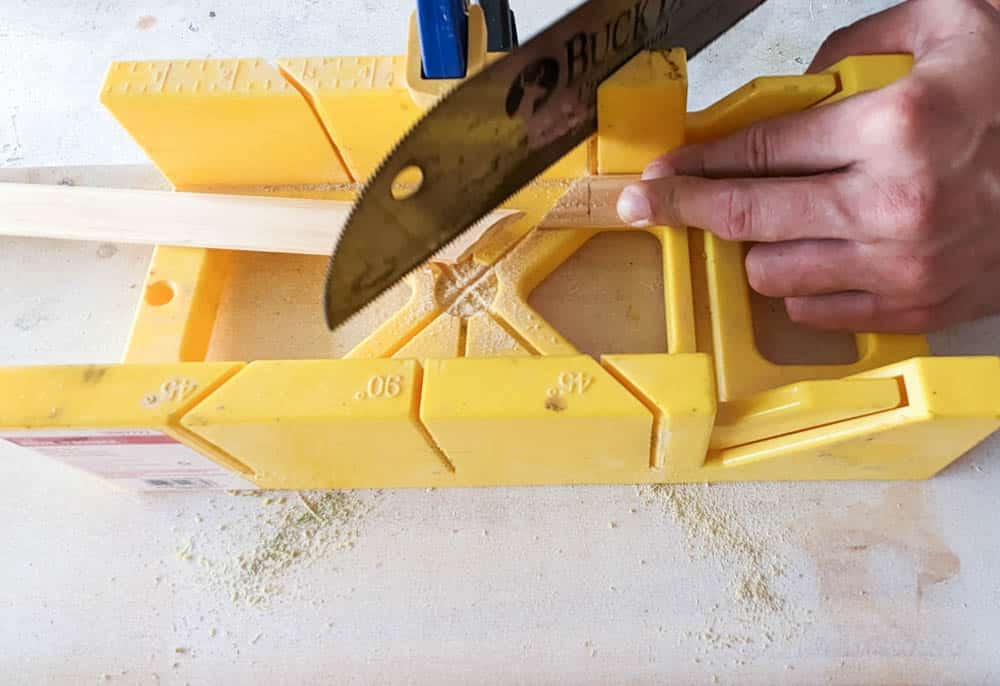
When we did our dining room accent wall, the small trims kept snapping off at odd ends on the miter saw. So this time around we chose to use a miter box and hand saw to cut the inner mouldings.
You can potentially use the miter box for this entire project if you don’t have a miter saw or are not comfortable with using one.
How To Cut Your Mouldings
First, you want to make a 45-degree angle cut about an inch or two from the end of your trim.
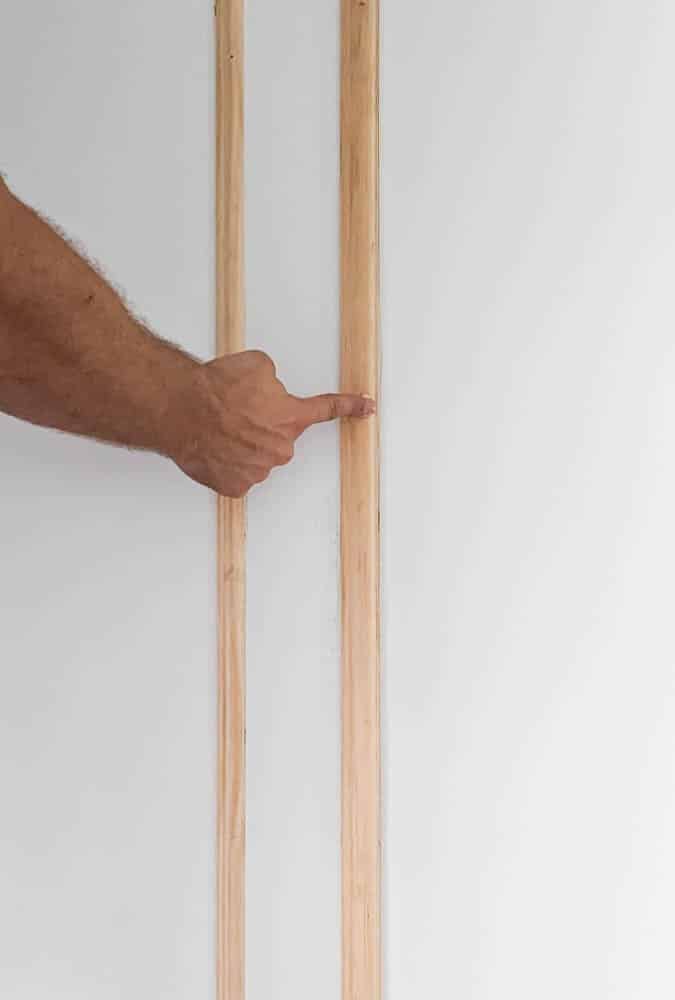
NOTE: Make sure to always cut the angle facing the right way. The largest part of your moulding should always be facing out, so the angles should always be facing in towards the bottom of the trim.
Then measure the length of your trim starting from the very tip of the angle you just cut.
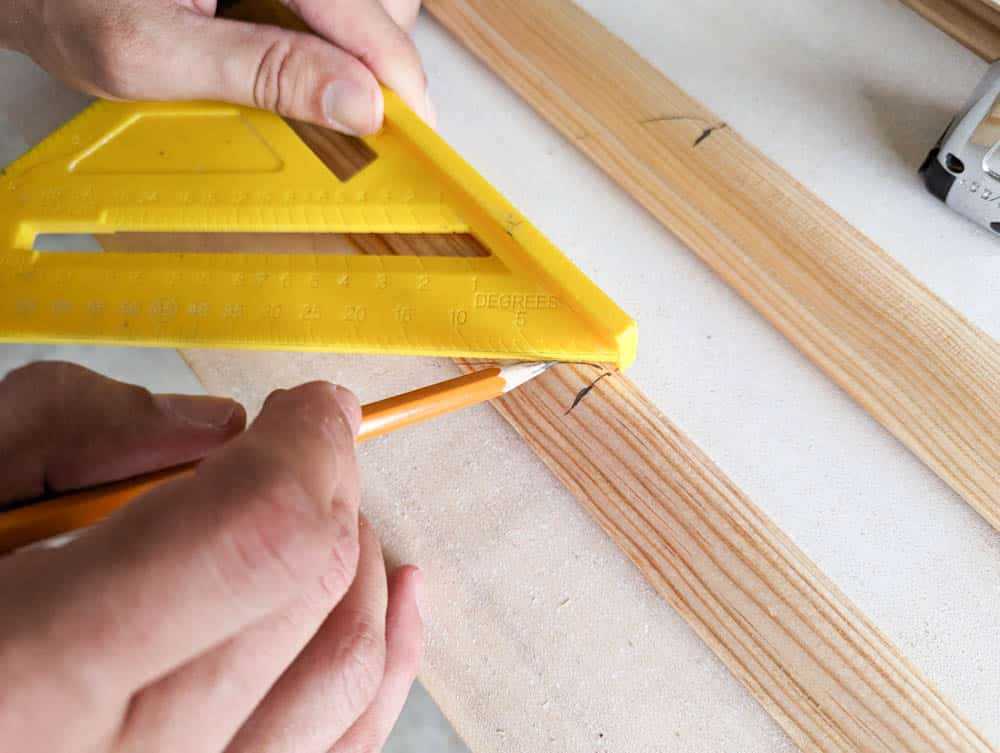
Mark your cut with a pencil and use a speed square to mark the 45-degree angle as well. This makes it easier to position the moulding on the exact spot when you are ready to cut it.
Turn the saw to the other 45-degree angle to cut the other end.
The same steps apply to the miter box cuts.
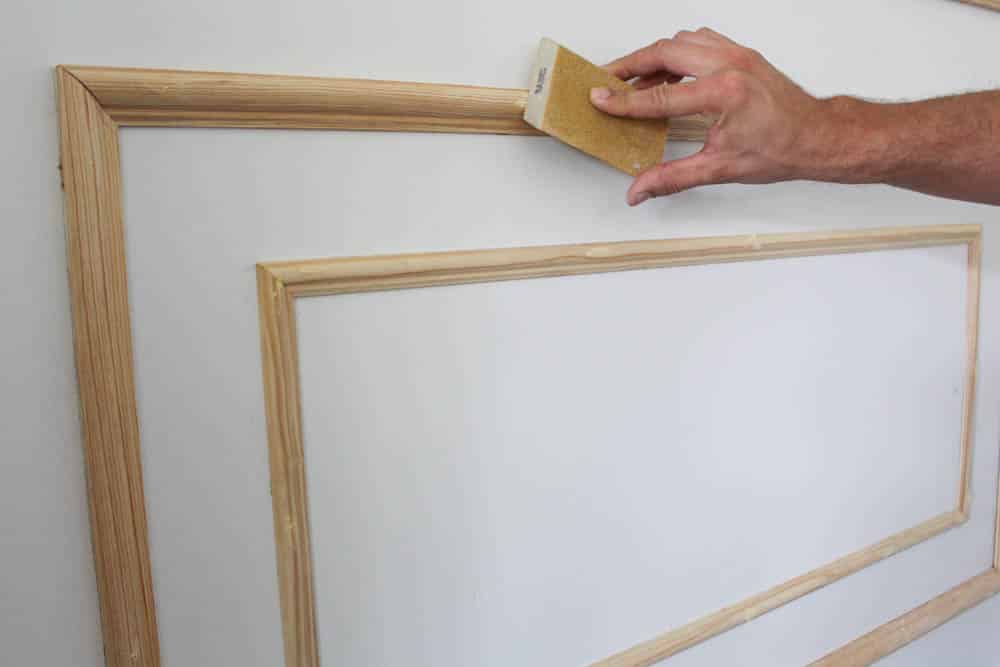
Lightly sand the ends of the trims if needed, as well as any imperfections in the trims, making sure to follow the shape of the moulding.
I suggest cutting one rectangle piece at a time and then installing it as you go. You don’t want to make all of your cuts just to realize they don’t fit together once it’s time to place them on the wall!
5. Install The Mouldings
We used liquid nail (construction glue) and a brad nailer to install our mouldings.
First, apply small dots of glue all along the back o the trim and place them directly on the line you marked on the wall.
Then place 1 or 2 nails to temporarily hold it in place. Do the same for the rest of the trims to form your first rectangle box on the wall. Once you see that they all fit well together go ahead and nail them all around to secure them in place.
Always wipe away any glue sticking out of the trims as soon as you have them nailed in place. You can use a paper towel to do this.
NOTE: If you happen to accidentally dirty the wall with a lot of glue (as we did on the video) make sure to wipe it away immediately and lightly sand it completely off once it’s dry.
6. Prep And Paint
Before you paint you need to prep the surface of your trims. Nobody really likes this job but it’s gotta be done!
Wood Filler
Once you have all of your mouldings up fill in all of the nail holes with wood filler.
Once that is dry, lightly sand off the excess.
Wipe down all the trims with a microfiber cloth to get rid of any dust particles.
Caulk
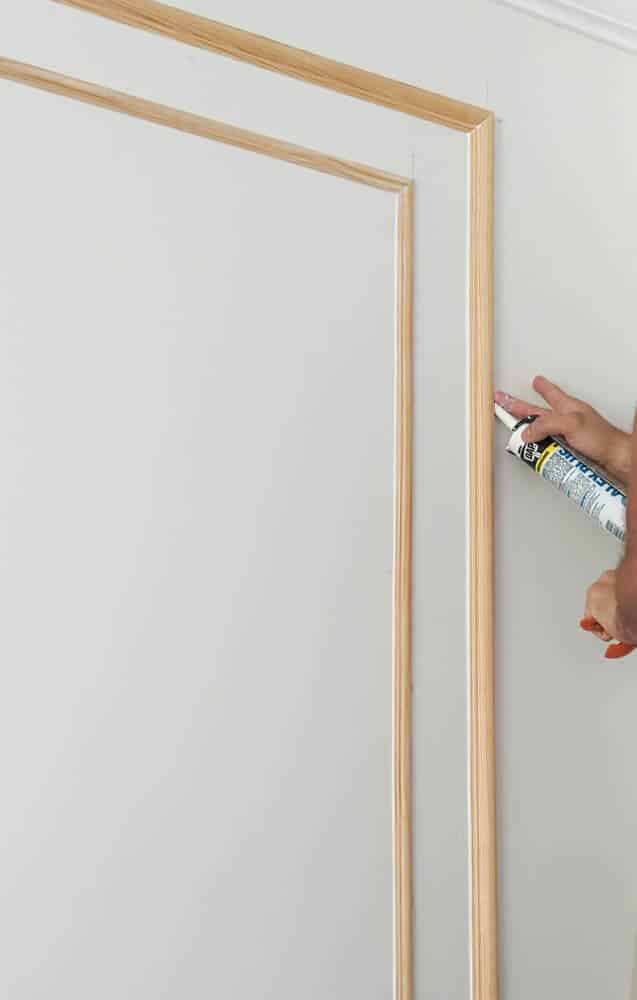
Now you are ready to caulk the mouldings. Don’t overdo it, a little goes a long way.
There is a useful trick we learned where you place your finger on the tip of the gun to smooth the caulk as it comes out. This helped us save a lot of caulk and time!
Make sure to also caulk the corners of your trim.
Lightly wipe down any excess with a slightly wet sponge to smooth it all out.
Paint
Last but not least! Paint your trims!
These are not the typical trims that you want to paint white in order to stand out. Normally these mouldings are painted the same color as the wall. Which means you don’t need to tape off anything! Yay!
But first, you need to prime your new trims. You don’t want to skip this step trust me! Especially when dealing with wood surfaces!
Primer helps protect the wood plus it increases the paint adhesion.
One coat of primer is enough and if you get a fast-drying one you will be able to paint within 30 minutes! Which means by the time you are done you will probably be able to start the next coat right away!
Use an angled brush to paint your mouldings.
Our wall color is Valspar Summer Gray in Satin. So that is the color we painted our trims as well.
DIY WALL PICTURE FRAME MOULDING VIDEO TUTORIAL
PIN IT FOR LATER – DIY Wall Picture Frame Moulding
And there you have it! I hope you found this DIY Picture Frame Moulding tutorial helpful. If you have any questions, please leave them in the comments section below!
Now enjoy the full video tutorial and check for any products used on the list below.
TOOLS AND MATERIALS USED:
MATERIALS:
TOOLS:







Leave A Comment