Skim Coat 101- What You Need To Know Before Skim Coating Your Walls
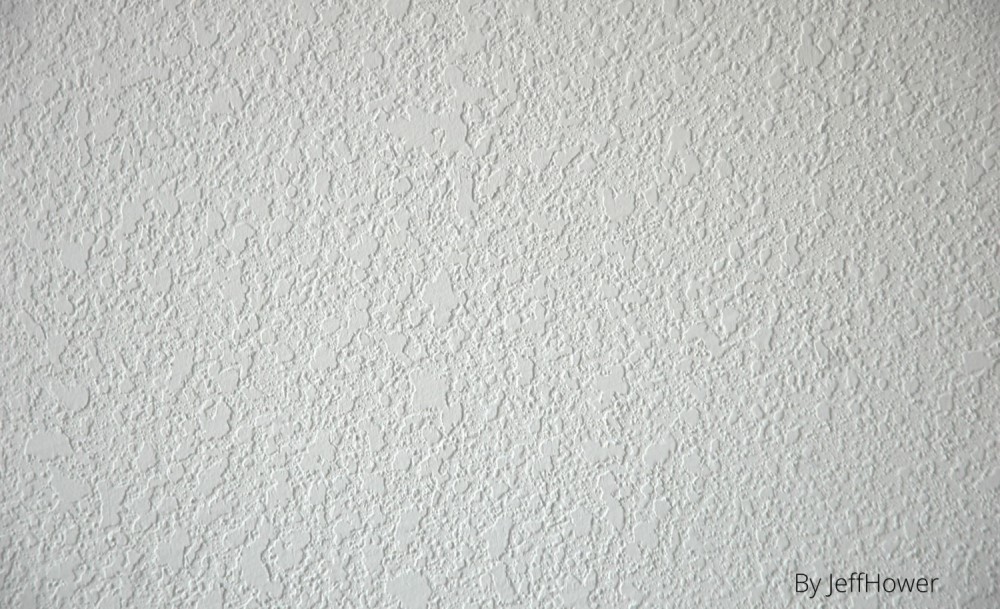
Do you hate your textured walls? Fortunately, there IS a solution for you! And it doesn’t require replacing all your walls! I am talking about a skim coat! You might have heard about skim coating by now but you might not be familiar with what it is or how it’s done.
There are 5 crucial things you need to know about this process in order to fully prepare yourself. But before we get into the nitty-gritty, let’s go over the basics.
What Is A Skim Coat?
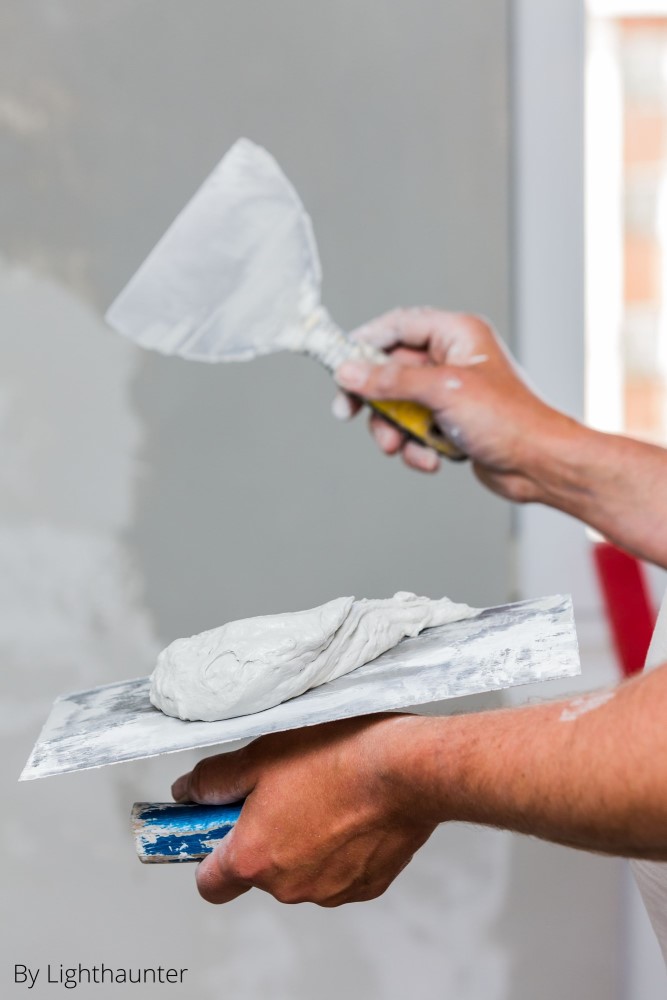
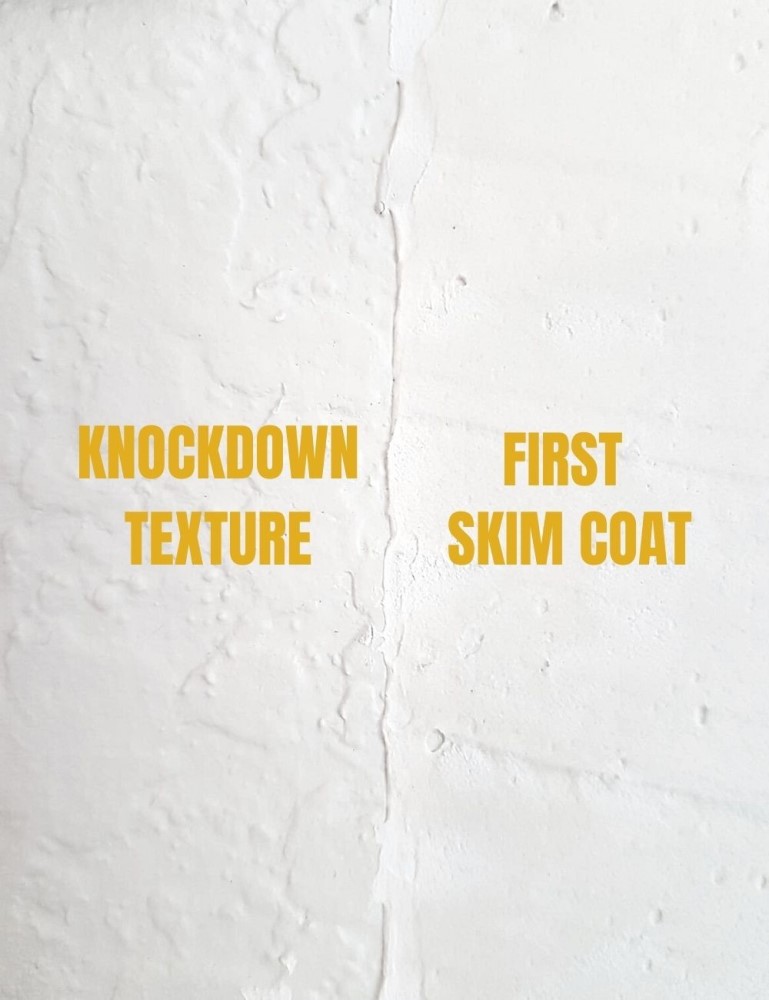
So, what IS a skim coat? Basically, it is a coat of joint compound that goes right over your textured walls in order to make the wall smooth again.

It is normally done with a long spackle knife and/or paint roller or both. It is applied in 2 to 3 coats with drying time in between each coat.
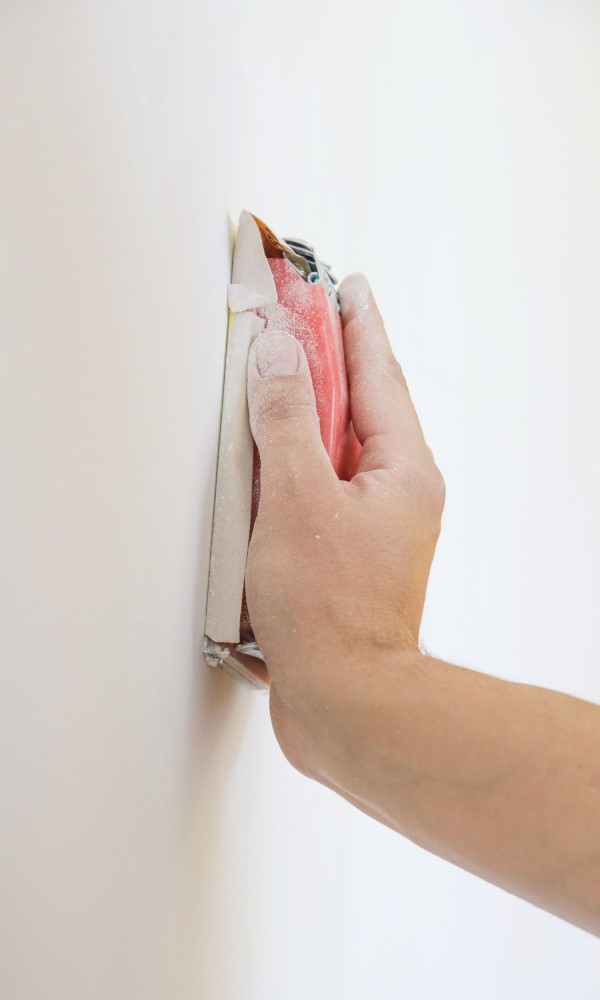
Finally, any areas of the wall that still need to be smoothed out will be lightly sanded. And voila! You have smooth walls!
Why Should I Get Rid Of The Texture On My Walls?
You might be asking yourself why should you even bother getting rid of your textured walls. First of all, because knockdown textured and plastered walls are a thing of the past!
Plus, they can make your walls look very busy and noisy.
But the worst part about plastered/textured walls is that they are actually much harder to touch up when renovating!
This is because you have to achieve the same exact texture to make the wall look cohesive. And that is easier said than done!
More often than not, the patched-up wall ends up looking patched up simply because the applied texture didn’t match perfectly with the existing one.
All in all, it’s much nicer to have smooth walls, especially if you want wallpaper or an accent wall that requires a smooth surface to work on!
Should I Skip On Hiring A Professional To Skim Coat And Do It Myself?
Now, you might be thinking this could be a DIY job. And for some people, it might be. There are lots of YouTube videos on how to DIY skim coating.
BUT this is not something I would recommend. Just because it’s a simple process doesn’t mean it’s easy to achieve. And if you have 10 foot high ceilings or more, then I would definitely hire out.
My husband is pretty handy, and when I say handy I mean he has remodeled bathrooms, kitchens, closets, you name it, he has done it. He has done plumbing, electrical, drywall, and cabinetry.
Yet skim coating was not something he felt comfortable with. Skim coating is one of those things that a professional will not only do better but in half the time!
So yeah, it was definitely worth it to have someone else with experience come in here and get it done for us.
Skim coating is one of those things that a professional will not only do better but in half the time!
Regardless if you are DIYing or hiring out, you need to prepare the area where the skim coat will be done.
How To Prepare Your Home For Skim Coat?
First of all, you need to clear out furniture to make space for them to work around.
Thankfully, we only had two main living areas that had textured walls. The living room and our master bedroom.
We did leave the couch in the center of the living room and the bed in the center of the bedroom. Everything else had to be moved somewhere else.
*As an Amazon Affiliate, I earn from qualifying purchases. This comes at no extra cost to you!*
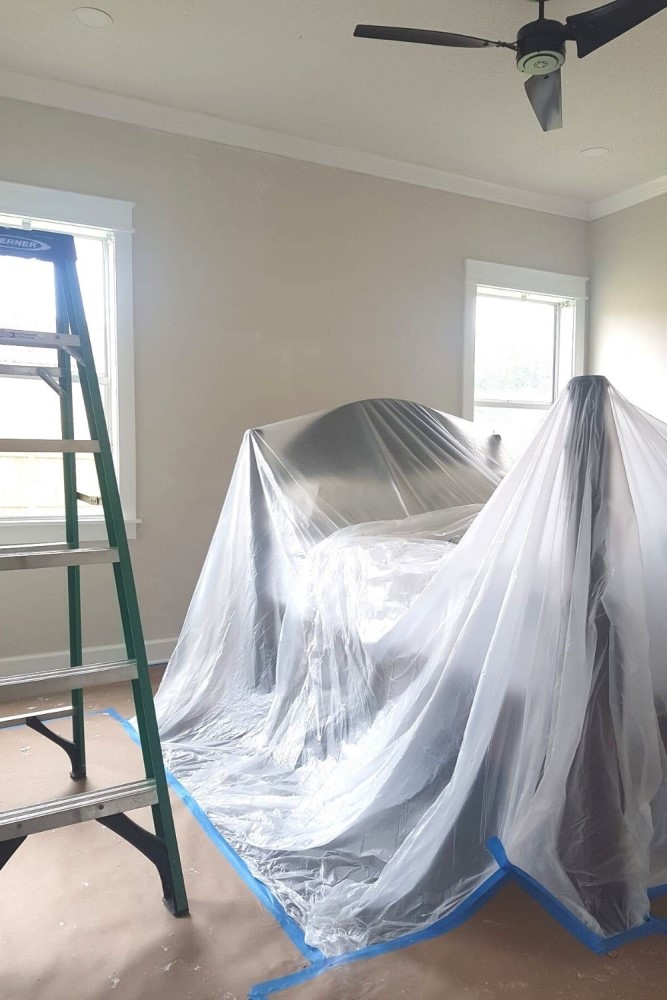
If you decide to leave anything in the room it will need to be covered up with plastic for protection.
The floors will also have to be protected with drop cloths or kraft paper rolls. If you are hiring out, the skim coat team may do this for you.
So you might want to ask them if they will cover your floors for you.
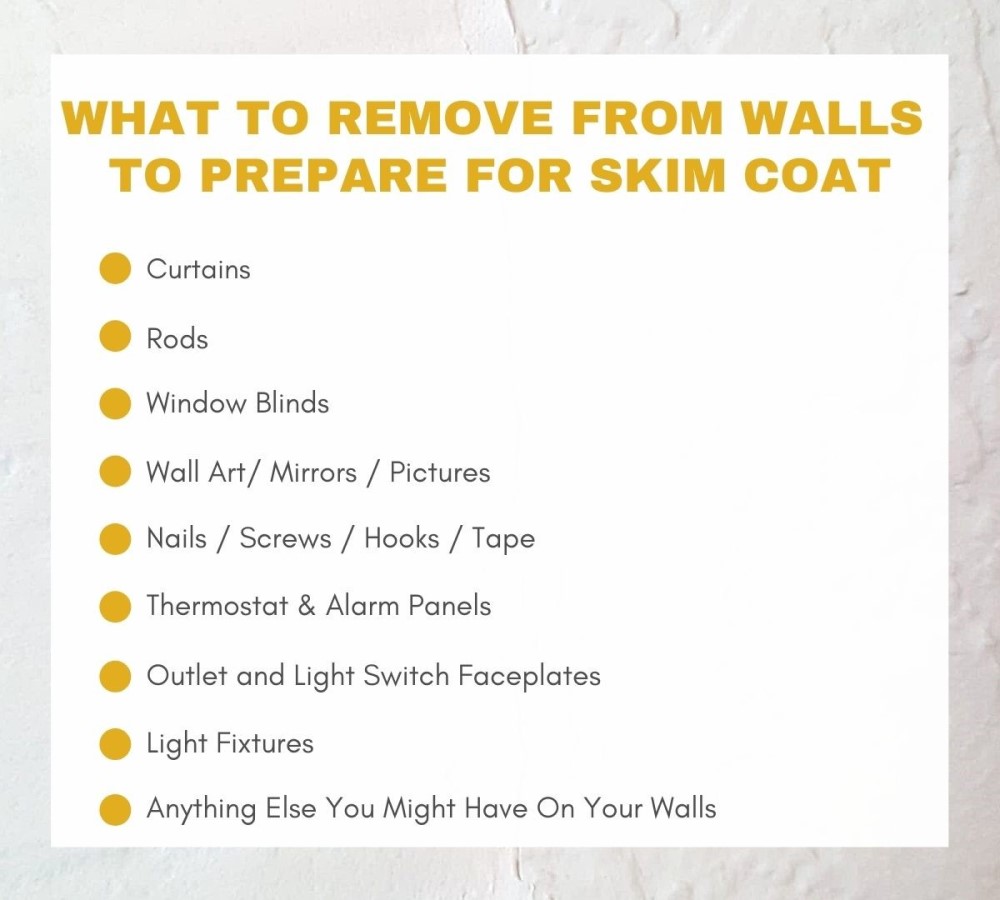
Next, you need to remove all items from your walls. See the list below of all items that need to be removed in preparation for the skim coat.
Note: Detach Thermostat and Alarm Panels from the wall and leave them hanging for ease to work around. Cover them with plastic/tape to protect them from splatter.
Pro Tip: Turn off the electrical circuits for the outlets and switches in the area being worked on and carefully tape the outlets with painter’s tape or cover them with a socket blocker. Not only does it save you from a mess in your outlets but it’s an important safety measure because you don’t want to be sticking things in the outlets later to get all that splatter off! The same goes for any light fixtures you might have on the walls.
How Long Does Skim Coat Take To Dry?
Skim coat drying time is normally between 12-24 hours but it can take longer depending on a few different factors.
First of all, it’s best that the skim coat is applied a little at a time. It’s better to do 2 or 3 light coats than doing 1 really thick coat.
Secondly, the temperature and humidity levels in the space are a big determining factor in how long it will take for the skim coat to dry completely.
We will be talking about these in the next section: What you need to know before skim coating your walls!
WHAT YOU NEED TO KNOW BEFORE SKIM COATING YOUR WALLS!
So, now that you have prepared for the skim coat job you need to further prepare yourself for the PROCESS of skim coating.
I REALLY wish I knew what I was getting myself into BEFOREHAND so that I could have prepared better! Hopefully, this will help you so that you don’t go through the same problems I went through! Let’s get right into it!
1. HUMIDITY AND HEAT REGULATION
The drying time for your skim coat will largely depend on humidity and temperature levels. Humidity is the number one cause of slowing down the drying time after a skim coat is applied.
And that humidity is coming from your walls!
This is because the joint compound has a lot of water. As it dries, all that water vapor in the air is making the space very humid. And as a result, the humidity slows down the drying process. The solution? Get yourself a dehumidifier.
Another factor that goes into the drying time for the skim coats is the air and temperature. Air circulation is a good way to speed up the drying process.
A good way to do this is simply by placing fans in the room to keep the air moving. You can also heat up the space! That’s right, heat actually helps the joint compound to dry quickly!
We live in South Florida, where it is hot year-round, but that did not necessarily help with the drying process. Mainly because it’s also very humid down here.
So opening up doors and windows was counterproductive for us. So no matter where you live and what temperatures you are dealing with, do yourself a favor and get a space heater or turn up the ac!
Here is a helpful guide from Drywall Finishing Council showing the environmental impact on your skim coating drying time. See their graph below:
2. EYE IRRITATION AND DIFICULTY BREATHING
You may experience some eye irritation and difficulty breathing while your skim coat is drying!
For me, this happened after the second coat was applied. And it was pretty bad. I couldn’t breathe and my eyes were watery within seconds every time I walked into the areas where my walls were having the skim coat done.
You may want to note though that my husband didn’t experience these reactions, so some people might be more sensitive to the chemical process than others.
The team that did the skim coating for us did confirm that this was a normal reaction caused by the skim coat as it dries. So keep this in mind when planning what to do or where to go.
Wearing a mask and goggles for protection might help. Or you could leave the house and go elsewhere if you are experiencing these reactions.
My husband and I both work from home so during the day we would basically lock ourselves in the office all day. After I picked up the kids from school we would go to my mother’s house.
We ended up staying at her house for a few days because we couldn’t be in the house while the work was being done. Not just because of the chemicals but because of the mess!
3. SANDING AND CLEANING
Even though the sanding is minimal compared to putting up brand new sheetrock walls, there is still some sanding to be done. And that sanding WILL MAKE A MESS!
Don’t make the same mistake I did, thinking it would be a little dust on the floor.
Here’s the thing, my walls looked so smooth already I figured they wouldn’t have to sand too much. And even though they didn’t, it still made quite a bit of a mess.
I’m talking, your hair is white and you look like a ghost kind of mess! So please be aware of this and prepare!
Even though everything was cleared away or covered with plastic already I still had to prepare for all the extra cleaning that went along with sanding the walls.
How To Clean Up After Skim Coat Is Complete:
So the work is finally done and you are ready to start the cleaning process!
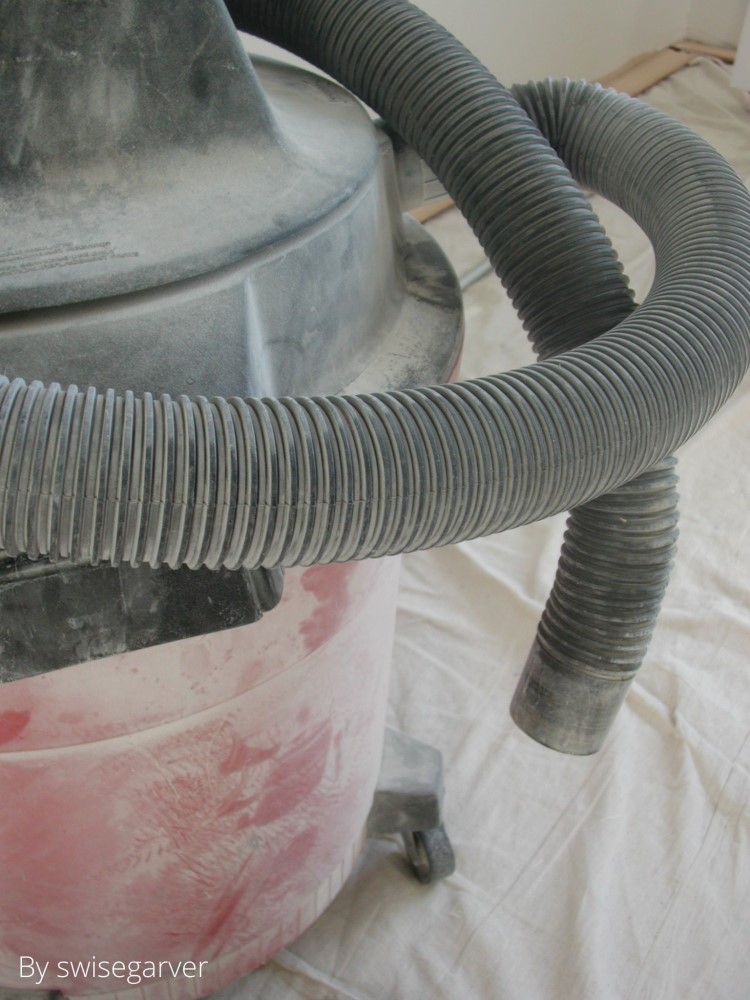
First, you need to vacuum vacuum vacuum! And I’m not talking about the floors! Your walls are DUSTY! Put the brush extension on your vacuum and carefully vacuum the walls from top to bottom.
I highly suggest getting a heavy-duty shop vacuum for any construction clean-ups.
Then you will need to gently wipe the walls with a damp soft sponge from top to bottom to remove as much dust as possible.
Note: The walls will still be dusty after this point but that is okay!
Next, you will want to carefully remove the plastic covering from any furniture that might have been left in the room. Also, remove the protective covers from the floors. If there are any spots on the floor with dried mud, carefully scrape it off.
After that, it’s time to vacuum vacuum vacuum some more! And this time I am referring to the floors!
Finally, mop your floors until all the dust is gone.
4. PAINTING YOUR NEW WALLS
You should paint your walls ASAP after the skim coating is all done. This is because your walls are very fragile after a skim coat and anything can easily scratch or scuff them, which would quickly ruin the work done!
Painting your walls will give it a protective layer, so doing so right away is critical!
BUT!!! YOU NEED TO PRIME YOUR WALLS FIRST! And I am not talking about getting paint and primer in one combo!
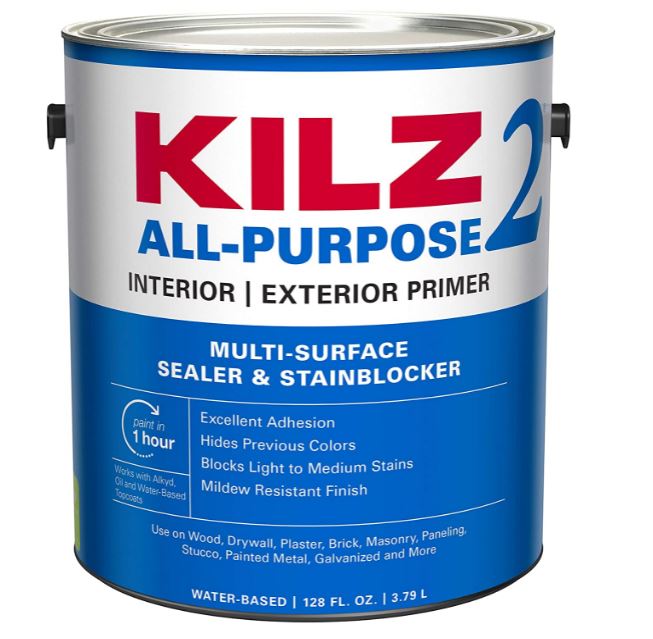
I mean you need to get yourself a GOOD primer that will adhere to the skim coated walls and provide a base for whatever color you decide to paint with later.
You are essentially getting a “NEW WALL” and therefore you need to treat it as such. You need to prime first and paint later.
Yes, it will be more work in the end but it is essential! The good news is that since your walls will be primed already you can go ahead and get a regular paint bucket without primer included which should cost a little less.
Also, paint adheres better to a good primed wall so less paint will be needed! I used up less than 1 gallon of paint in my bedroom walls after I primed them with this KILZ primer!
5. REDOING HOLES FOR WALL DECOR
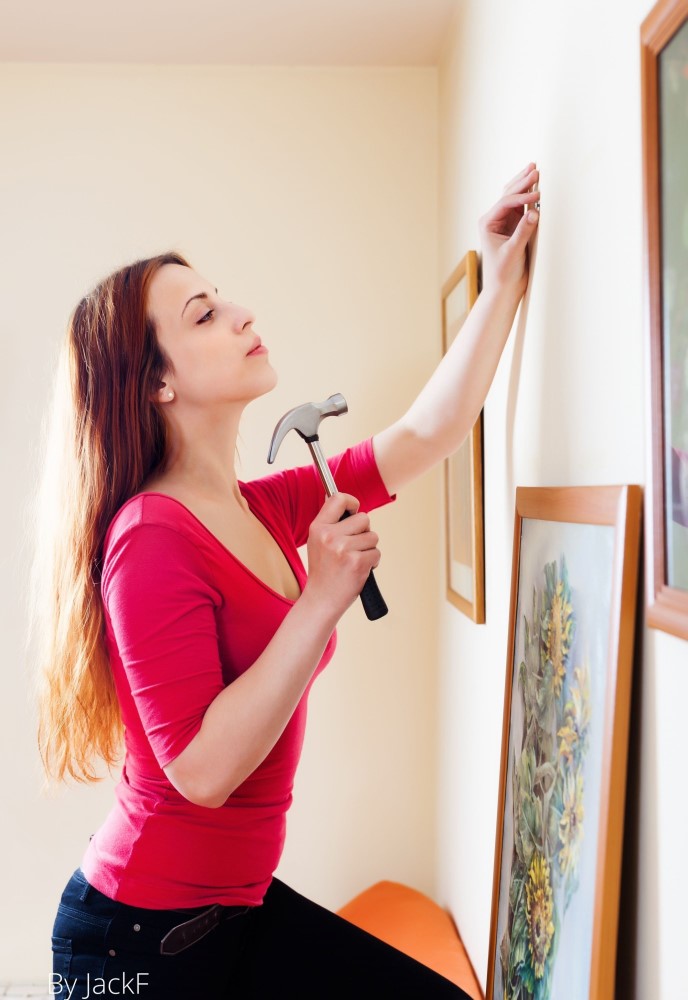
So remember all those picture frames and curtain rods you took down? Unfortunately, you are going to have to re-measure and re-install all the hardware again because well, it’s gone!
Again, it’s like having new walls!
So just keep this in mind so that you are not surprised later. It will be time-consuming to put everything in your house back together again but in the end, IT WILL BE WORTH IT!
CONCLUSION
Deciding to skim coat your walls is definitely a big step. I don’t want you to go into it thinking it will be a breeze because it won’t. It will be a crazy few days depending on how big the project at hand is.
Thankfully we only had knockdown texture on the living room and master bedroom walls. The whole process took about 5 days for us.
But even through all the mess, having to move out of the house with the kids for a couple of days, and working from my laptop on the office floor (since everything from the bedroom and living room was crammed in there) I would go through it ALL OVER AGAIN in a heartbeat!
My walls are so pretty and smooth now that I can’t believe it was ever otherwise! Looking back now, it was a no-brainer!
So if you are on the fence about skim coating your walls I SAY GO FOR IT! Learn from my experiences and follow my tips and you will have a SMOOTH process!





Fermin Seigle
Thank you for writing such a great article. It helped me a lot and I love the subject.
07 . Dec . 2022Lisy
You are so welcome! It’s what I wish I knew before having the walls skim-coated! We actually had our ceiling skim-coated recently as well. It is so worth it in my opinion! The house looks beautiful and seamless now!
07 . Dec . 2022Anna Collins
I’m renovating my living room starting next week, and I have decided to give my walls skim coating while we’re at it to help smoothen them again. I found it helpful when you advised us to clear out furniture in the room to make space for the skim coating to be done, but if we ever decide to leave anything in the room, then it’s best to cover them up with plastic for protection. I’ll be sure to follow this advice while I look for a contractor to hire for skim coating next week. https://boscoplastering.com/skim-coating-plastering
22 . Nov . 2022Lisy
I am glad you found these tips helpful! I definitely recommend removing the furniture. Covering it is your next best option. This will protect the furniture from plaster spills and dust from sanding.
28 . Nov . 2022