Easy DIY Aged Vase – Step-by-Step Tutorial Using Paint
If you want an elegant aged vase without the high price tag to go along with it then you’ve come to the right place because today I will be showing you how to make a DIY aged vase for a fraction of the price!
I have been wanting to transform my dining table vase by giving it an aged high-end look for a while now. Figuring out the best way to do it and what look I going for was key, because it determined what techniques I would use.
For example, some people use chalk to create an aged look but this can easily rub off over time. Others use actual mud, which gives it a nice texture but it’s obviously a very dirty job.
I was able to achieve the aged vase look using paints and household ingredients.
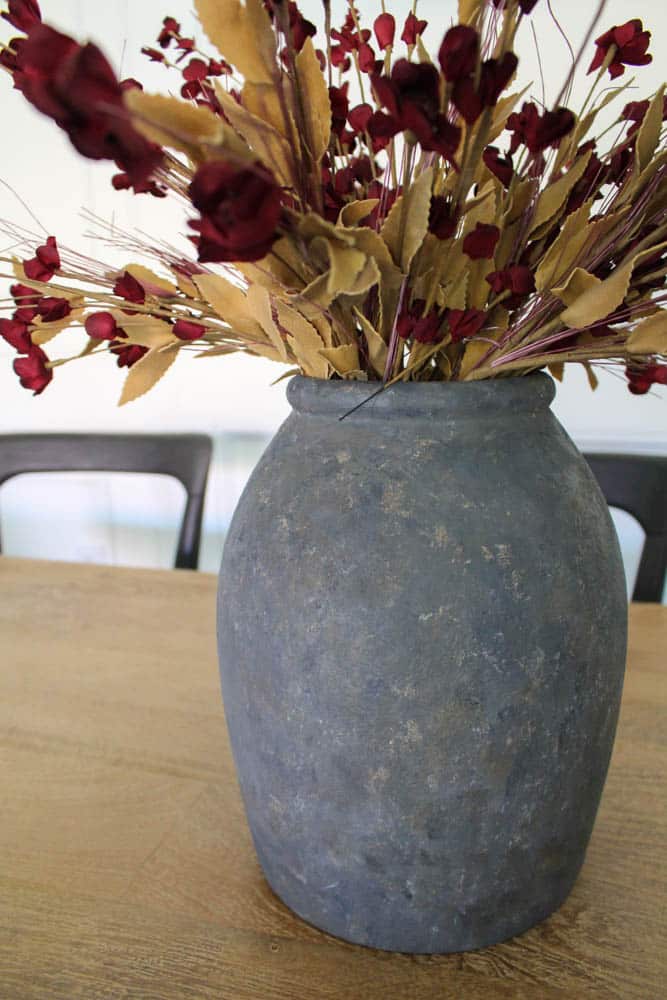
Check out my step-by-step tutorial to get this look!
NOTE: MAKE SURE TO SCROLL ALL THE WAY TO THE END TO SEE THE YOUTUBE TUTORIAL!
1. Prep Your Vase
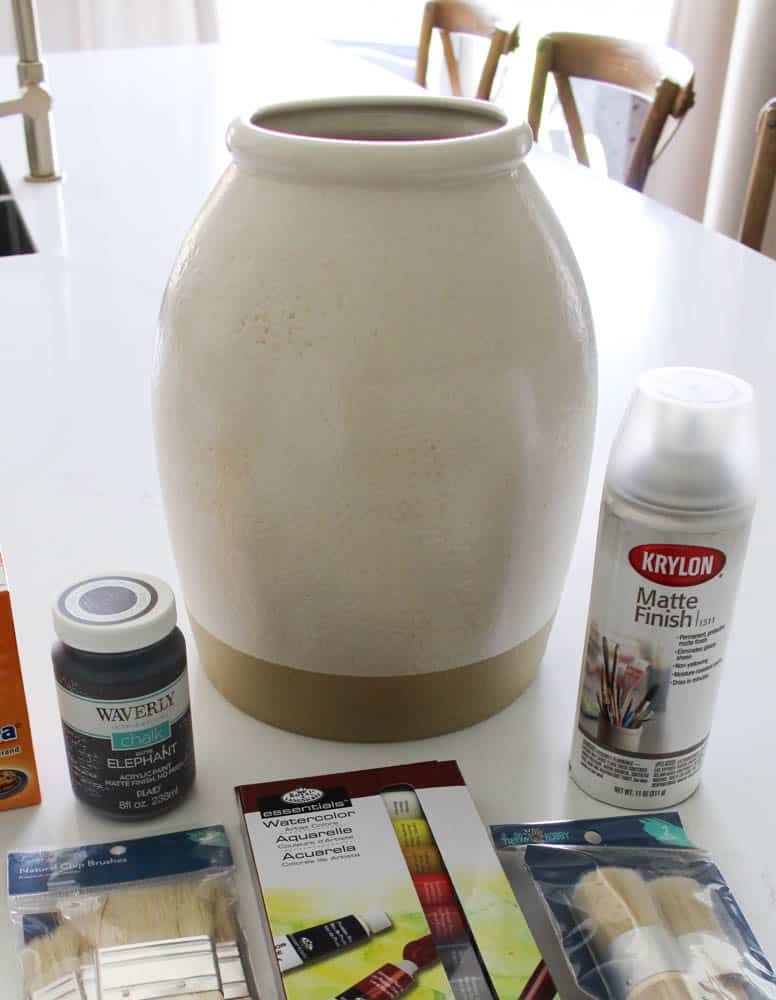
First, you need to prep your vase depending on what material you are working with. If the vase already has some texture to it then all you need to do is wipe it down with a microfiber cloth to get rid of any dirt, or dust.
A glass vase or a smooth/shiny ceramic vase might require some sanding and texture spray.
Also, if your vase/vessel has dark or bright colors you should prime it first before applying your desired paint color. This way you start with a “blank canvas” so to speak.
2. Create A Thick Paint Mixture
Now you are ready to paint! Pick a matte acrylic paint color of your choice. I got this dark gray color but you can choose a lighter gray, beige, or black for your base color.
To help give this vase more texture I mixed in some baking soda into my paint. I just eyeballed it, but you can add as little or as much as you desire. I did about 1 part baking soda to 2 parts paint.
3. Apply Coats
Give the vase a light coat of this mixture using a chip paintbrush.
You can paint the inner lip of the vase without having to go all the way to the bottom if you plan to add flowers or stems inside. Otherwise, you will have to get in there and paint the inside as well.
Make sure to also paint the bottom of the vase as well!
Once it is dry apply a second coat of your paint mixture.
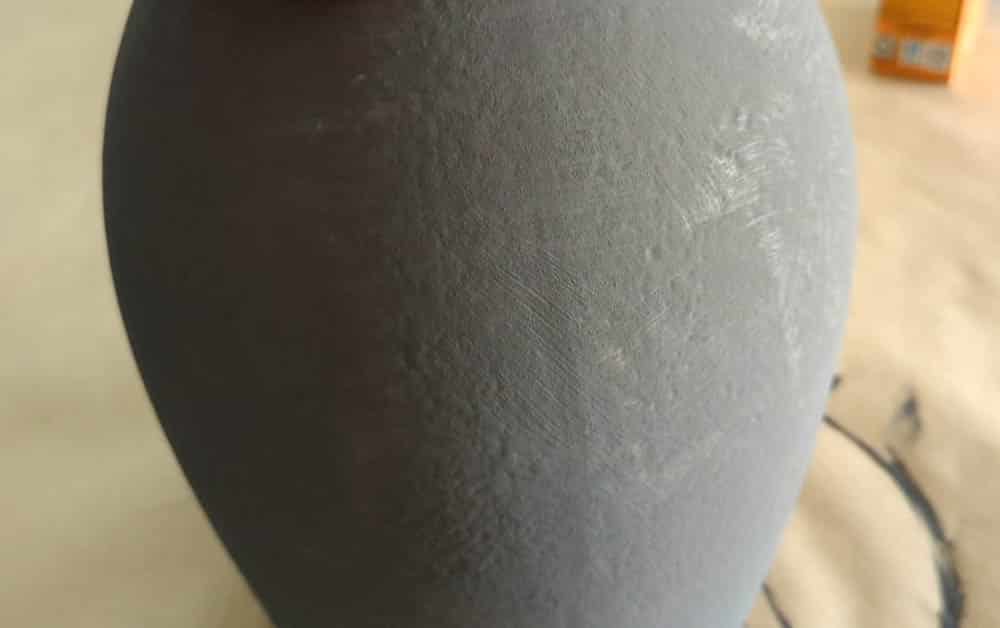
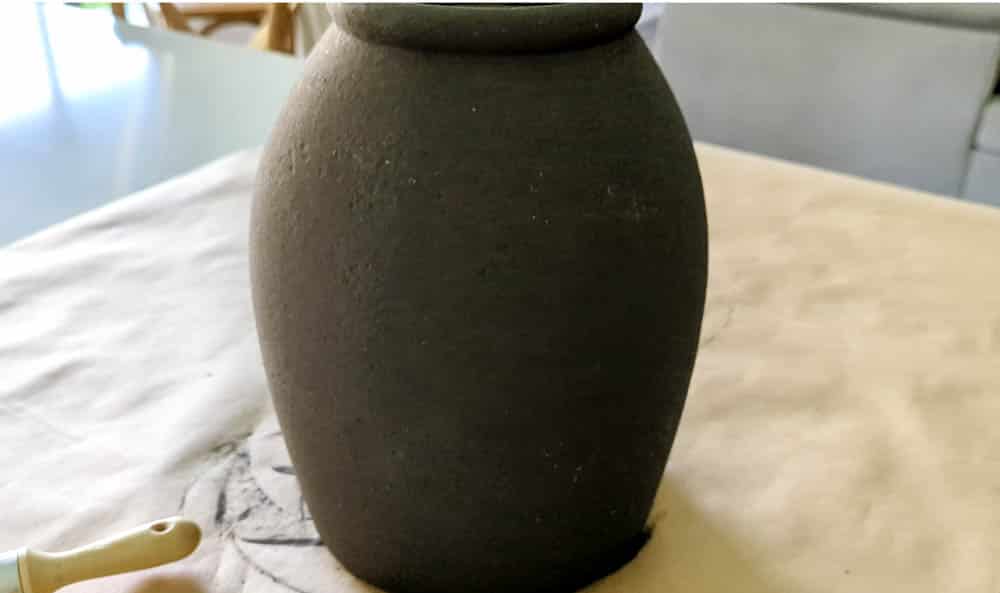
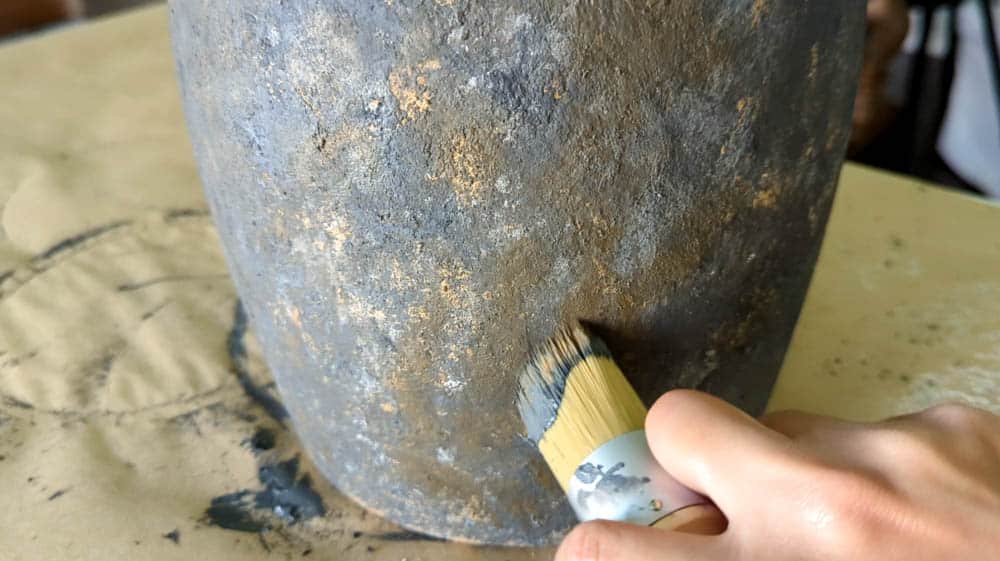
Before the second coat of paint dries, lightly dab the tip of your paintbrush all over the vase. This dabbing motion will create tiny bumps and pores for the perfect textured look.
Once you are happy with the texture let it dry completely before moving on to the next step.
4. Add Dimension
Your vase should now have your desired base color with some bumpiness created with your brush.
Now it is time to add layers of paint here and there to create dimension, interest, and the aged look we are going for.
To do this you need to make a mixture of acrylic paint colors to create the desired aged color you want to add.
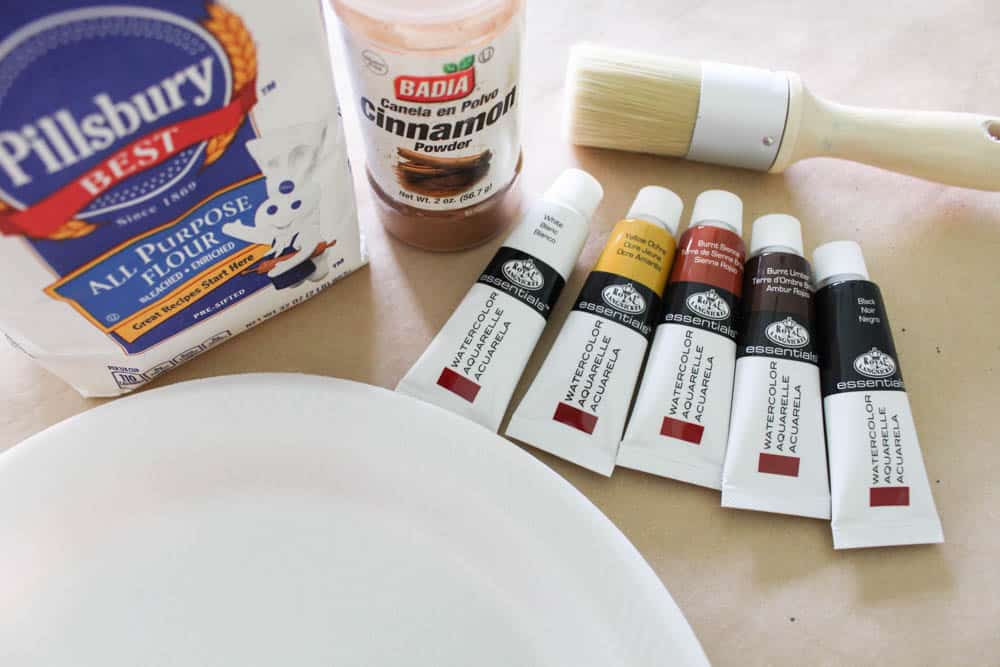
I wanted a bit of a light brown/tan aged look to my gray vase so I mixed White, Yellow Ochre, Burnt Sienna, Burnt Umber, and a pinch of Black.
NOTE: Later I added a lot more white acrylic paint to lighten up the color as it was too dark at first. Play with it until you find the right shade for you.
Once my color mixture was ready I poured some flour and cinnamon into another pile right next to my paint. This will help create the aged vase look. We don’t want it to look painted on, we want it to look like it naturally aged over time.
First, dab the paint on a paper towel and then the flour-cinnamon mixture on top of that and pat it all around the vase in random areas.
Make sure to cover the lip of the vase and focus more on any indents your vase might have for a more realistic aged look.
At this point, my vase was looking a bit too dramatic. The browns were too overpowering so I went back and did another mixture of black and white to create a medium gray color similar to the base gray color. I dabbed the gray paint and flour-cinnamon mixture all over the brown areas to blend it into the base color.
This made a huge difference and the dabbing motion with the paper towel gave it even more texture.
5. Blend It All Out
I wanted an even more subtle look so I “blended” it all by going back with the round brush, and using VERY LITTLE PAINT (mostly dry), I pressed a bit of that brown color back on there.
Then I got some gray and pressed some of that on there as well, blending it all together.
You don’t have to do this step but I really liked the look it gave. Again, just make sure the round paintbrush has so little paint on it that you literally have to press into the vase to get the color to stick.
6. Apply Finishing Spray
To make sure that your work of art stays put you need to finish it off with a matte finishing spray. This will seal it and protect it from wearing off.
First, you want to make sure there are no clumps of paint anywhere. You may have noticed dried bits of paint and flour all around your vase. Gently remove them with a clean paper towel once your paint is completely dry.
Then place your vase on a flattened-out cardboard box outside (or any flat surface that you don’t mind getting painted). It’s best to do this in some shade as well.
Shake your spray can and place it 9-12 inches away from your vase. Spray left to right from top to bottom (going past the vase each time). Then spray the next section, slightly overlapping the first and so on.
After 2 minutes you can give the vase another coat. The can does warn that this might lighten up the color but it’s such a crucial step that I would do a second coat regardless! If it did lighten up the vase a little I can’t even tell.
7. Display
Once the vase is completely dry you are ready to display it!
Just a few simple stems will add the perfect touch to your aged vase. That way you bring out the beauty of the vase without overshadowing it.
YOUTUBE VIDEO TUTORIAL FOR DIY AGED VASE
PIN IT FOR LATER – DIY AGED VASE
And that’s how you can make a DIY aged vase with acrylic paint, and some household ingredients. Do you like this method of getting an aged vase look? Have you tried any other methods? Leave me a comment below! I would love to hear from you!
If you would like more DIY ideas like this make sure to subscribe to my newsletter!







Leave A Comment