Super Easy And Beautiful DIY Spring Wreath Under $30 Dollars | From Amazon
When it comes to wreaths I am a DIYer all the way! I LOVE making my own unique displays to welcome a new season or to celebrate the holidays. So today I will be sharing a super easy and beautiful DIY Spring wreath!
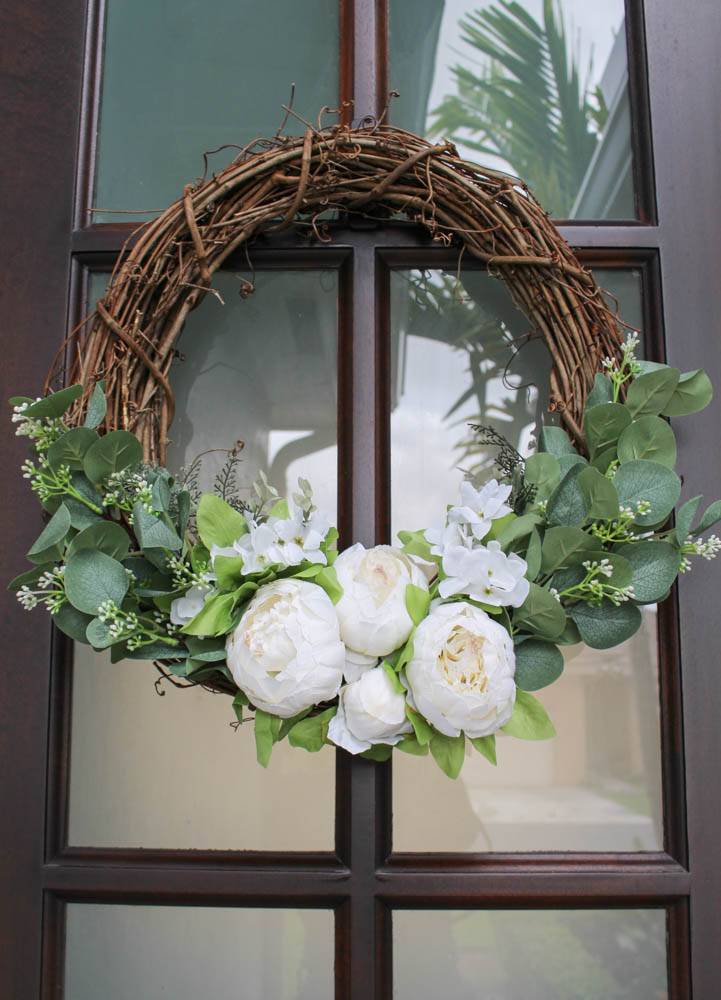
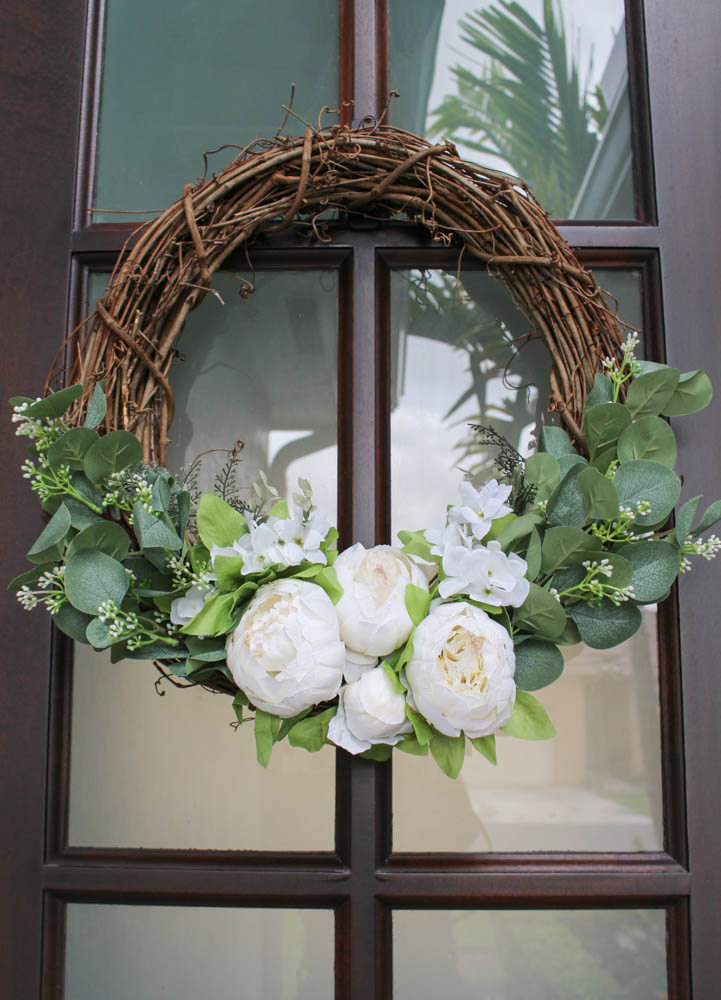
I used eucalyptus stems and peonies floral arrangements on a grapevine wreath.
You can follow my exact steps using the same floral supplies from Amazon! Plus there’s the added bonus of getting the supplies right to your doorstep. I was able to get SAME DAY DELIVERY for these!
But the best part about this DIY Spring wreath is that there is NO HOT GLUE REQUIRED! Anyone can make this beautiful, rustic-chic Spring wreath in less than 10 minutes!
So without further ado, let’s get right into this DIY Spring wreath tutorial!
1. Find A Low-Cost Grapevine Wreath
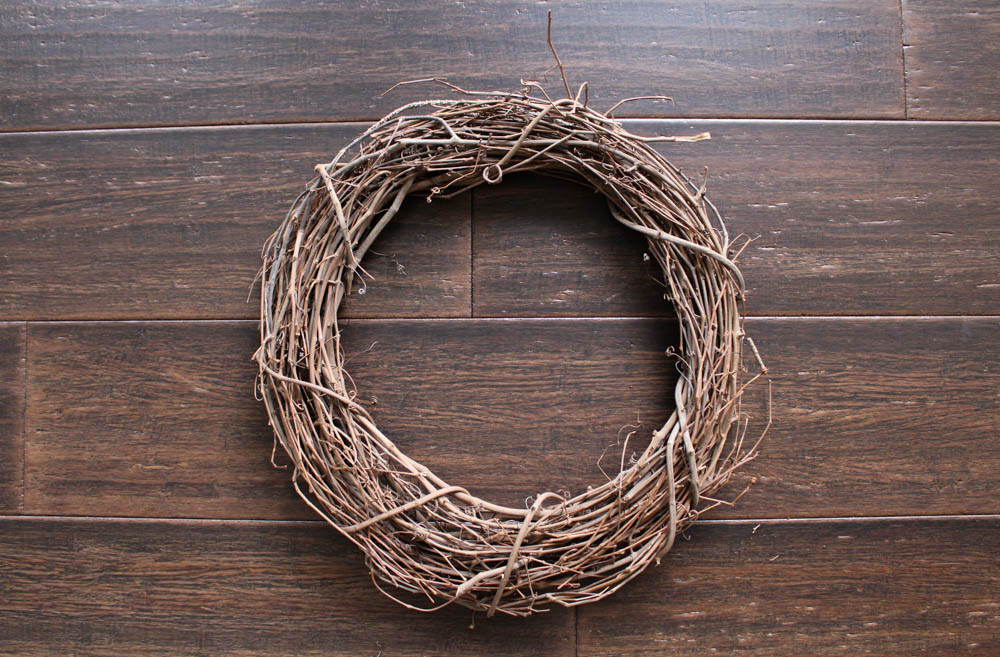
The first step to this super simple DIY Spring wreath and THE KEY ELEMENT to not needing any hot glue is to find yourself a low-cost grapevine wreath.
I got this 18 inch grapevine wreath from Michaels. But you can find them at any craft store including Jo-Ann Fabrics.
NOTE: Walmart also sells grapevine wreaths but I find that the vines are too close together and not full enough for my taste.
We will be using the gaps in the grapevine wreath to stick our floral stems without the use of hot glue.
I have done this before using these same grapevine wreaths!
NOTE: Check out my DIY Patriotic Wreath and my DIY Fall wreath!
It’s very convenient because instead of having dozens of wreaths for my seasonal and holiday decor, I can simply interchange the decor on them!
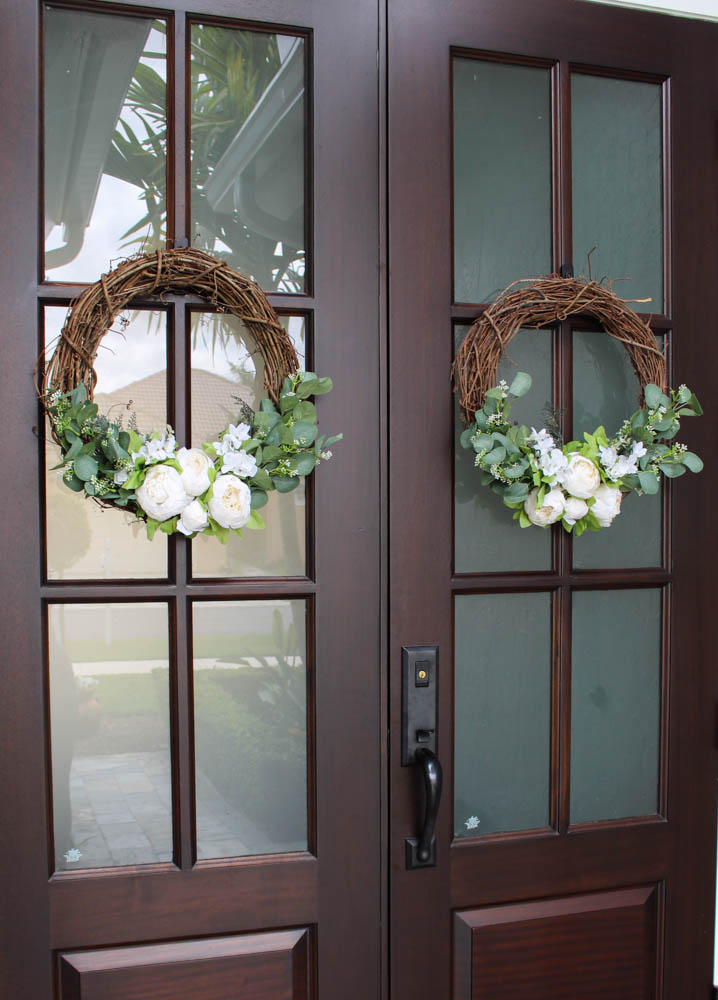
This technique saves me a lot of money and space in my garage! Especially since I have double doors! So if you have double doors as I do, I would definitely recommend this strategy as well!
Okay now that you see the benefits of working with a grapevine wreath for your seasonal decor let’s get into the next step!
2. Add Eucalyptus Stems
Now we can get into the fun part of our DIY Spring wreath, adding the decor! But there is also a strategy to this!
With any DIY wreath decor, you need to work backward. Meaning you need to place the back layers first.
*As an Amazon Affiliate I earn from qualifying purchases. This comes at no extra cost to you!*
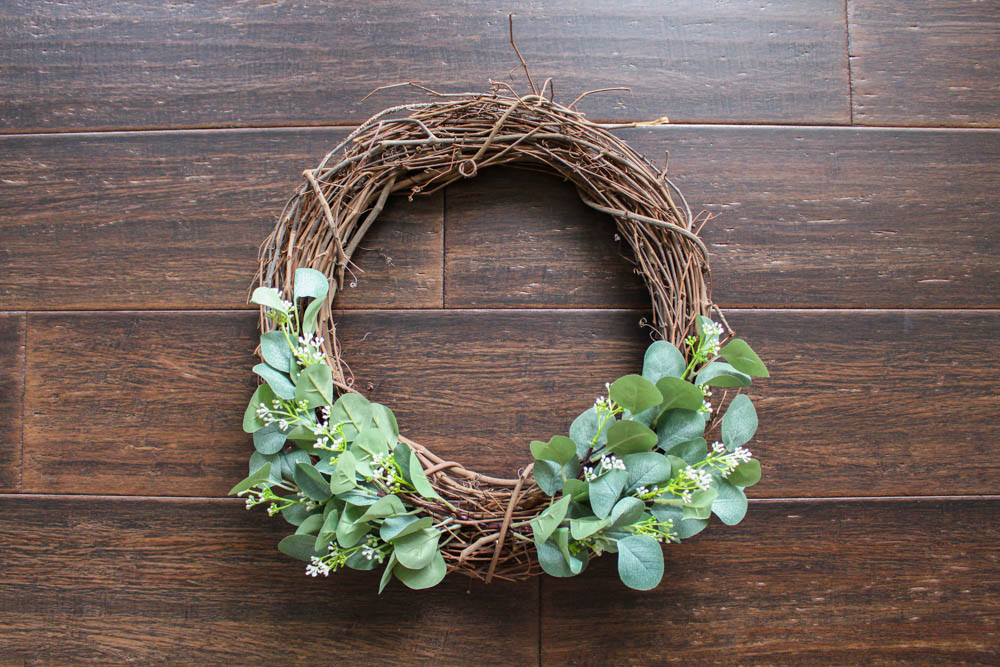
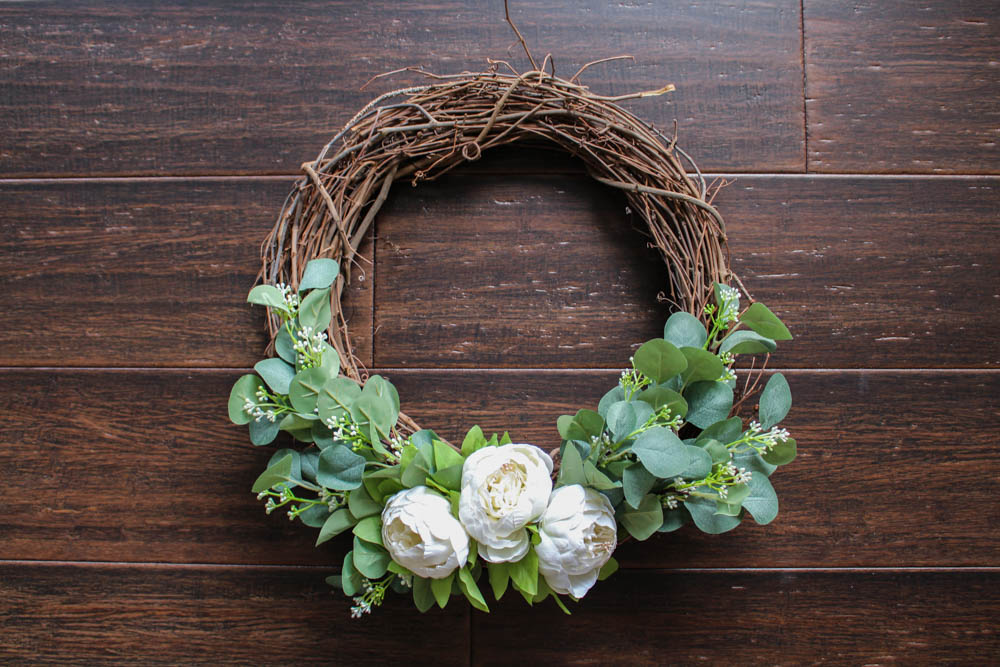
Therefore I added the eucalyptus stems first. These eucalyptus stems have some baby’s breath as well which gives them more interest and dimension.
The bag of eucalyptus stems came in a pack of 10. So I placed 5 on each lower end of my wreath by sticking the stems through the gaps in the grapevine wreath.
I made sure to leave some space in the bottom center for my florals.
3. Cut Your Florals
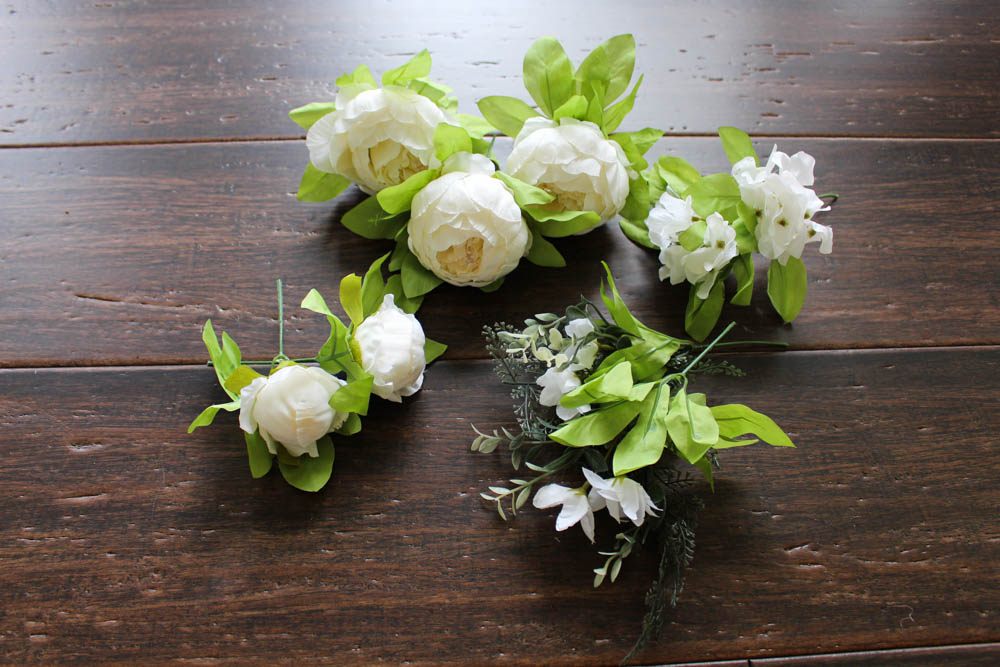
The peony floral arrangement from Amazon had everything I needed to complete this DIY Spring wreath.
So I cut all stems of each floral piece, about 2 to 3 inches in length. Remember we are using the stems to attach the florals through the gaps in the grapevine wreath (so that there’s no hot glue needed to attach them).
Use a good pair of shears to do this. And make sure to leave all of the leaves in place. It will make your wreath look fuller in the end.
You will not need all of the florals on your peony bush. So you can use the extra ones to decorate around the house.
You can add a few to a tiered tray. Or place them on a eucalyptus garland!
This way you will add consistency to your Spring decor, inside and out! Okay, on to the next step!
4. Place Your Florals
You have the freedom to place the flowers however you like. But if you want to get this exact look then keep on reading!
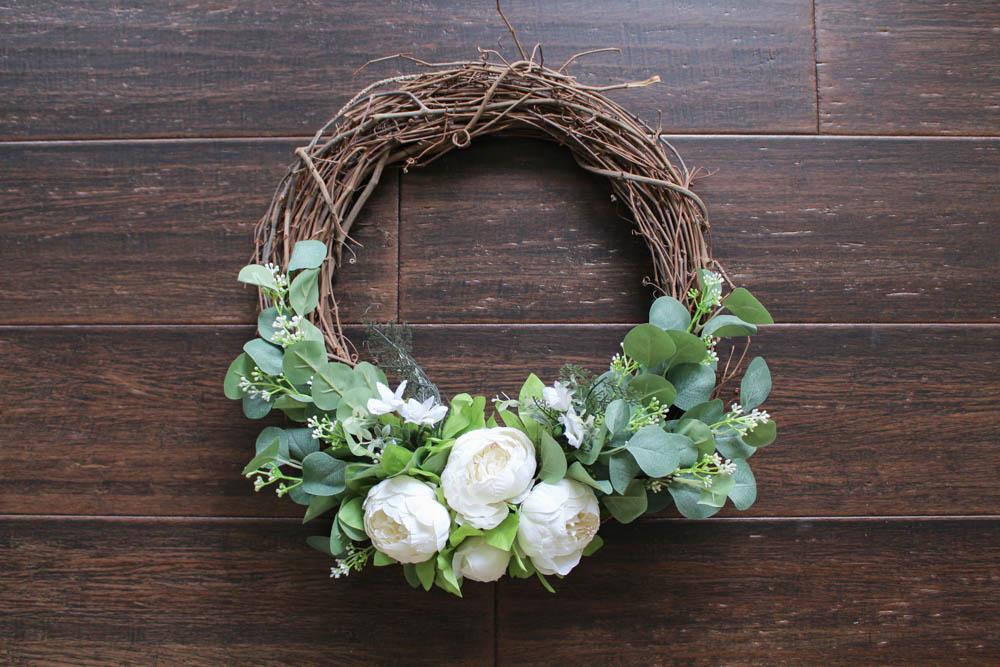
I used 3 large peonies in the bottom center of my wreath. With the middle one higher than the others.
Later I realized I wanted one more so I placed a small peony below the large one in the middle.
Sometimes you just have to play around with it until you get it just right! I like to sit back and examine my wreath to see where it needs more or less. Or move to a different area altogether!
Just shifting the florals to face upward instead of down can make a huge difference in the look of your wreath!
The next step is critical to making your wreath look complete and professionally done!
5. Fill In The Gaps
Once my eucalyptus leaves and peonies were in place I filled in the gaps between them with the extra floral stems that the peony arrangement had.
First I placed the extra leaf stems. Mainly focusing on the area just above the peony flowers, on either side.
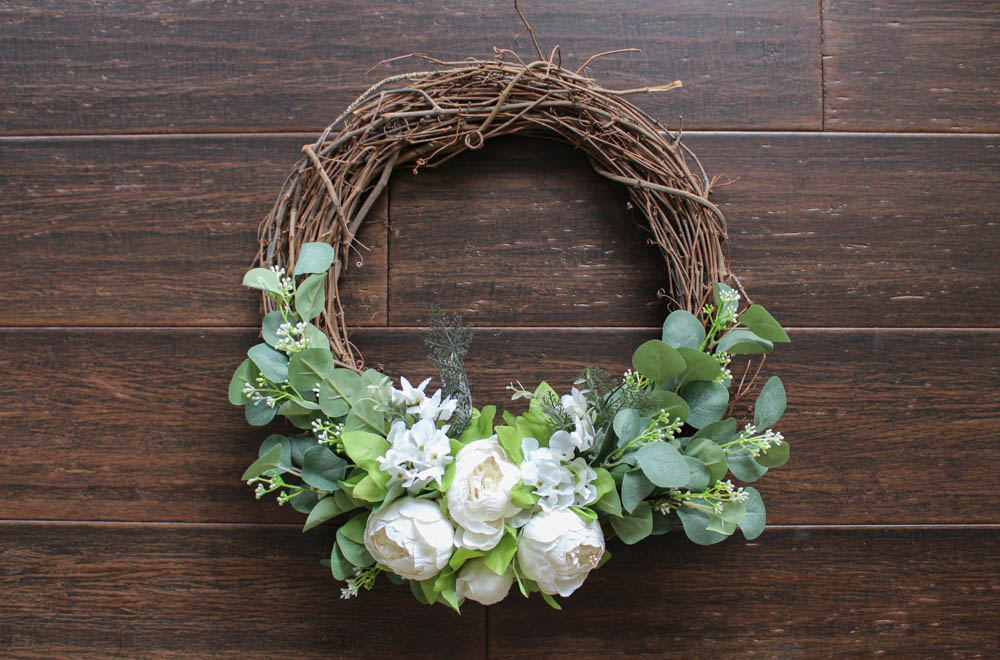
Then I added the little white floral accents from the arrangement on either side of my top peony flower. This filled in the gaps nicely and added a little extra touch of white that I felt was needed.
And there you have it! A beautiful DIY Spring wreath that I made in just minutes without using ANY hot glue!
6. Hang On Your Front Door!
Now it’s time to display your DIY Spring wreath masterpiece. Your family and friends won’t believe you made this yourself….and you don’t have to mention how easy it was!
To hang my wreaths I like to use this Command hook. It’s pretty and functional. The curve on the hooks holds my wreaths wonderfully, including my grapevine wreaths!
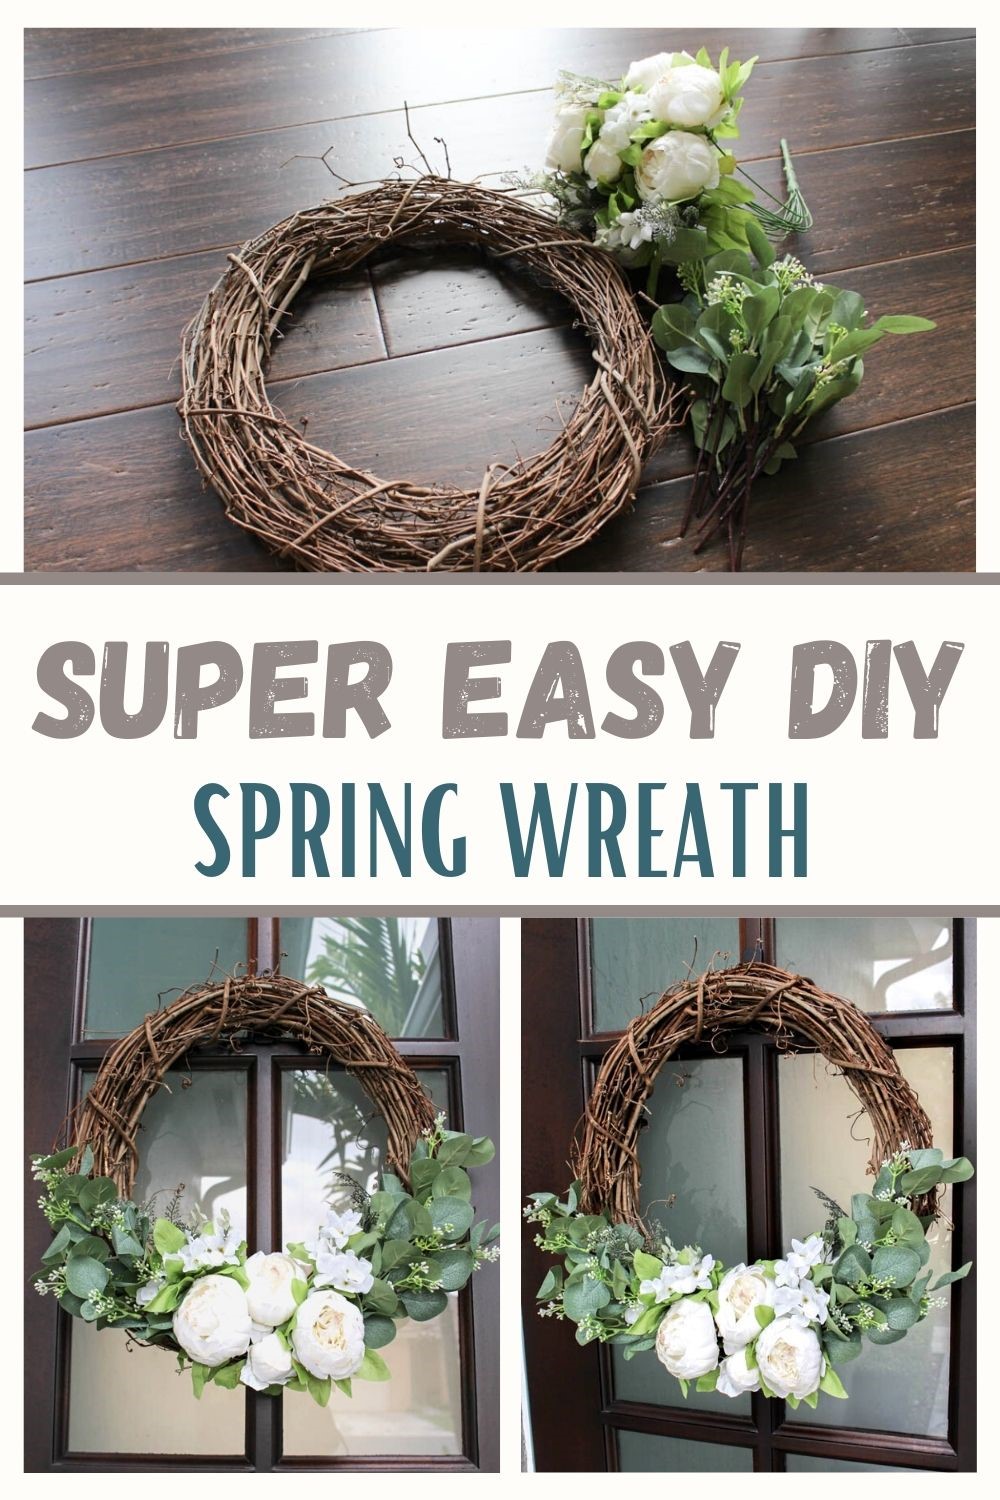
PIN IT FOR LATER! Beautiful DIY Spring Wreath Under $30 Dollars!
Join my newsletter to see more DIY crafts plus decor tips and tricks!
Have a wonderful Spring everyone!



Leave A Comment