8 Essential Tips To Run A Successful Lemonade Stand
Having your kiddos run a lemonade stand is a great way to teach them about entrepreneurship and work ethic. After running our own lemonade stand last weekend with the boys I have come up with 8 crucial tips that will help you run a successful lemonade stand!
1. GET THE WORD OUT!
To get the most bang for your buck you want to make sure that friends, family, and neighbors know that you are planning to run a lemonade stand. Send out flyers a week in advance with the date and time of the lemonade stand.
Don’t have the time to write a handful of flyers? No worries! I have made flyers and other lemonade stand printables that you can easily download! Just click here and fill out the form and my 20 Lemonade Stand Printables will be emailed to you right away!
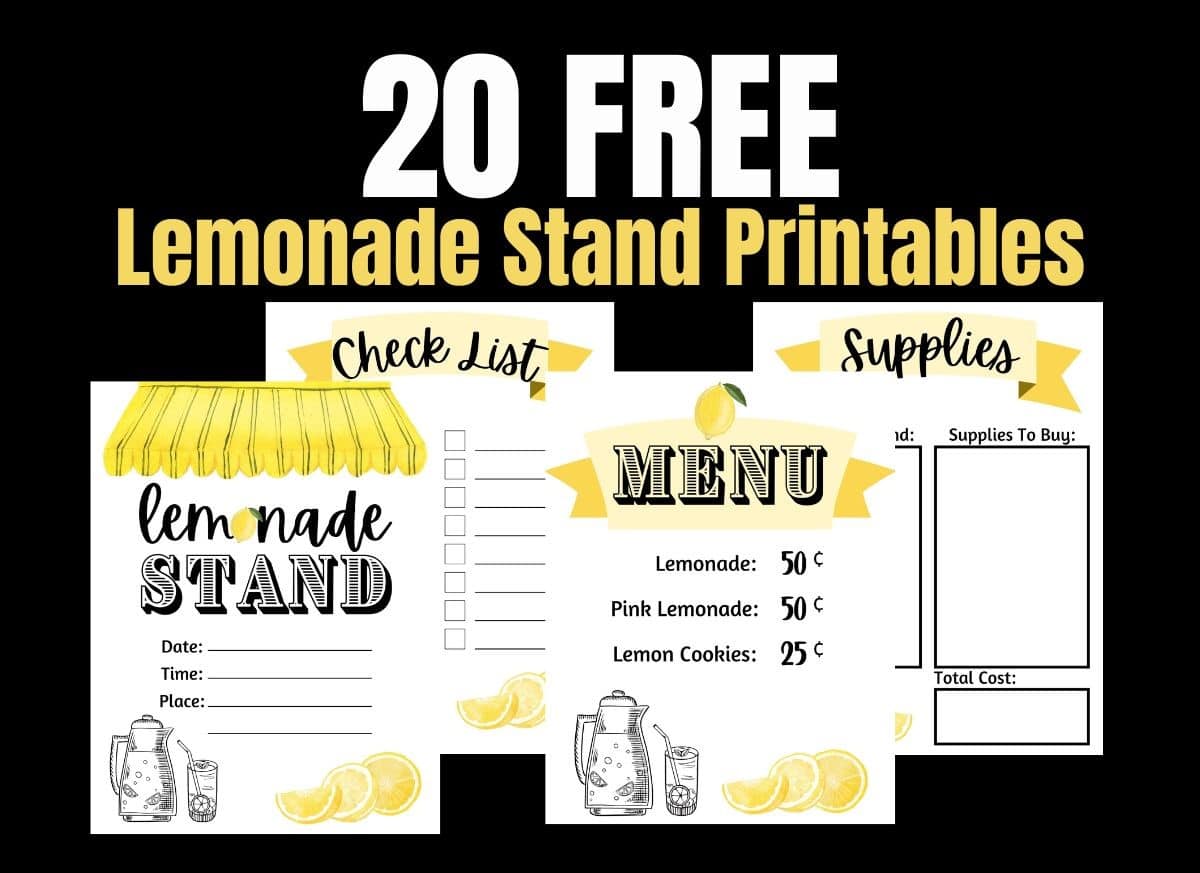
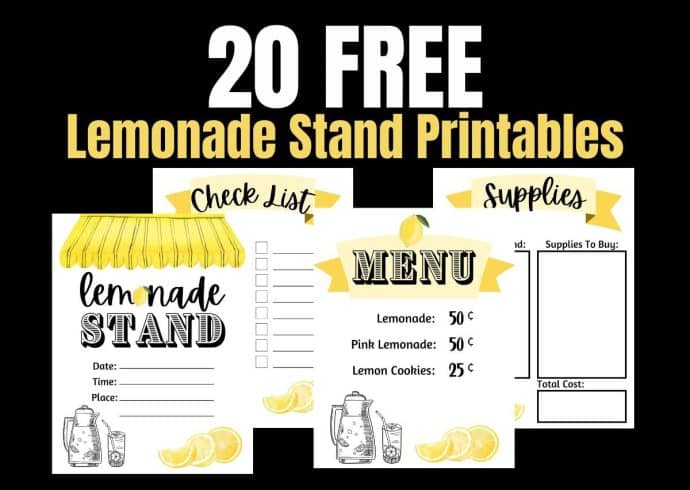
These FREE printables include two separate flyers, a Menu, a Supplies List, a Checklist, an Aftermath Worksheet, and a banner that reads LEMONADE STAND.
The flyer comes in PDF format so you can type your specific date, time, and place on the PDF form, and print it! It’s as easy as that!
Print as many as you need and GET THE WORD OUT to all the neighbors!
2. CUTE DECOR THAT WON’T BREAK THE BUDGET
Lemonade stands nowadays are more for show than for business. With special lemonade stand carts and tables that are sure to break the budget. Not to mention beautiful decorations of banners, crates, flowers, lemons, etc.
And yes these are absolutely stunning! But I am here to tell you that you CAN run a cute lemonade stand without buying ANY decor!
HERE’S HOW:
Use A Table
You don’t need a special stand! A foldable table or any table in your home will do just fine! Just can get a plastic table cover from Dollar Tree and you are all set!
Get My FREE Printables!
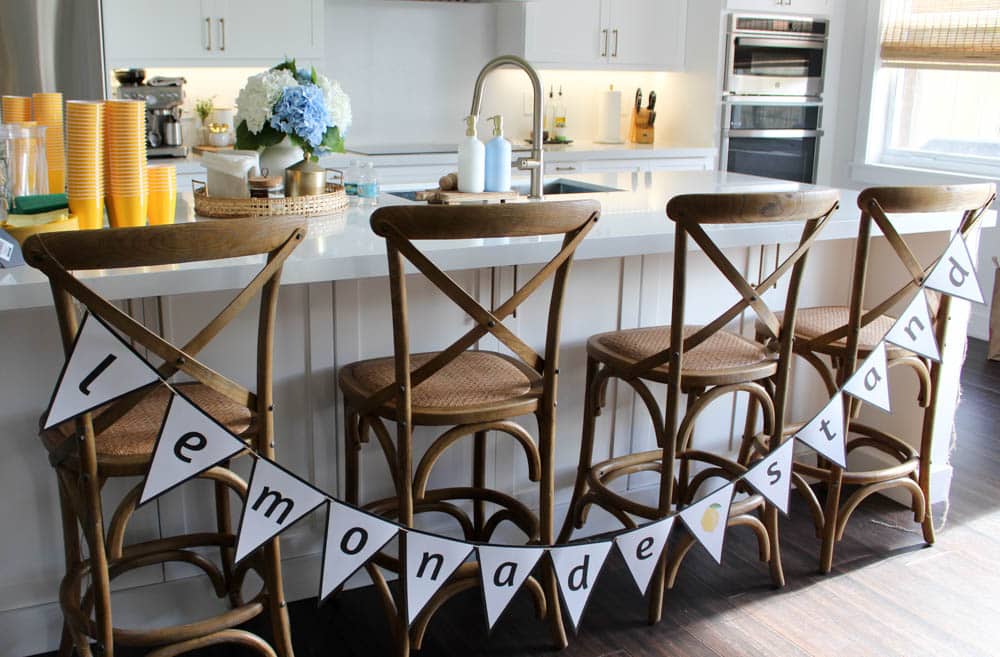
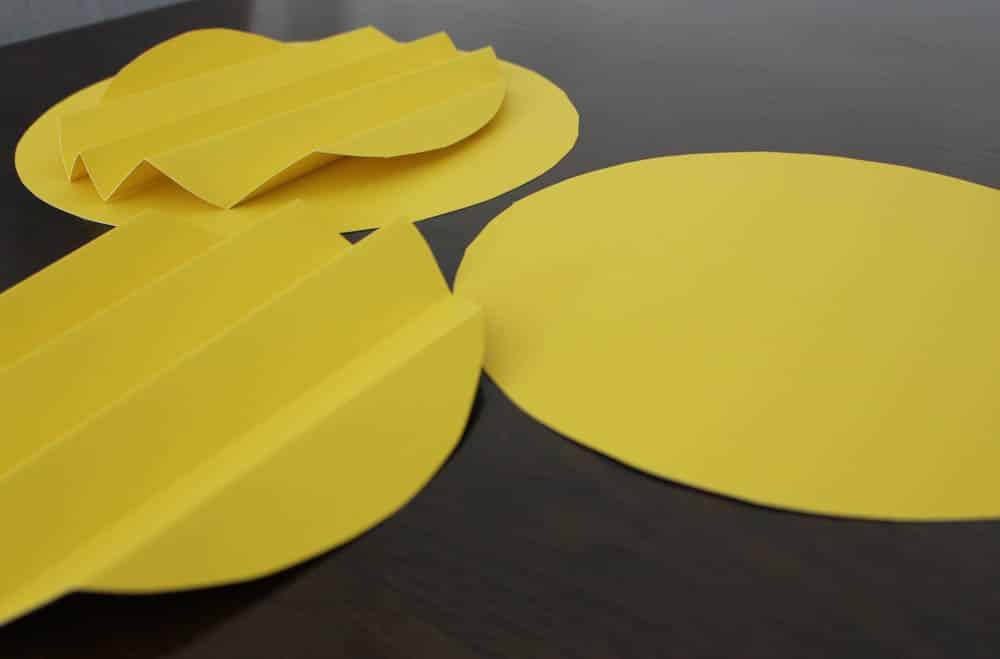
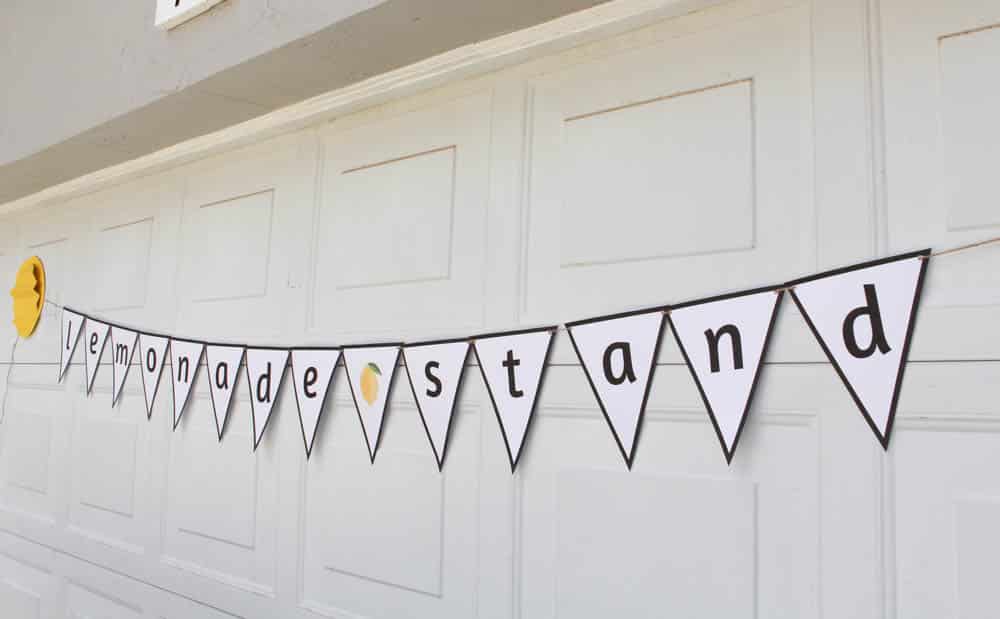
Next, go get your hands on my FREE Printables. There you will find a cute banner already made for you! I bought a couple of large yellow posters from Dollar Tree that cost less than a dollar. To cover the ends of my banner I made simple fans from the yellow poster.
I used different-sized mixing bowls as a guide for my circles. Then I folded the smaller circles using the fan folding method. Then I stapled it to the larger circle. This created a paper fan look without the added cost and it was so easy to make!
I also used another yellow poster to make a large sign for our lemonade stand.
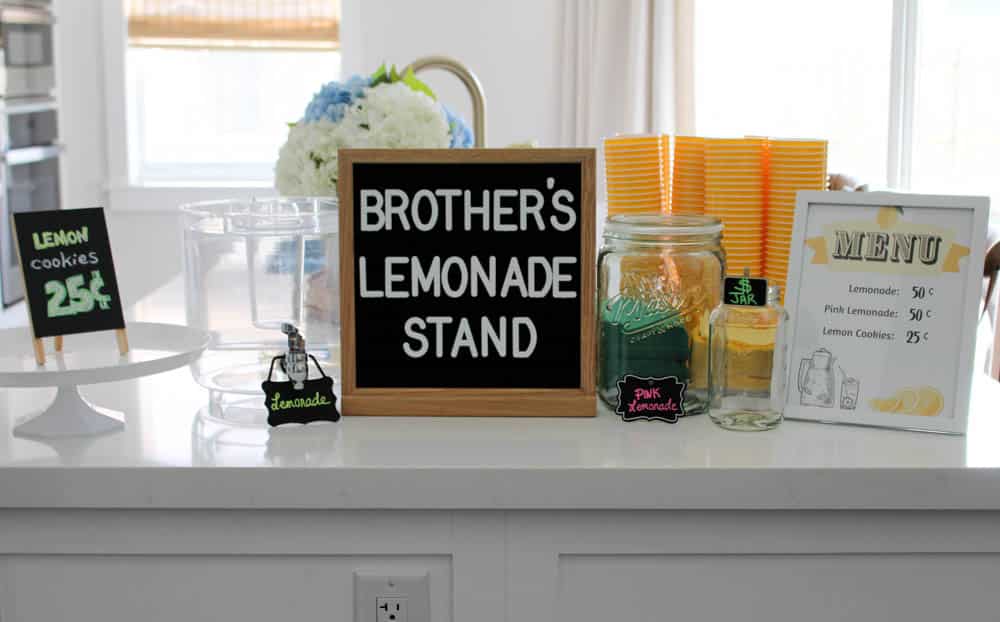
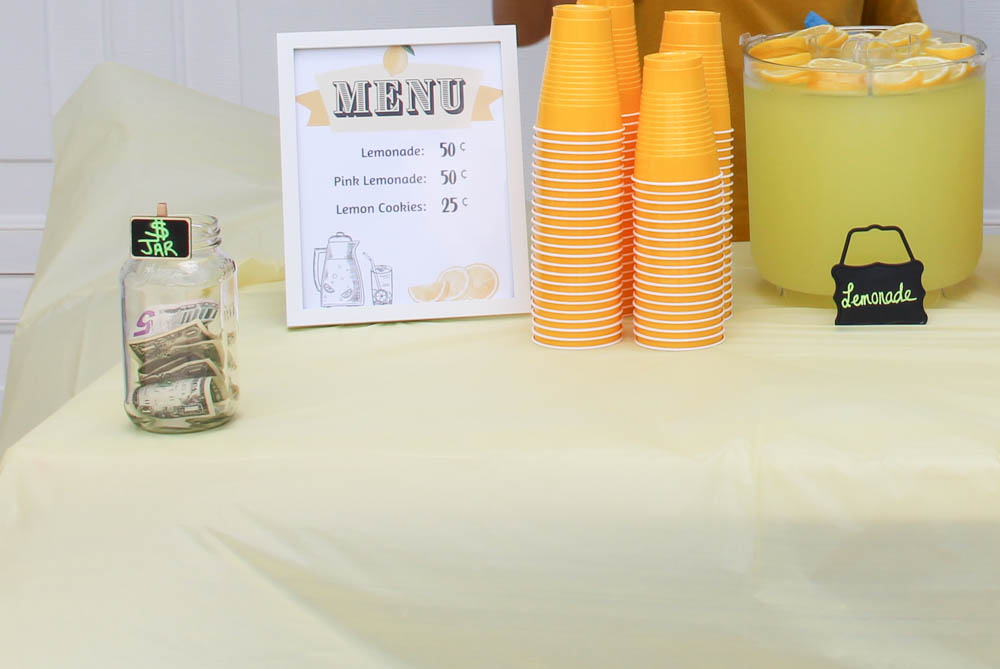
You will also find an aesthetically cute MENU that you can frame and place on your table.
Shop Your Home
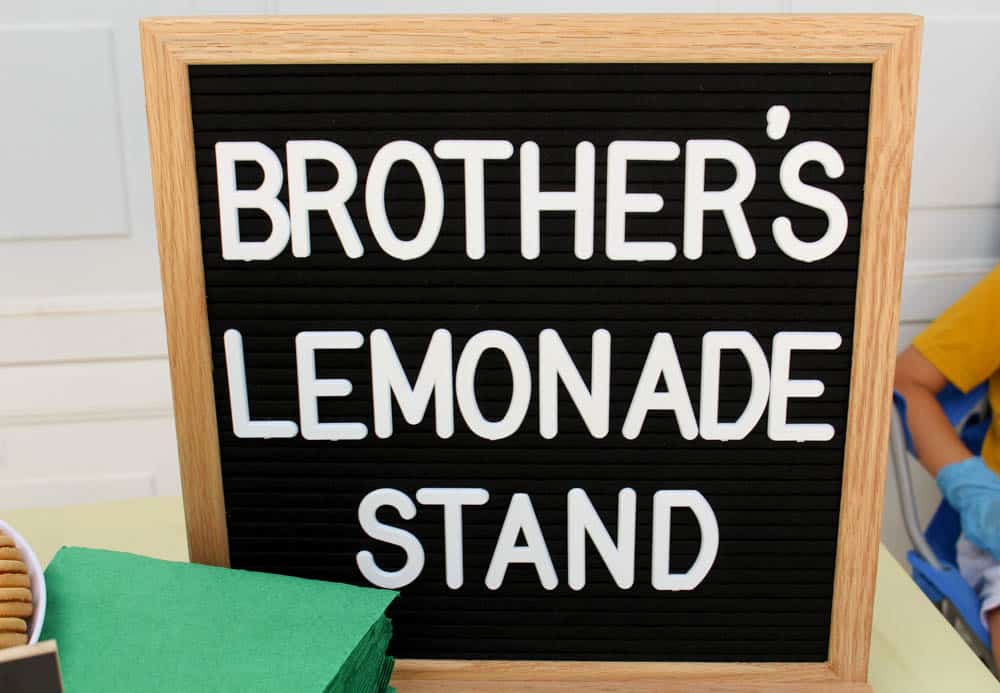
Then, look around your own home for pieces you can decorate with! For example, I already had this felt board so I used it as part of my lemonade stand decor! I spelled BROTHER’S LEMONADE STAND on it and it was the perfect accent to our lemonade stand!
Decorate With Supplies!
Finally, make your products part of the decor. How? By placing them in cute jars, pitchers, stands, etc. Again, search your home and see what you are working with before you go out and buy unnecessary items!
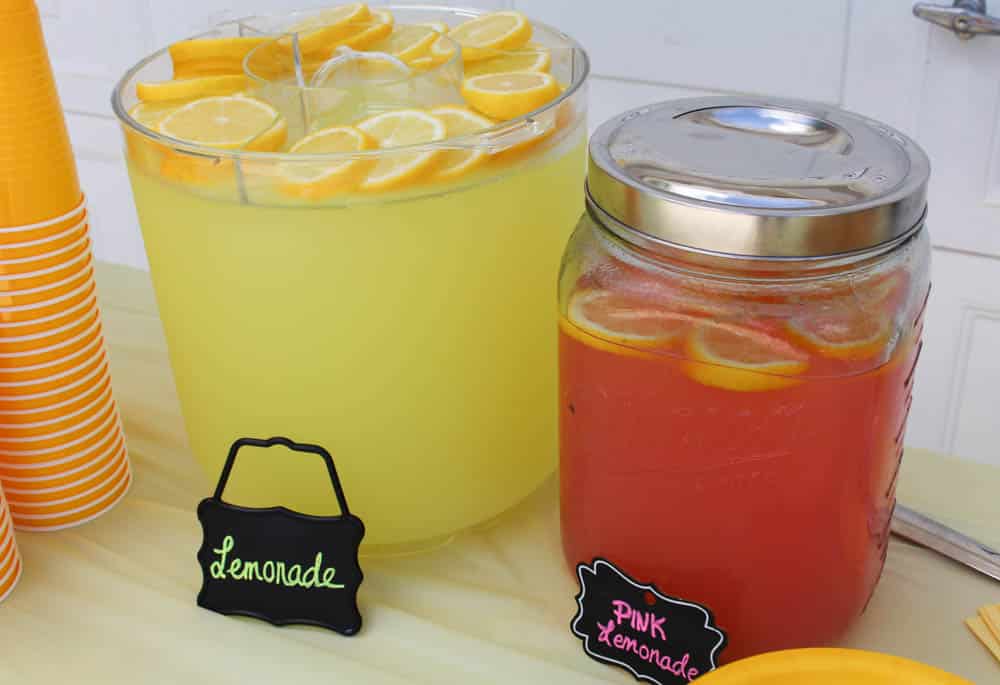
I used this beverage dispenser that I already had for my lemonade. I also had a large jar that I used for the pink lemonade. And I used this stand for my lemon cookies!
Dress up your beverages and food items with cute chalk stickers, tags, or boards from Dollar Tree and you are good to go!
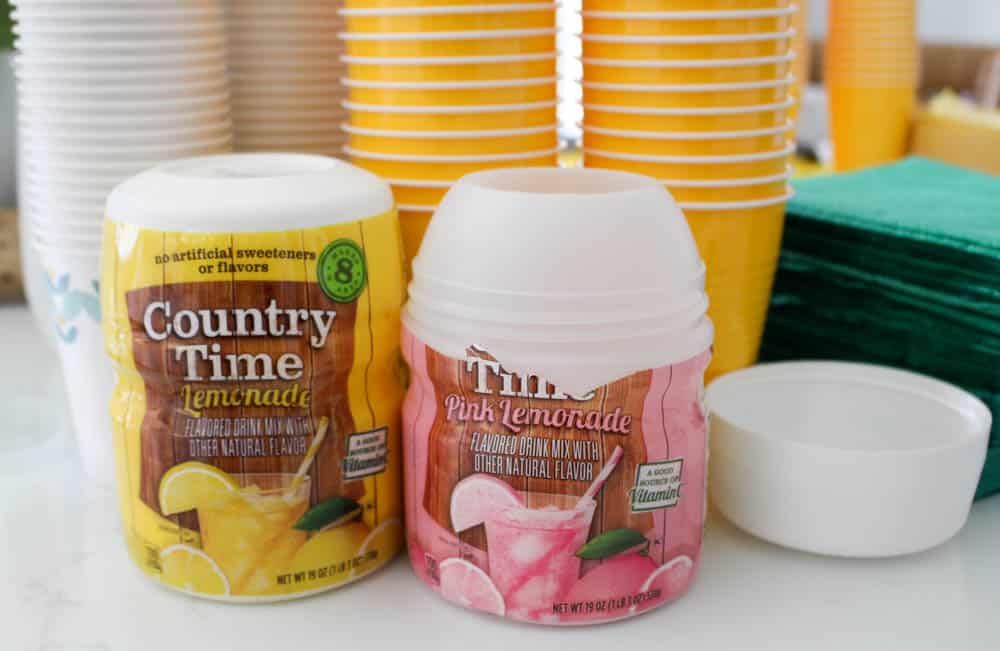
NOTE: The yellow cups are from Party City and the green napkins are from Walmart.
3. TIMING IS EVERYTHING
The timing of your lemonade stand can largely affect sales! I would highly suggest the weekend of course when it’s most likely your neighbors will be home!
But doing it too early will limit your customers to early risers. For this reason, I suggest the earliest you start is 11:00 AM.
The middle of the day will be the hottest but I think that’s actually to your advantage! If neighbors are out in the sun they will feel more enticed by a cold beverage!
Running your lemonade stand in the afternoon is okay but keep in mind that people are usually out and about on the weekend so many might not be able to make it.
We ran our lemonade stand from 12:00 PM to 2:00 PM and it was a HUGE success! As they say, TIME IS MONEY!
Yes, it was HOT! But we made it work out all right in the end.
4. LOCATION LOCATION LOCATION!
There are a few factors to consider when deciding the location of your lemonade stand. And timing is involved!
Amount Of Shade
I am referring to the amount of shade you can get in any specific location.
Before the day of your lemonade stand go outside at the times you will be out there and see what spots have shade and for how long.
This will help you figure out what the best location is based on the amount of shade.
Wind
You also need to consider wind! If you are in an open area exposed to winds, then your stuff might be constantly flying away or falling down. Which is no fun!
Once the sun was hitting hard we moved our table under a tree but the wind was knocking down the cups, decorations, and napkins. Luckily we were almost done!
Visibility
Most importantly, you want to pick a spot where you will be seen!
Hiding under a large tree might be cooler but some people driving by might not even see you!
I would suggest placing your table right in front of your home, perhaps in front of the garage, so that the house blocks the wind and you might still get some shade from the house as well.
If you have a fence in your front yard then perhaps right in front of the fence.
NOTE: Also consider that blocking the sidewalk might be a problem in the community, in which case I suggest setting up your lemonade stand under a tree.
5. LEMONADE STAND RECIPE
Now for the question you are probably asking… fresh squeezed lemonade or powder lemonade?
As a busy mom, I highly recommend powder!
It’s going to save you and your kiddos so much time and stress!
And it’s guaranteed to satisfy your customers! Let’s face it, we all grew up with powder lemonade! We are well acquainted with the taste! There’s no guessing if it’s too sweet, too sour, or too watery!
We got two mixes: Country Time lemonade mix, and pink lemonade. All you have to do is follow the instructions on the container and you have yummy lemonade in seconds!
TIPS FOR PREPARING YOUR LEMONADE MIX
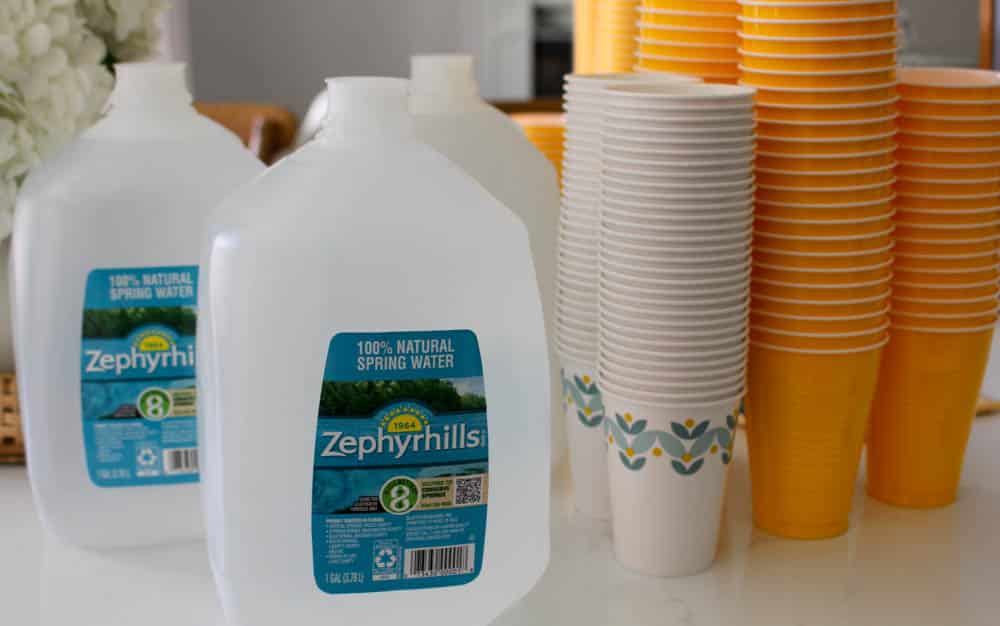
One thing I would highly recommend when preparing your lemonade mix is to buy gallons of water. It will save you time filling up your pitcher.
Plus if you have a large beverage container you won’t have to measure the water because you already know it’s a gallon! This also saved SO MUCH TIME!
NOTE: I used about a gallon and a half of water in my beverage dispenser.
Another good tip is to slice some lemons and place them in your beverage dispenser or pitcher. This will make your lemonade look legit and tasty!
6. ICE COLD LEMONADE
An essential tip for ALL of your customers to LOVE their lemonade is to make it ICE COLD!
Nobody wants hot lemonade!
And putting ice in the lemonade pitcher is NOT ENOUGH!
Instead, buy 1 to 2 bags of ice and put it in a cooler. Once you fill their cup with lemonade, reach into the cooler and add the ice!
This will ensure each customer gets delicious ICE COLD lemonade!
7. HYGIENE
Another thing to guarantee customer satisfaction is to use good hygiene when serving them.
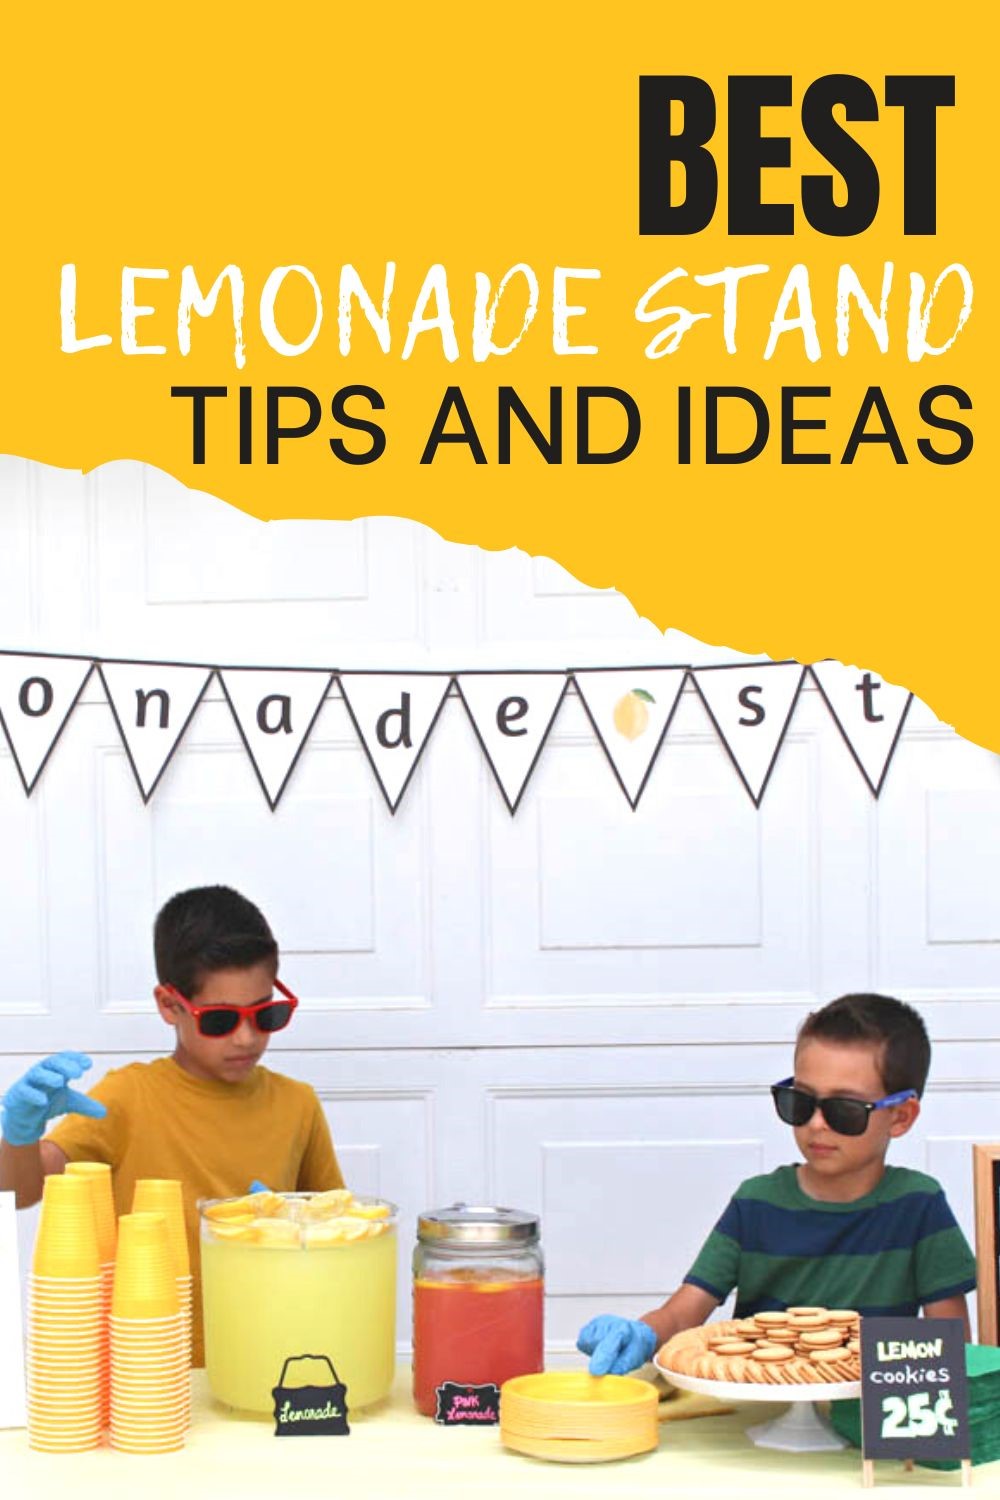
Make sure everyone serving uses gloves. Kids tend to touch the top of the cups when serving. I suggest you show them how to grab the cups on the lower half and not where people put their mouths. But even if they do, the gloves will give your customers some peace of mind!
It’s also important to keep your work area clean! If any spills happen, make sure to wipe them down right away.
Having good hygiene when handling food and beverage is essential to customer satisfaction and repeat customers as well!
8. MONEY
No matter how good your kids are in math they can get confused when adding money. Especially if it involves increments of 25 cents. And don’t even get me started on change! Most kids don’t understand the concept of change until they are between 7 and 8.
So I highly suggest keeping it super simple when it comes to the money. Particularly if your kids are under 8 years old.
Have the MENU visible for the customers to see how much everything costs. They can figure it out themselves!
Next, have a jar labeled MONEY JAR and tell customers to put the money directly in there! This will ensure your kids don’t even handle the money!
They will have enough on their plates with serving their customers. Trust me on this!
I stepped in a couple of times to help with the change. But that was just because they had a large bill such as a ten or a 20. Most customers leave extra money as a tip anyways and don’t want their change back when asked.
Having the money jar in place and having the kids focus on greeting the customers and serving them made the lemonade stand run extra smoothly!
PIN IT FOR LATER! Crucial Tips To Run A Successful Lemonade Stand!
I hope you learned a thing or two with these tips! I myself found them to be a HUGE part of making our lemonade stand a success!





Leave A Comment