2021 DIY Dollar Tree Halloween Decor | High-End Look
High-end Halloween decor is super trendy right now. No more cheesy ghosts and candy corn decor. Think sophisticated and elegant! Now, I know what you might be thinking…. but I promise you don’t have to spend a lot of money to get a high-end Halloween look! In fact, I will show you 7 fun and easy DIY Dollar Tree Halloween crafts that will glam up your Halloween decor in no time!
1. DIY Dollar Tree Pumpkin Holder
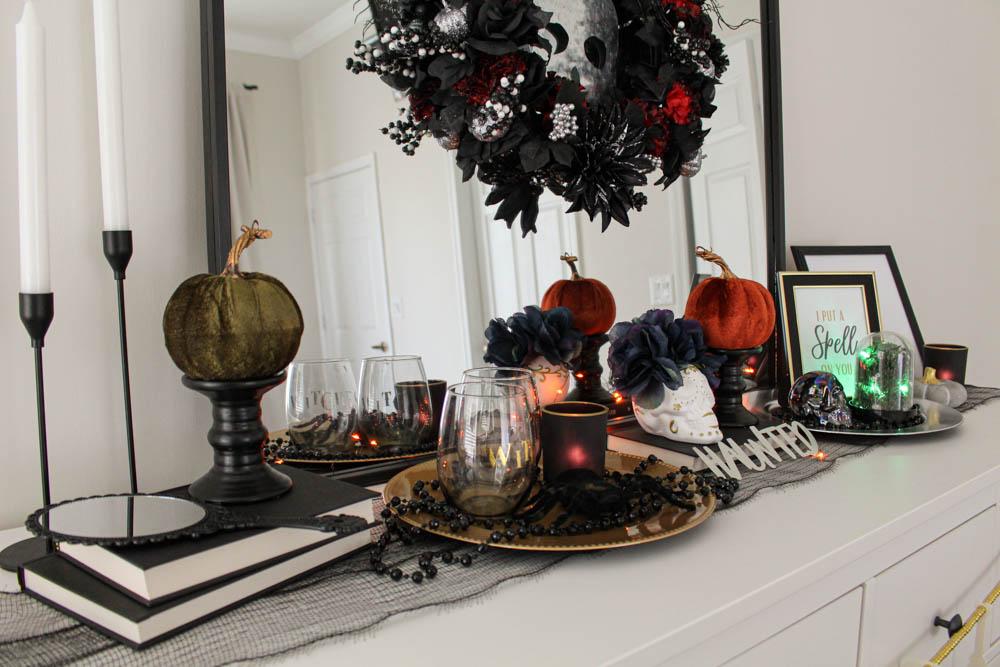
Dollar Tree has these super cute velvet pumpkins right now, which have a high-end look of their own!
But instead of just placing them on your tabletop, why not elevate them to make them look even more sophisticated?
I got 2 of these pillar candle holders and painted them with Dollar Tree’s Black Chalkboard Paint.
Once the pillars were dry I simply hot glued the velvet pumpkins onto them!
Note: I found this candle pillar pedestal online (new product)! These would eliminate the need for painting!
2. DIY Dollar Tree Bones In Graveyard Dome
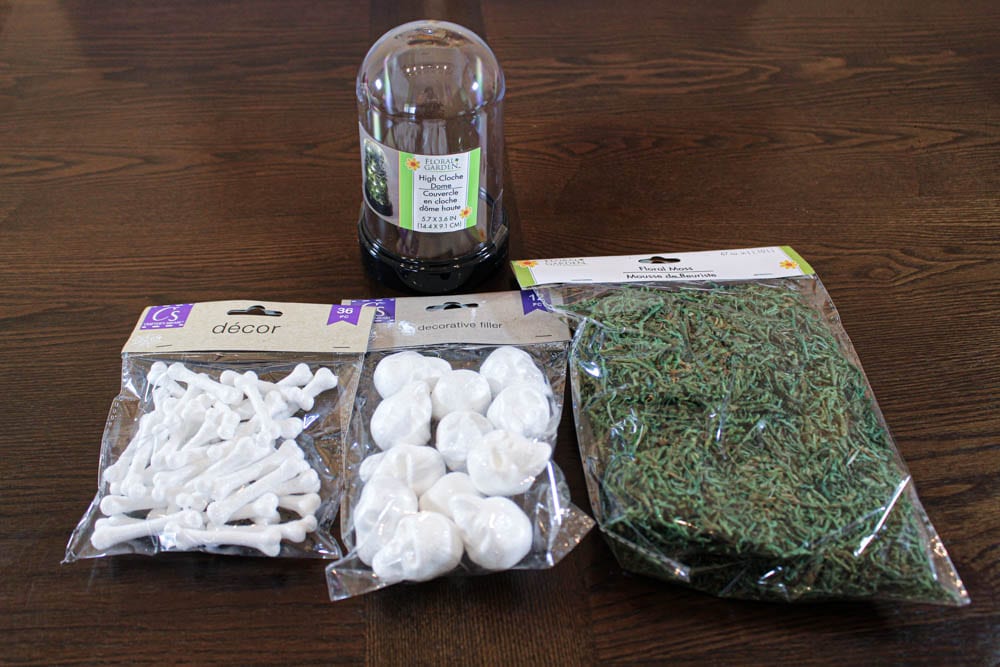
As soon as I saw this cute little dome at the Dollar Tree I knew I had to do something with it!
Shop $1 Halloween Craft SuppliesThe picture on the sticker gave me the idea to use their floral moss to look like grass. Then I added little glitter bones and skulls to make it look like bones in a graveyard.
I also added green string lights to help illuminate the scene!
This is a little creepy yet still elegant! And I love how the green lights accent the skulls!
3. DIY Dollar Tree Sugar Skull
Okay, so I was really impressed with this year’s Halloween selection at Dollar Tree. Dollar Tree is always my go-to store for Halloween Decor but I was very pleasantly surprised to get so many elegant finds!
Like this ceramic sugar skull for example!
It just needed a little sprucing up! So I traced the floral outlines on the skull with a gold marker and hot glued these beautiful blue/violet roses on top!
It’s amazing what a difference just a couple of touch-ups will do to a girl, even in the afterlife!
4. DIY Dollar Tree Floral/Skull Halloween Wreath
I feel like there’s a skull theme happening here but honestly, it wasn’t done on purpose! I just seem to gravitate towards the skulls this year!
Okay so, if you know me, you know I LOVE to make wreaths! In fact, I already have two other DIY Dollar Tree wreaths blog posts. I just can’t help myself!
Note: You can click here to see how to make a DIY Patriotic wreath. And click here to see how to make a DIY Fall wreath!

Wreaths are such an easy way to add your own special design to your holiday decor, and they are so fun to make! Especially the way I make them!
Lately, I’ve really been into the NO HOT GLUE wreath DIYs. It just makes life so much easier!
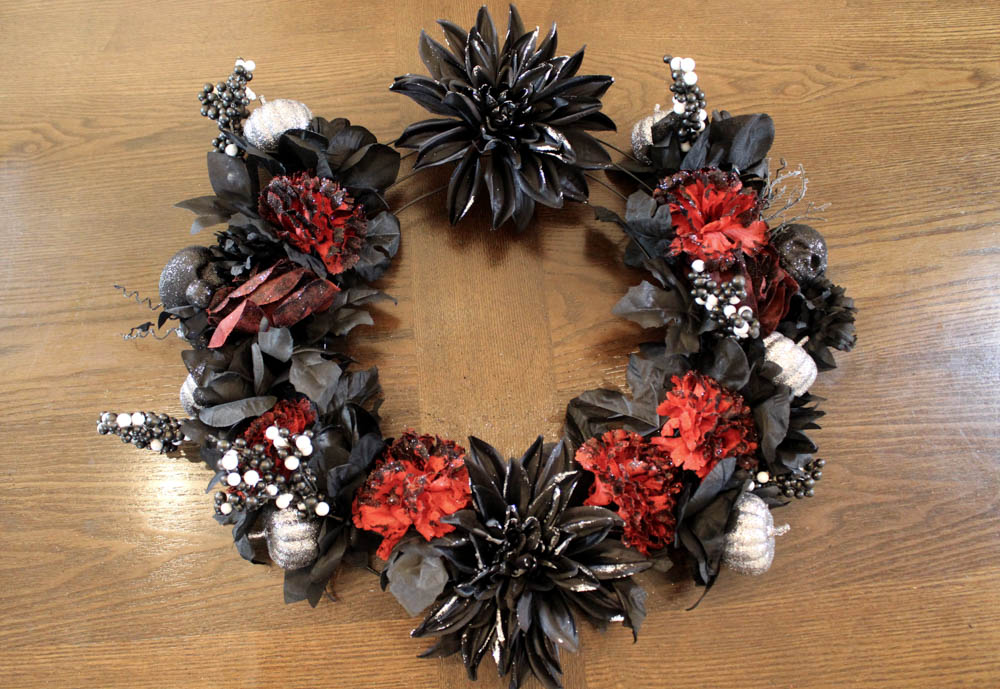
So I got this 14.25-inch metal wreath form in order to easily place floral stems between the wires to hold them in place without the need of hot glue or any other adhesive.
I used the Halloween floral picks on the sides of the wreath. Some have silver pumpkins among the florals. And some have black skulls among the florals. I placed one of the black skull picks on each side first.
Then I placed one of the silver pumpkin floral stems on top of the skull stems and two of those same silver pumpkin florals underneath the skull stems.
Then I added these Halloween Dahlia clips on the top and bottom of the wreath. Just simply clip them onto the wire!
After that, I placed 4 of these glittery Halloween branches on the top of my wreath, behind the dahlia floral clip (2 on each side).
This super cool yet feminine-looking galvanized skull was perfect for the center stage of my wreath. I simply cut the top of the loop for hanging and placed both ends through the wires (behind the floral decor) and tied them together!
Finally, I added these Halloween berry picks to fill in the empty areas around the dahlia clips. Again, just placing them between the wires, or the other floral stems already placed to lock everything in.
I feel like this is definitely the star of the show among the DIY Dollar Tree Halloween decor crafts. And it was so quick and easy to make!
5. DIY Dollar Tree Halloween Wine Glasses
This DIY was so simple yet it ended being one of my favorites!
First of all, I’m a wine girl myself, so anything to do with drinking it, I’m in!
The glassware at Dollar Tree is always a good option for parties, where things can get crazy and glasses break easily. Trust me! Been there, done that! You don’t want to use your nice stemware!
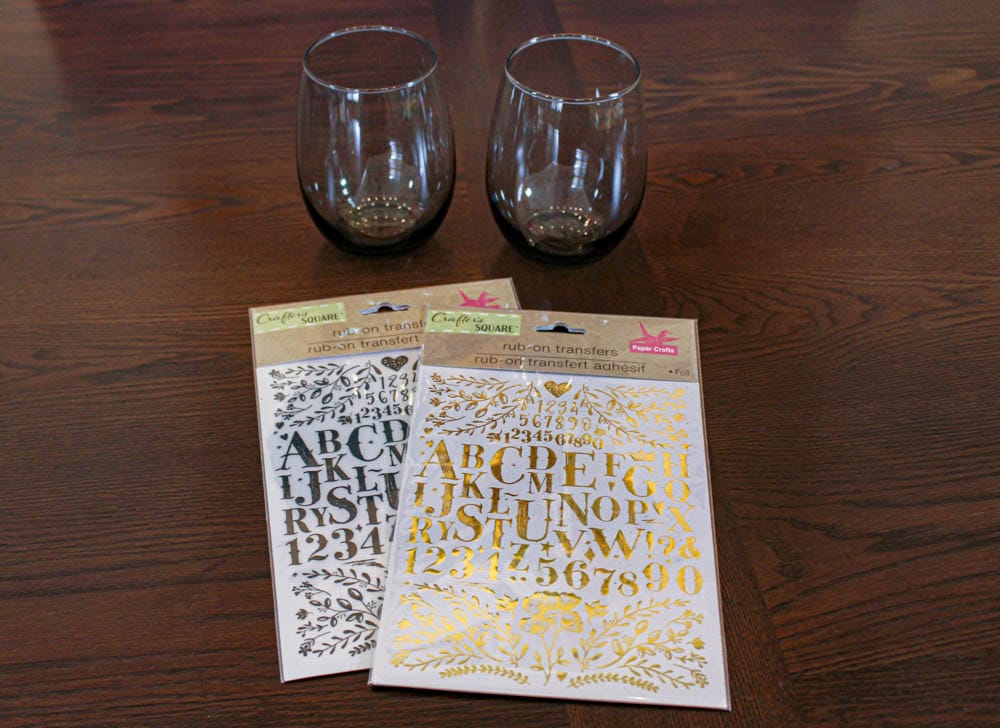
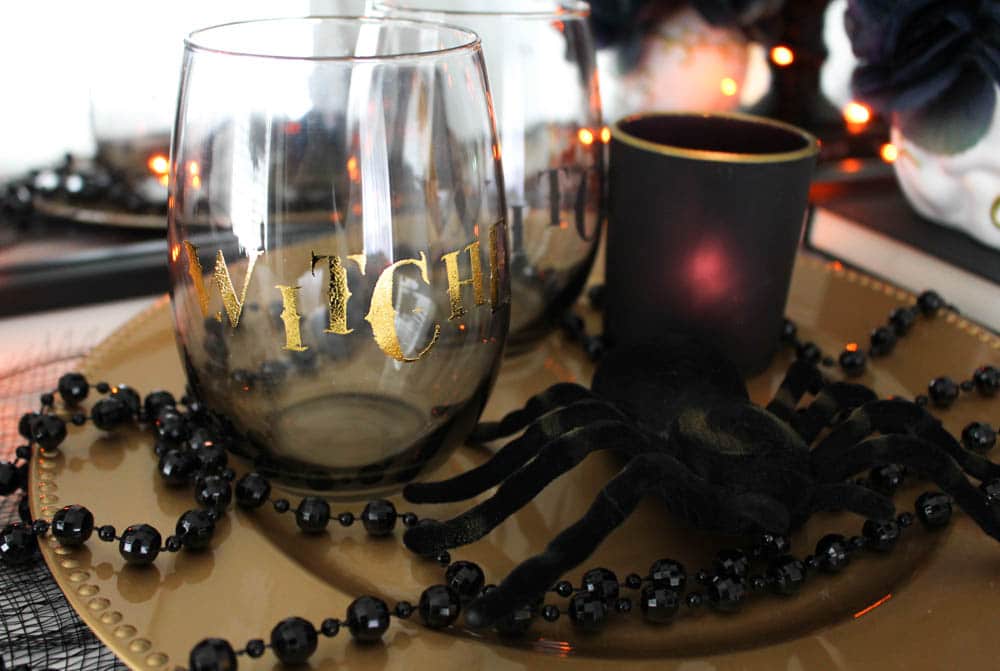
So I got these stemless smoked wine glasses and decided they needed a little bit of glam. I found these alphabet rub-on transfers which worked perfectly on the glass!
You just peel off the back paper, place the adhesive letter where you want on the glass. Then hold it for a few seconds, while gently rubbing it so that it sticks well. Then simply remove the front plastic and you’re done!
It’s kind of the same procedure of applying a temporary tattoo, but without the water. Pretty cool right?!
Now I’m sure these will wash off with time…but hey! They will look excellent for hosting a Halloween Party! And who says you need an expensive Cricut machine to make your own decals?!
6. DIY Dollar Tree Skeleton Garland
You guessed it! Another bony Dollar Tree DIY! But hey! At least it will all be cohesive! WIN-WIN!
To make this skeleton garland I simply unhooked this wooden skeleton and painted all the individual pieces with a bone-white color called Antique Parchment that I got from Walmart for 54 cents!
Then I beaded these cute little gold beads through my string. I have 25 beads between each bone and 20 beads at the ends.
Finally, I made my own little tassels with this jute cord and placed them at the ends of the garland.
I’m really happy with the way this turned out. It’s cute, it’s chic, and it’s bad to the bone!
7. Halloween Printables In Dollar Tree Picture Frames
For this Dollar Tree DIY, all you have to do is purchase picture frames, and print out some fun Halloween printables for them!
But don’t worry, you don’t have to purchase any Halloween printables because I have got you covered!
I am giving away 10 FREE Fall and Halloween Printables! So not only do you get 5 super cute Halloween printables but you will also get 5 Fall printables for this Autumn season!
I think my favorite Halloween printable is the “I put a spell on you” printable. It’s simple, it’s chic, and it’s perfect for the look I’m going for here. I printed it out in letter size and just cut it to fit this 5×7 black and gold frame from Dollar Tree.
I thought the Haunted House printable was also a good fit for this Halloween tabletop decor.
You can print them all and place them in different rooms around the house! With Dollar Tree frames it will be a super inexpensive way to add some life to your Halloween home decor!
High-End DIY Dollar Tree Halloween Decor
Believe it or not, EVERY SINGLE DECORATIVE ITEM ON THIS PICTURE (except for the 2 taper candle holders on the left) is from Dollar Tree! I am so happy with the way it all turned out. And it really goes to show that you don’t need to spend a lot to get a high-end Halloween look!
Pin This For Later
I hope I’ve inspired you with these easy DIY Dollar Tree Halloween decor crafts. If you liked this post, share it with a friend, and don’t forget to pin it for later! Happy Halloween crafting!










Leave A Comment